Thanks for the word
")
And wow - 50 USD / kWh are very hard and such prizes will prevent electro-mobility
Please give us an update as to how everything performs
yes I will, of course
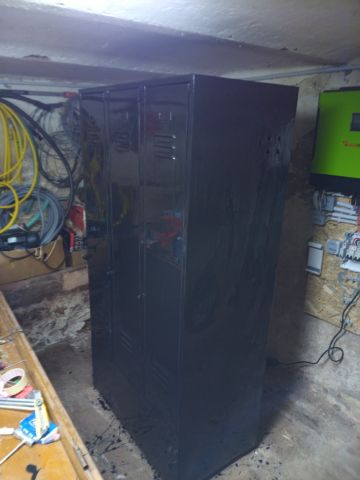
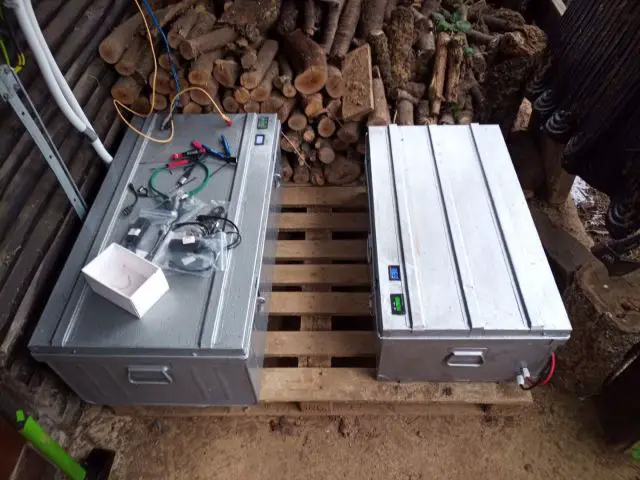
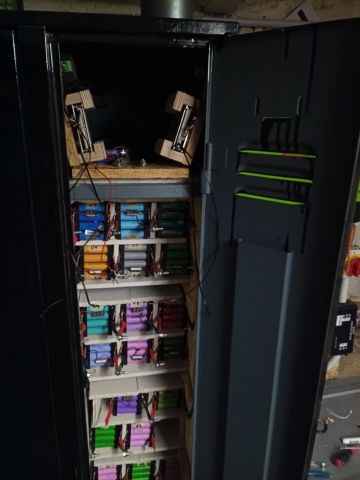
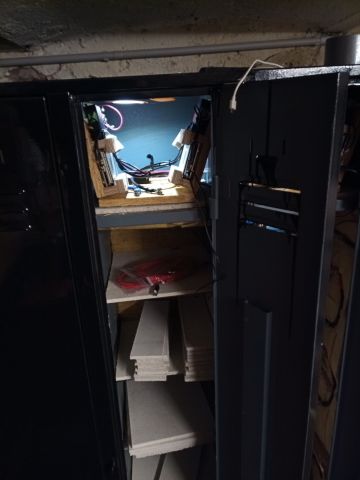
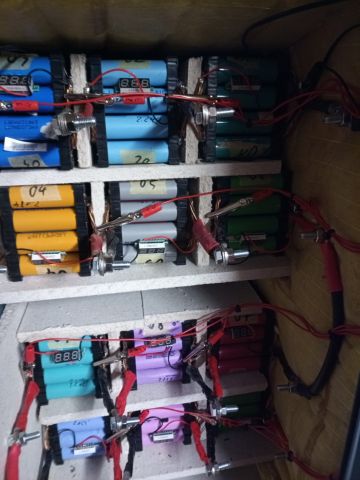
This is my first summer with LiIon powerwall so I am exited for my own how it will perform.
Guten Morgen, und willkommen im Forum!
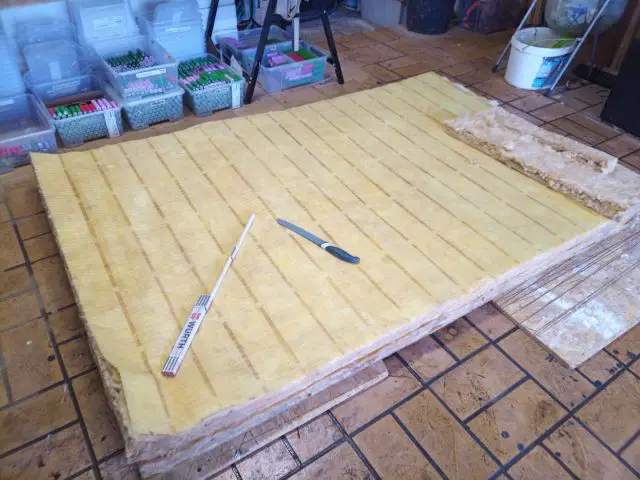
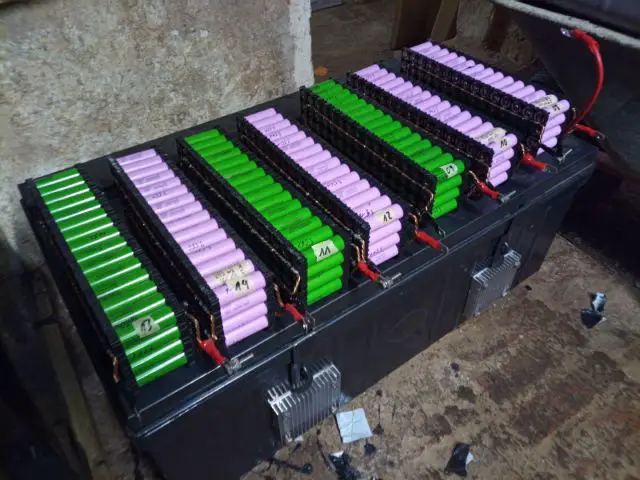
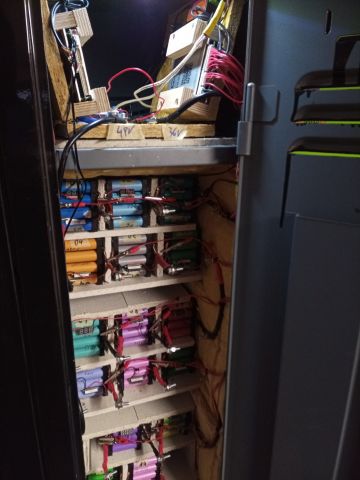
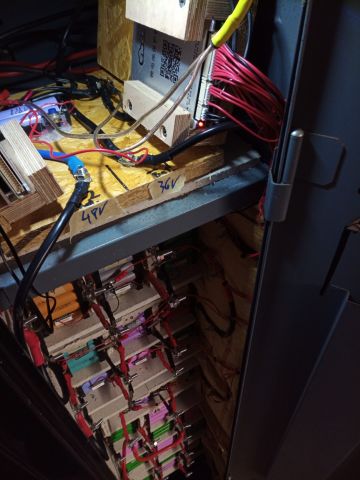
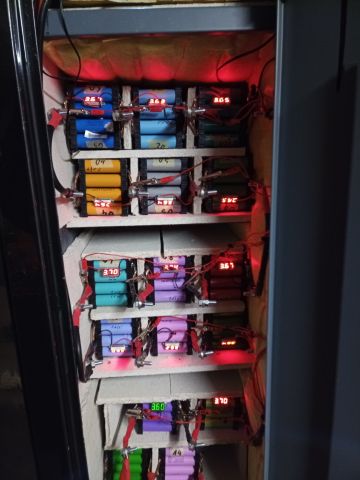
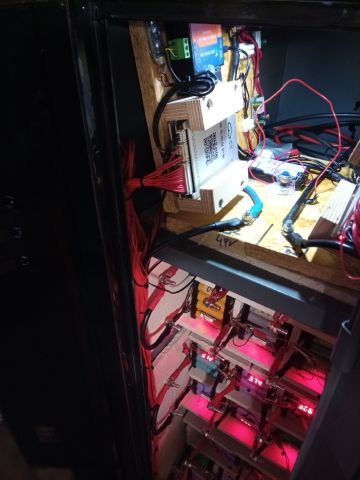
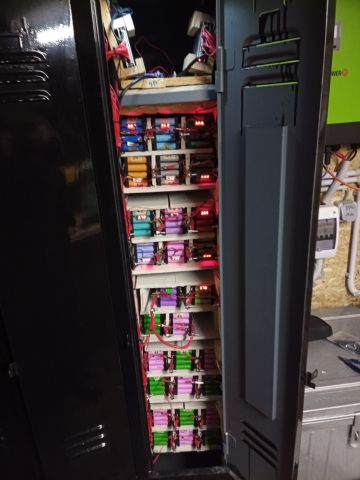
I once considered 18650 cells, and I have used them in smaller projects, but building 100kWh with 18650 would drive me mad
Good to see another JK BMS user - there are a few others on here (myself included) that use them as well.
Nice work!
Thanks
And yes, it's tons of work to do this project and if I knew before hoch much - I definitely did not started ;-) But now that I am in the middle of this work and see and feel first results - it's like an obsession and I have to go on and on
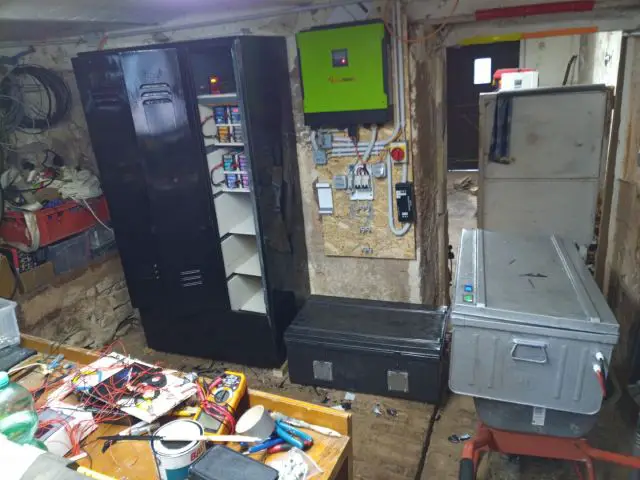
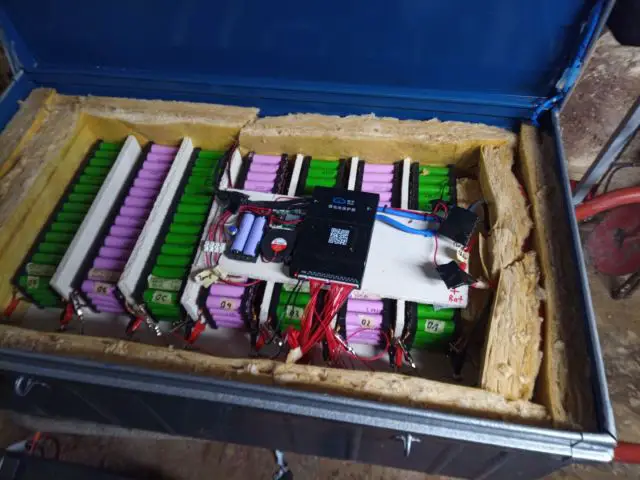
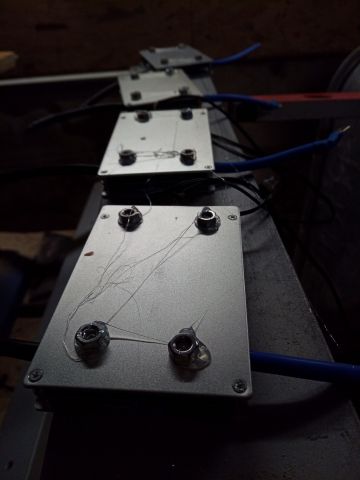
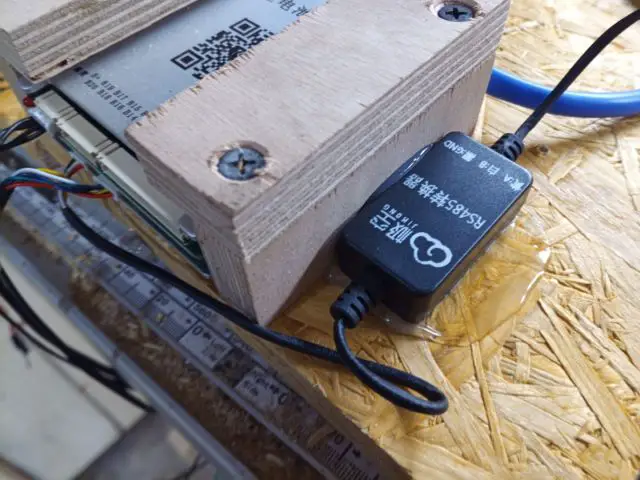
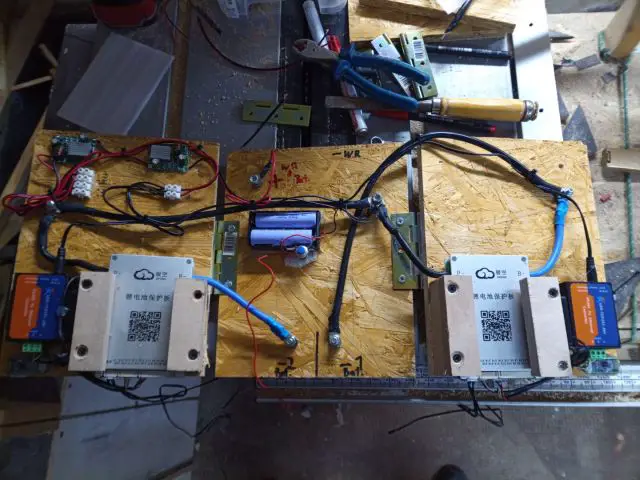
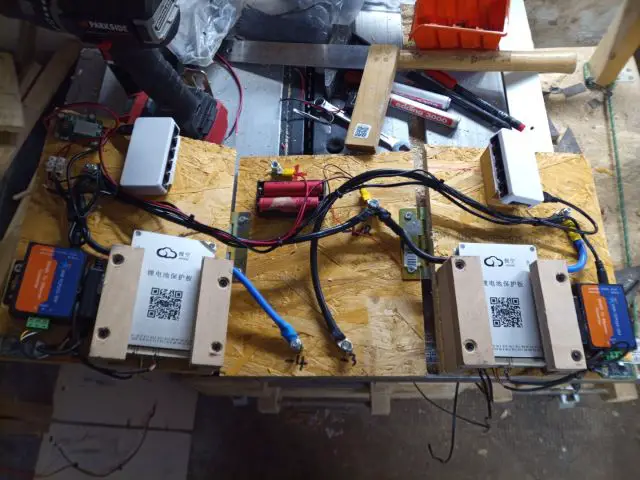
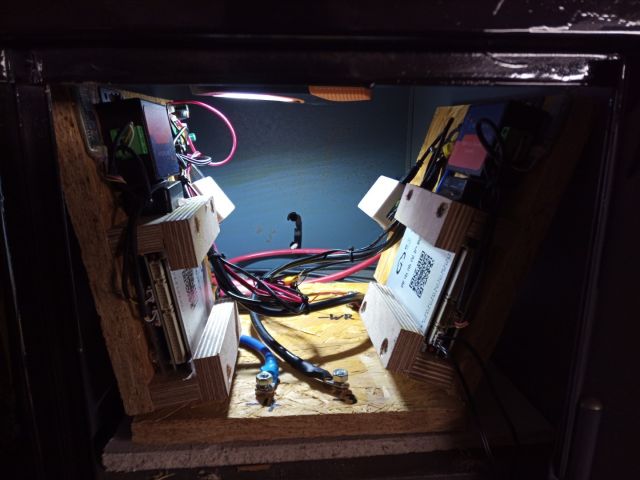
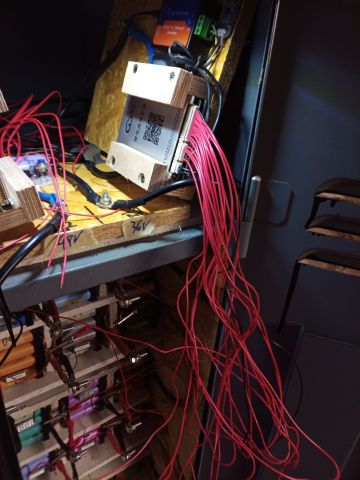
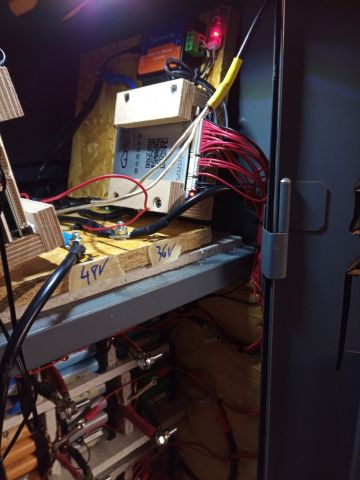
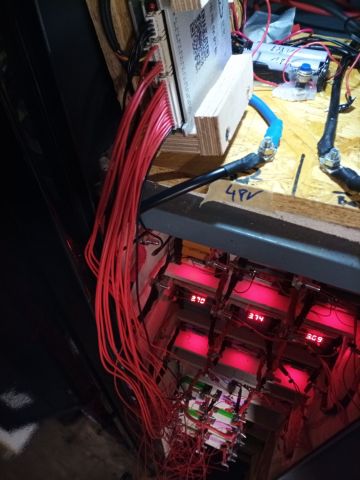
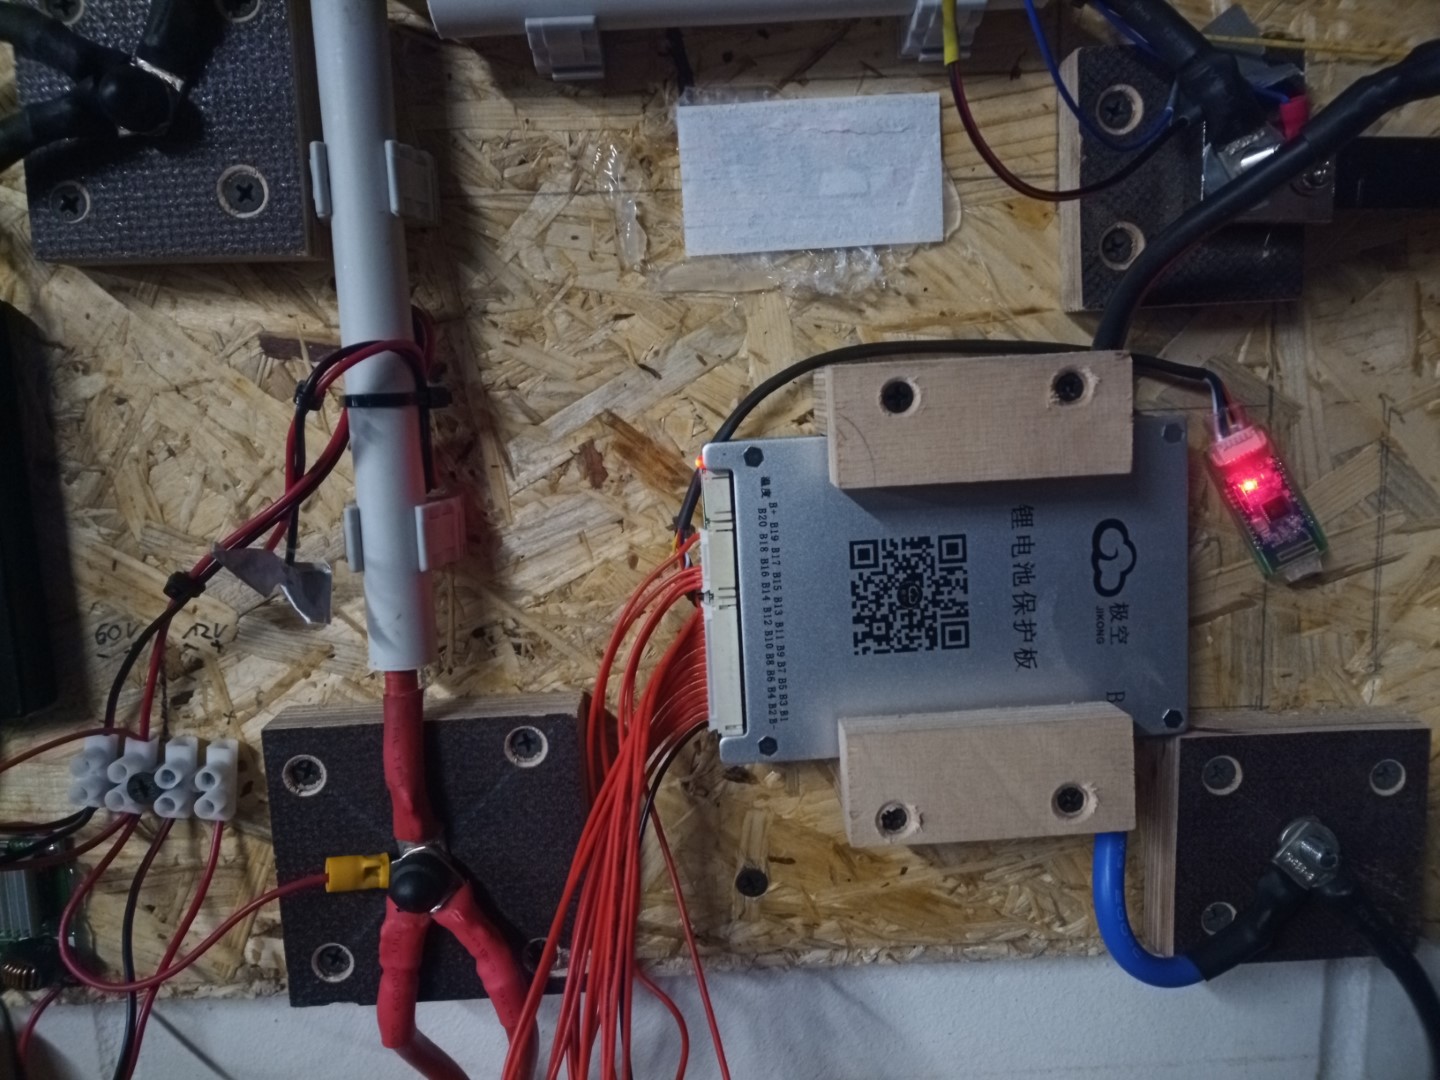
And I like the Jikong BMS, they offer pretty much functionality compared to the prize and at this moment I have 7 of this (different models) running.
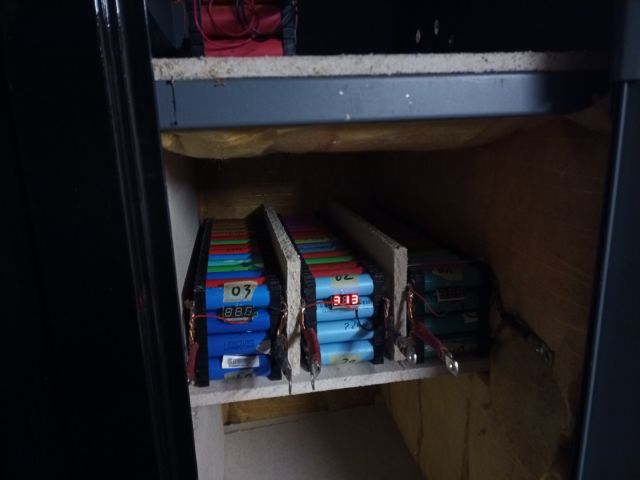
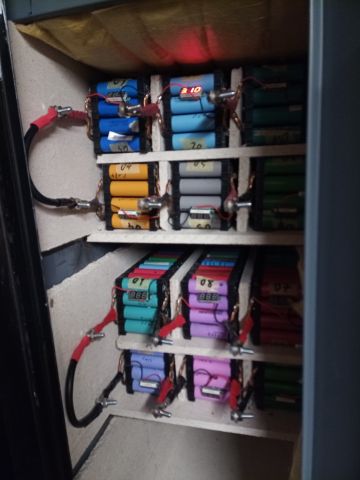
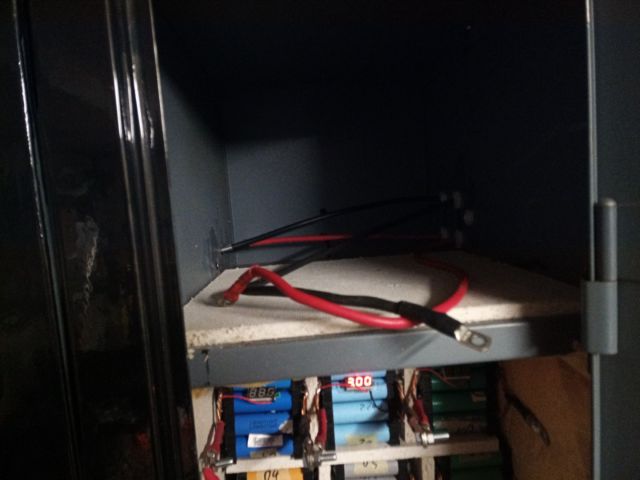
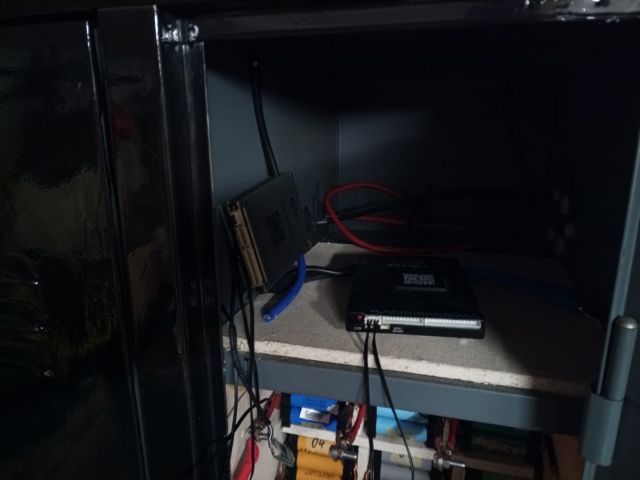
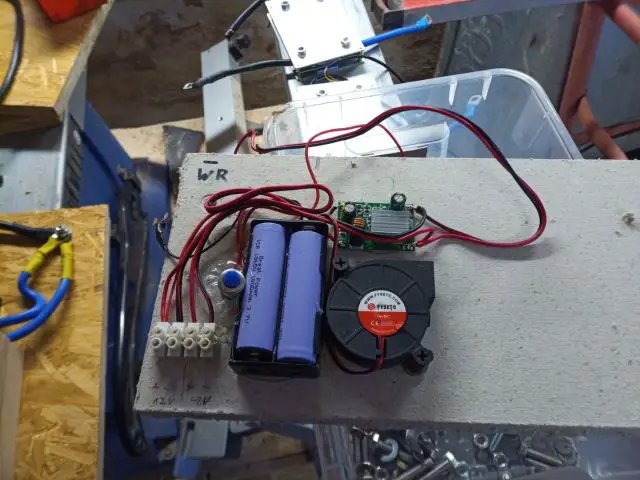
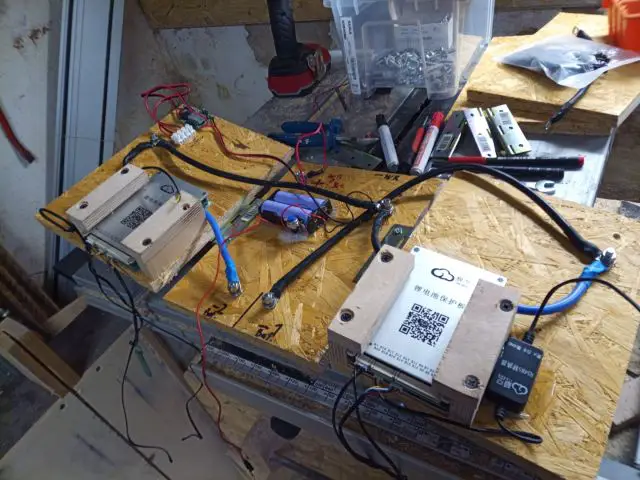
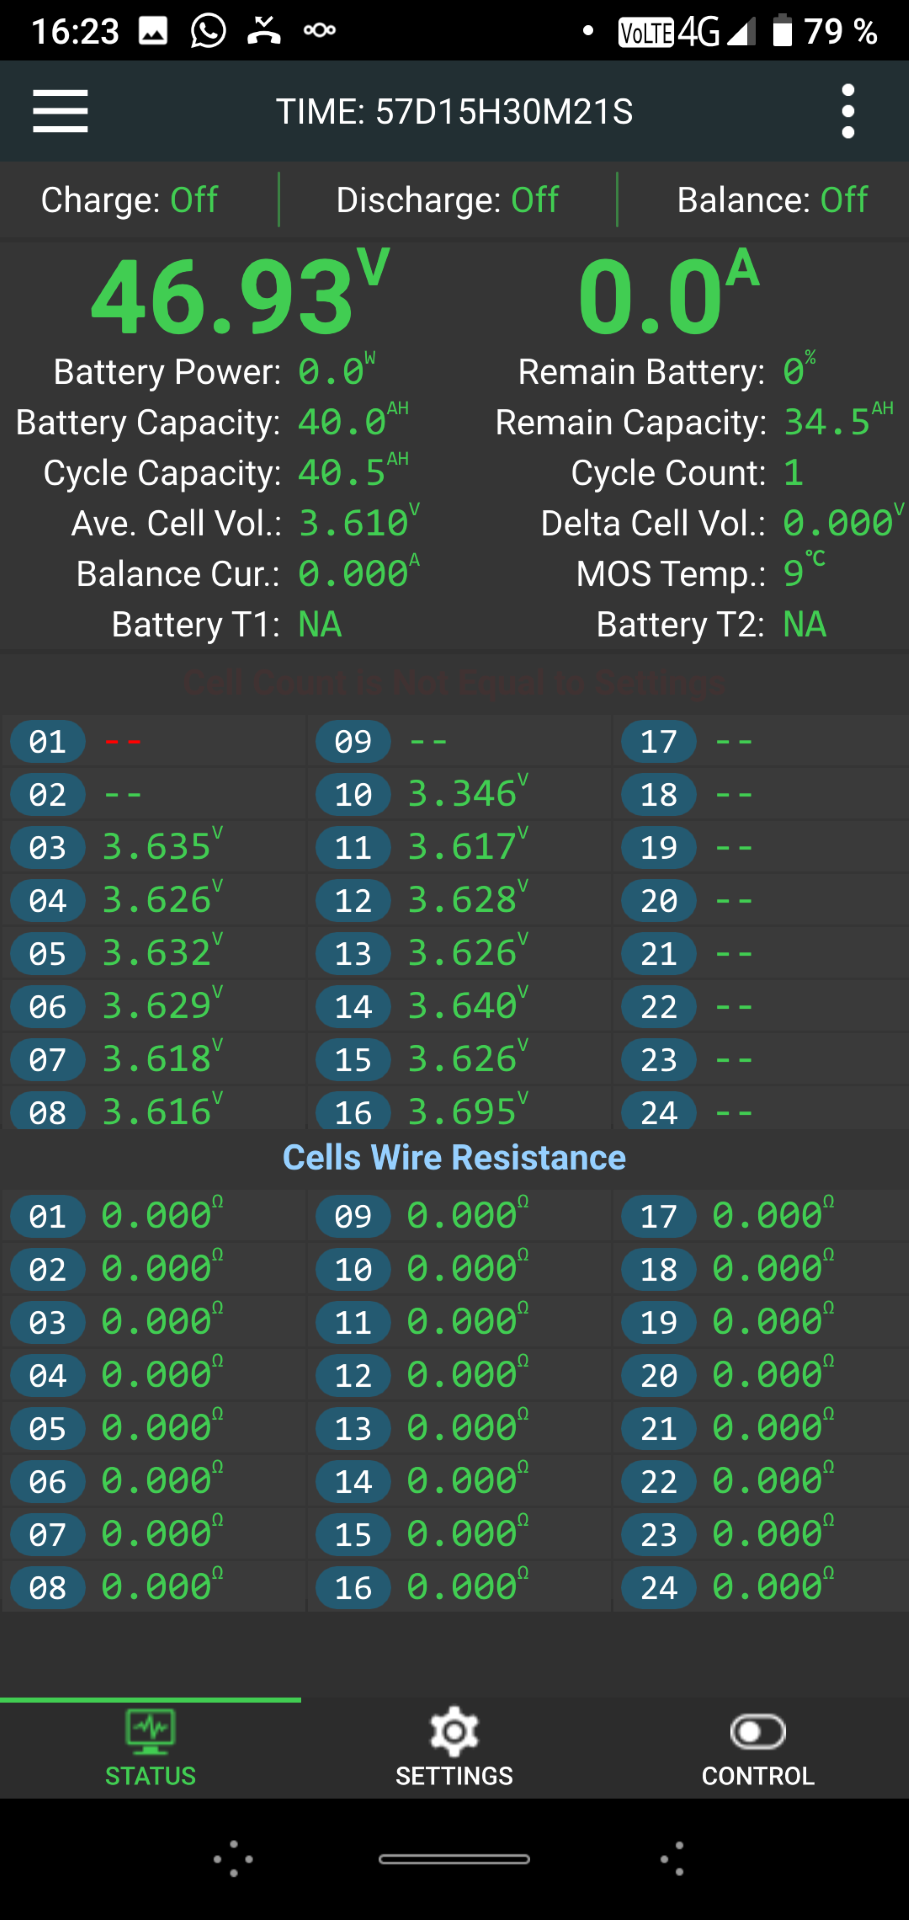
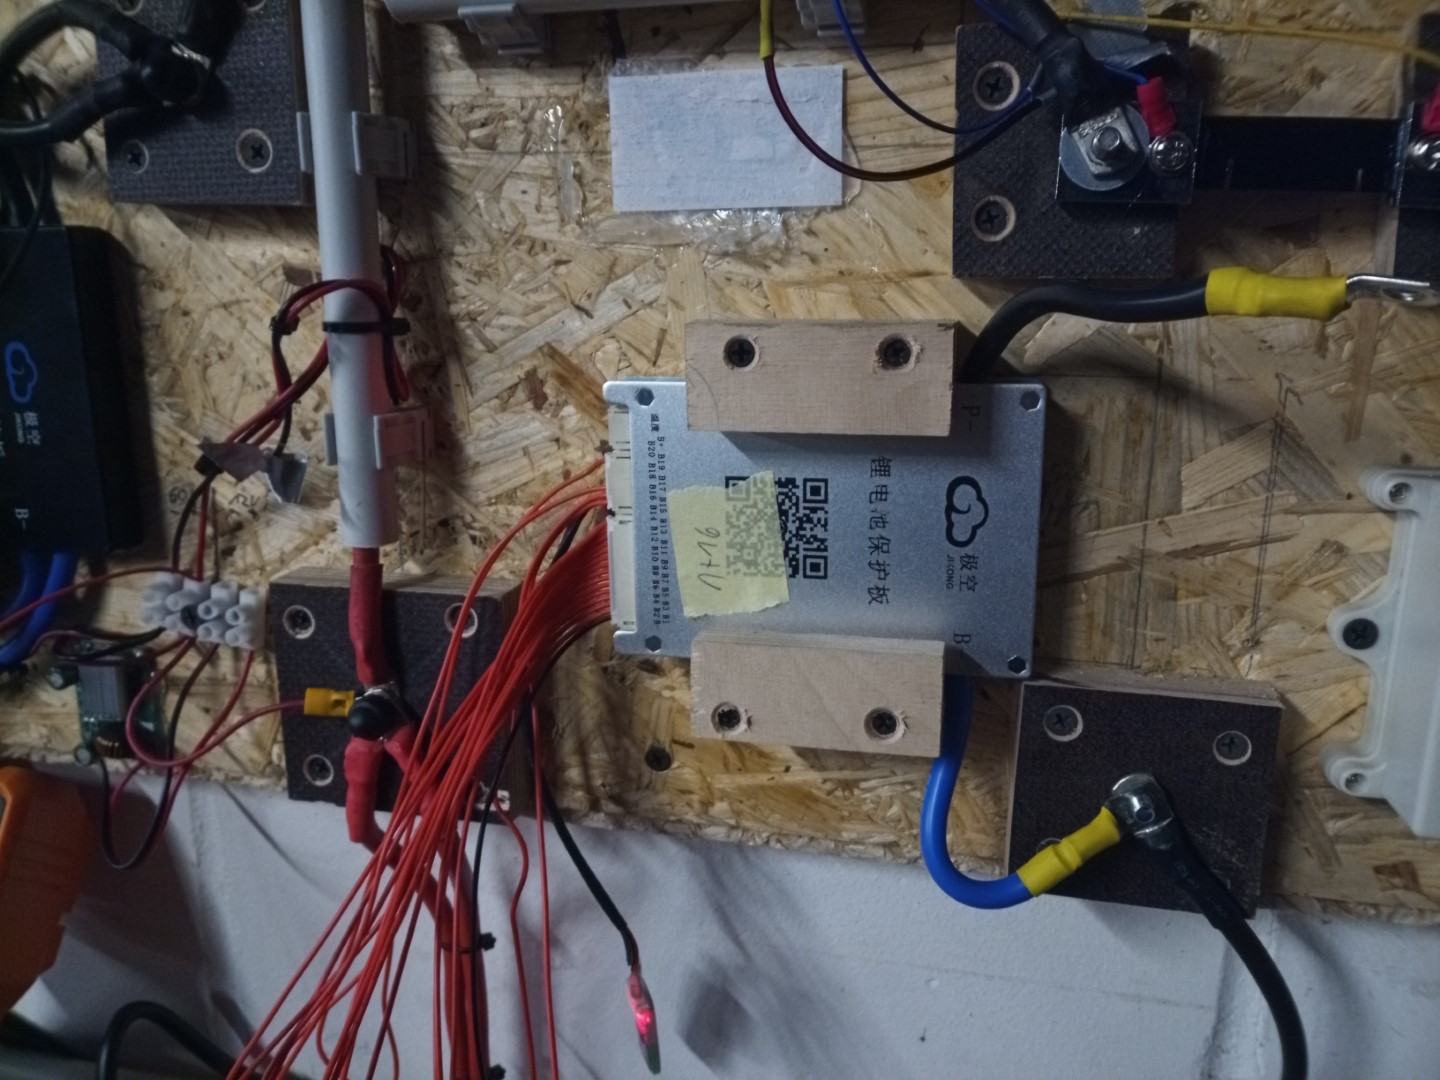
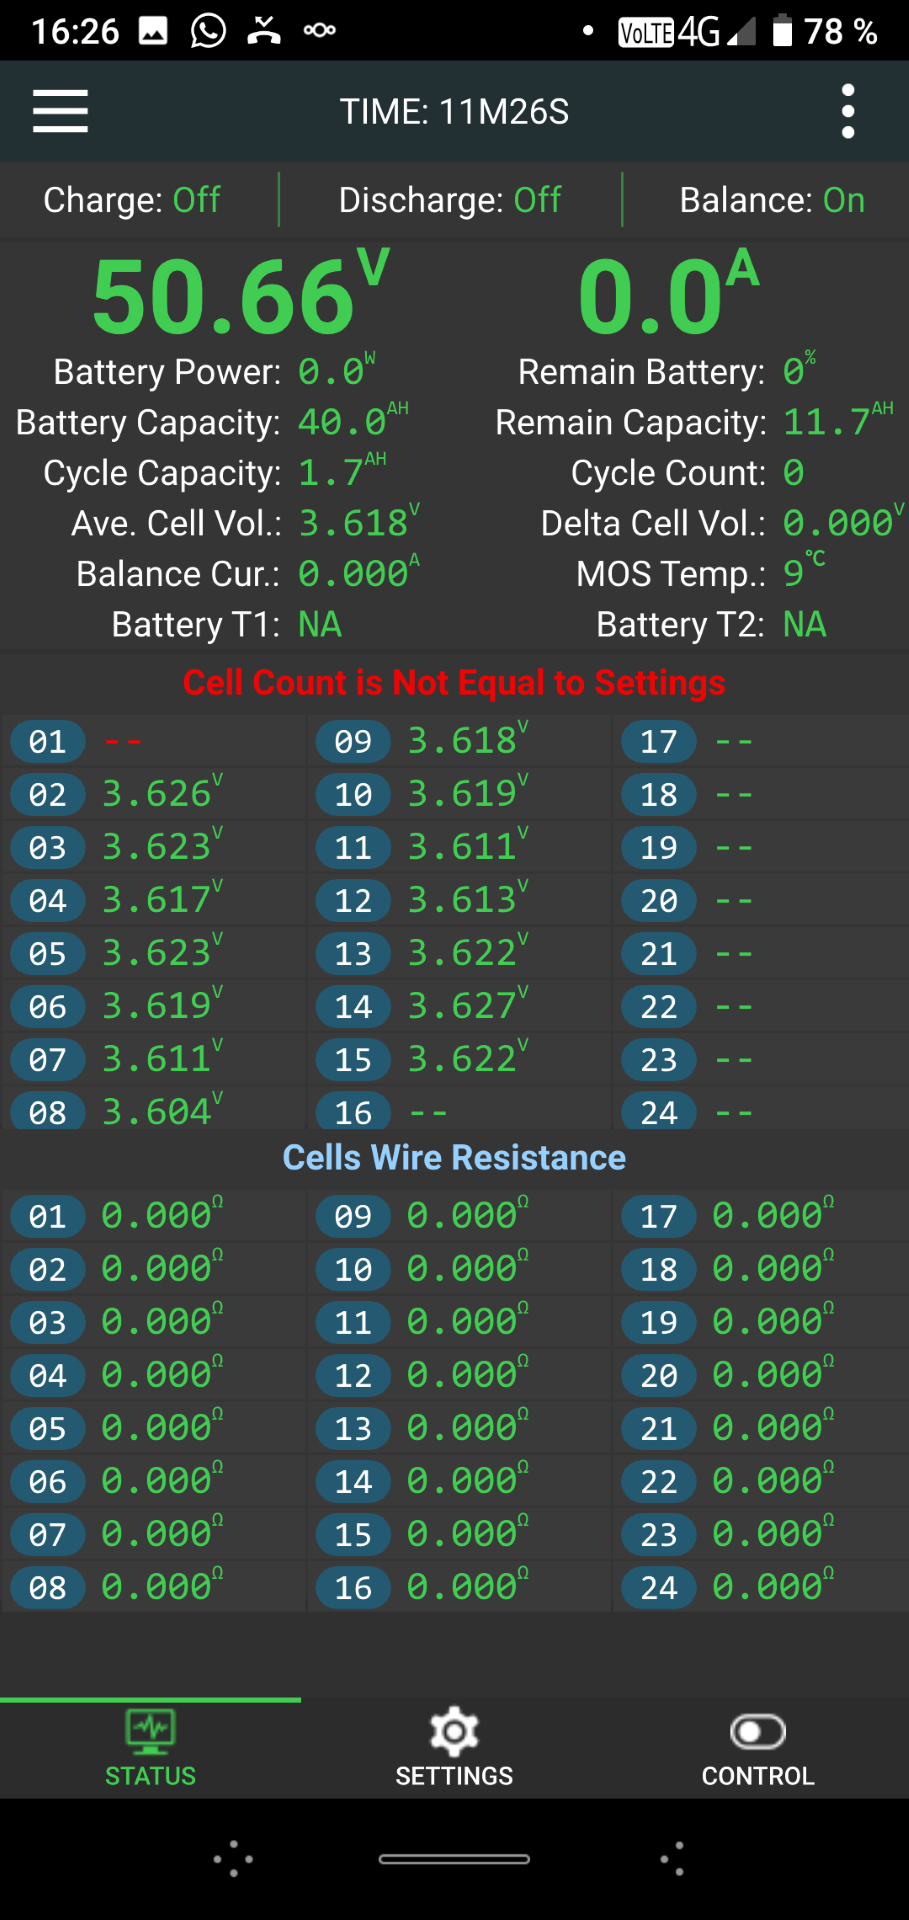
But unfortunately I have to say, that two of the small active balancer BMS JK-BD6A20S-10P are dead after a few weeks of usage in my 16s powerwall at the garage
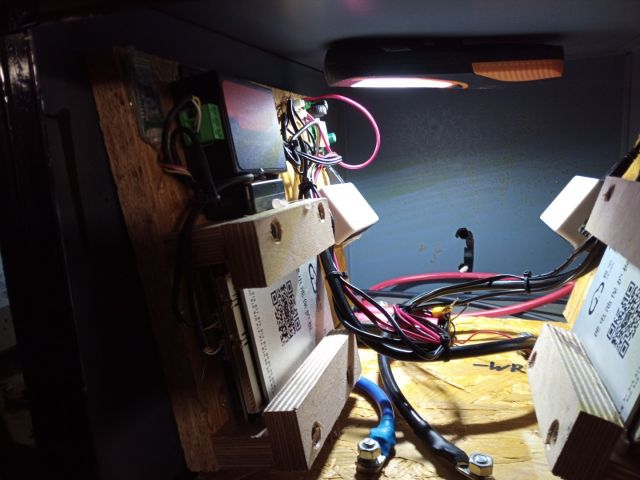
both seem to have "lost" some batteries. The first BMS lost batteries no. 01, 02 and 09
I first checked the cable connections. I checked it twice and three or four times but could not find any problem.
So I replaced the whole cables but the problem staied.
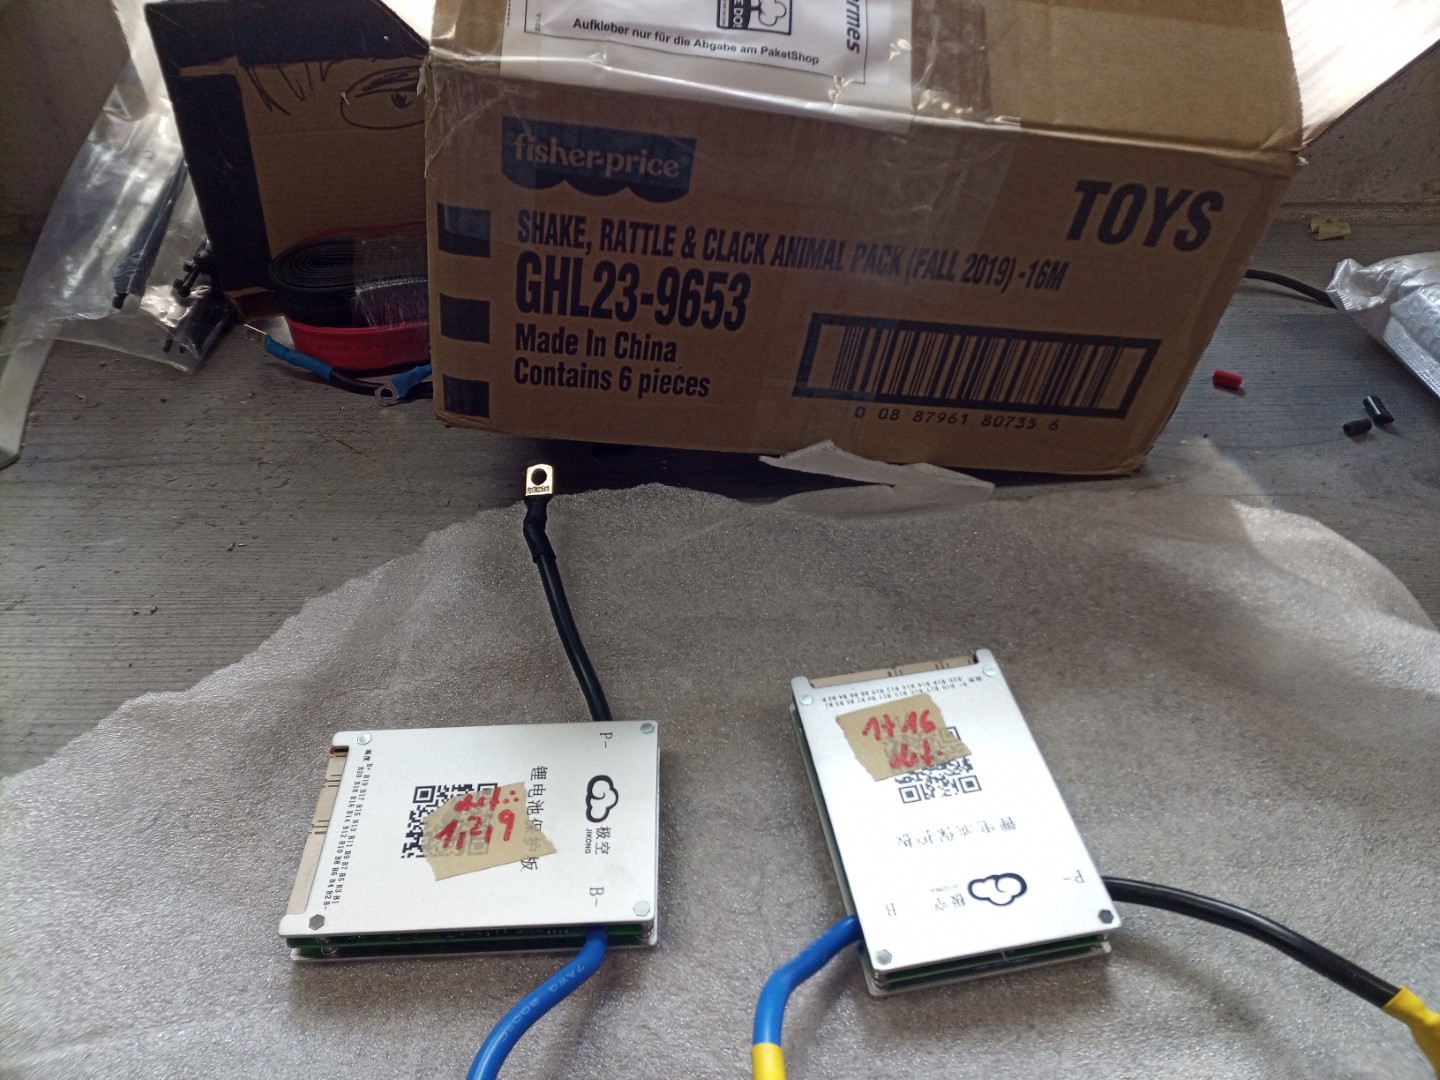
At the end I replaced the bms with the same, new type of BMS
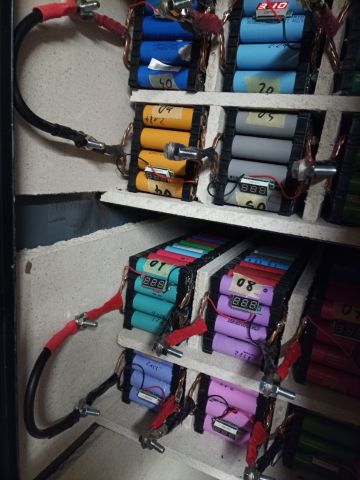
but after few weeks it losts some batteries too, this time no. 01 and 16
Again I checked all cables but could not find any problem so defnitely a failure of the BMS.
Maybe a bad charge of production. In total I am using seven of this exact identical BMS and the others run just fine, some of them non-stop since one year.
I contacted the seller on Aliexpress, D.YU.K.B / Dykbhuang Store (two names, same seller) and he agreed to refund the two defective BMS after sending it back and so I did so
But because he did not confirmed the arrival of the package in time, the dispute was closed autimatically and there is no refund.
I wrote several times via contact form and the seller agreed one more time to refund the defective devices but now, six weeks later there are still just some delaying tactics and no refund.
I guess it's my fault because I thought the chinese seller has some honor and will hold his word, but it seems this is not true.
So all I can do now is warn you about this seller.
I guess next time I need a smart BMS or active balancer I will order at ICGOGOGO again. It's three or four bucks more expensive, but service is definitely better.