nosys70
Solar Enthusiast
- Joined
- Jan 15, 2020
- Messages
- 839
the force on the bolt is indicated on the datasheet (Eve cell) , maxt 8kg. More you risk to break the case.
the size of the screw does not matter but since the surface contact will be better with small screw, you can say the smaller, the better, but make sure the head is large enough and use a copper washer and better, slotted busbar (slotted holes increase surface contact.)

you can also polish busbar at surface contact.
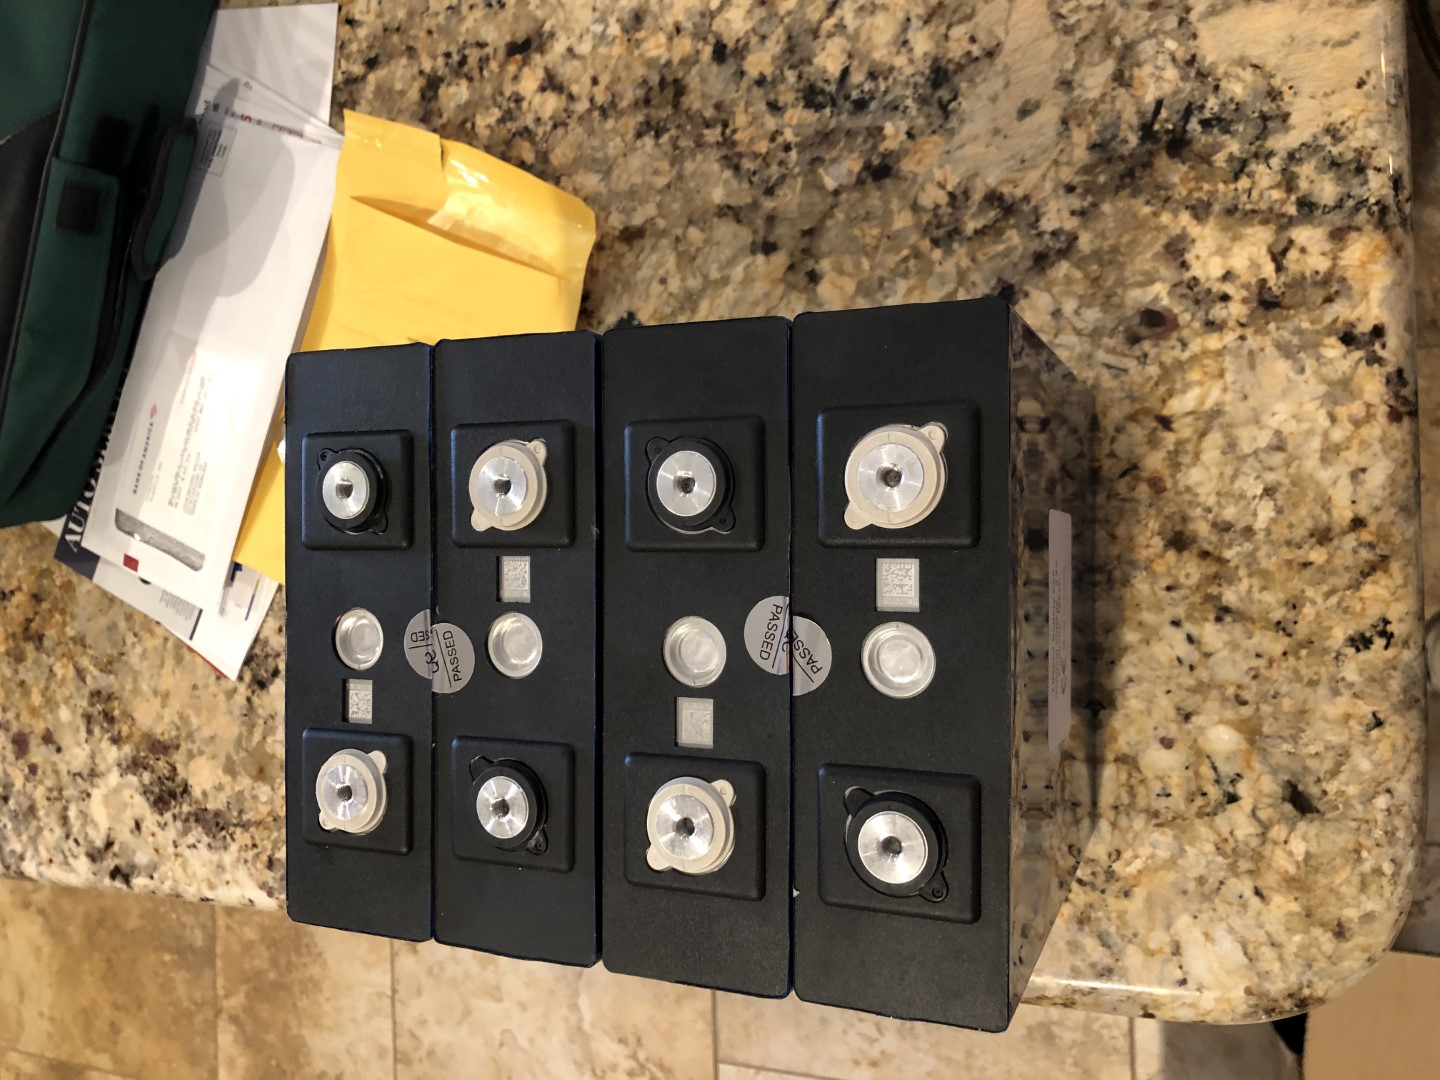
the surface contact is a circle about 20mm diameter, that is a lot enough.
since the busbar should be around 1mm2 per Amp, if you want to use 1C, then you need around 200mm2
the size of the screw does not matter but since the surface contact will be better with small screw, you can say the smaller, the better, but make sure the head is large enough and use a copper washer and better, slotted busbar (slotted holes increase surface contact.)
you can also polish busbar at surface contact.
the surface contact is a circle about 20mm diameter, that is a lot enough.
since the busbar should be around 1mm2 per Amp, if you want to use 1C, then you need around 200mm2


")