I would skip the glue - I don't think even epoxy sticks to that stuff. Mechanical fastening is fine, and you have your compression rods holding the sides together so the bottom isn't going anywhere and doesn't have stress unless you pick it up. I'm thinking the sides should fasten to the ends of the bottoms instead of the sides attaching to the tops of the bottom plate. Fasteners are much stronger in sheer. 1-1/2 #8 countersunk wood screws would work fine.
That starboard comes in other colors as well, there's even black. The white like you have, translucent white, ivory, and maybe gray and brown.
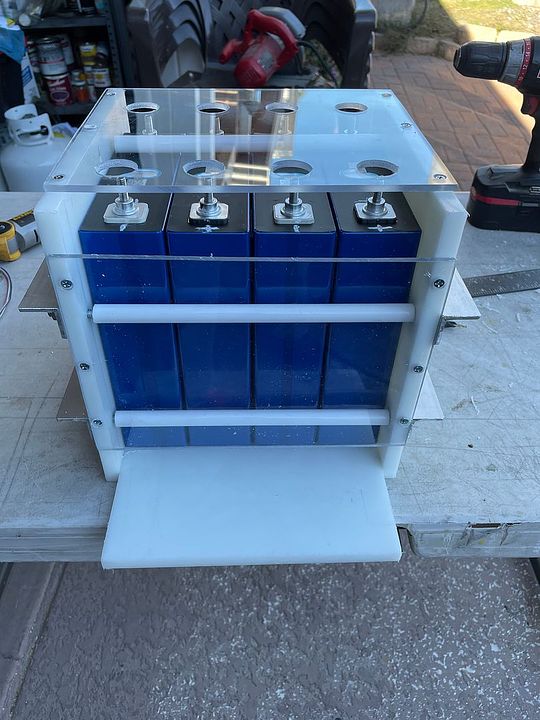
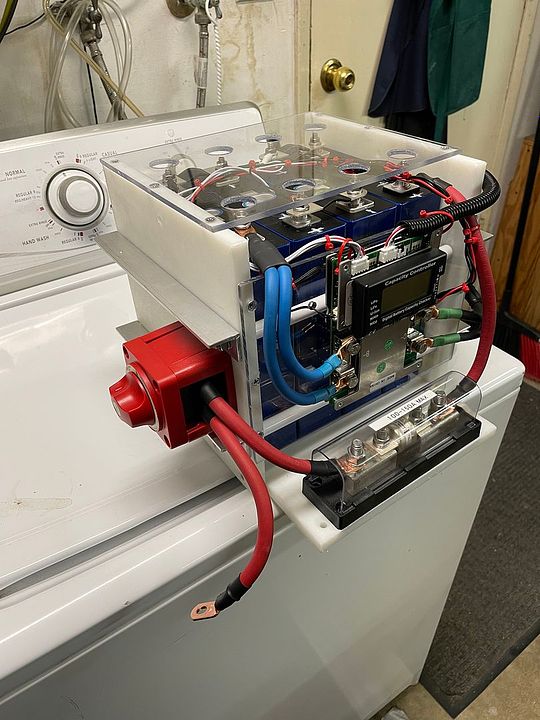
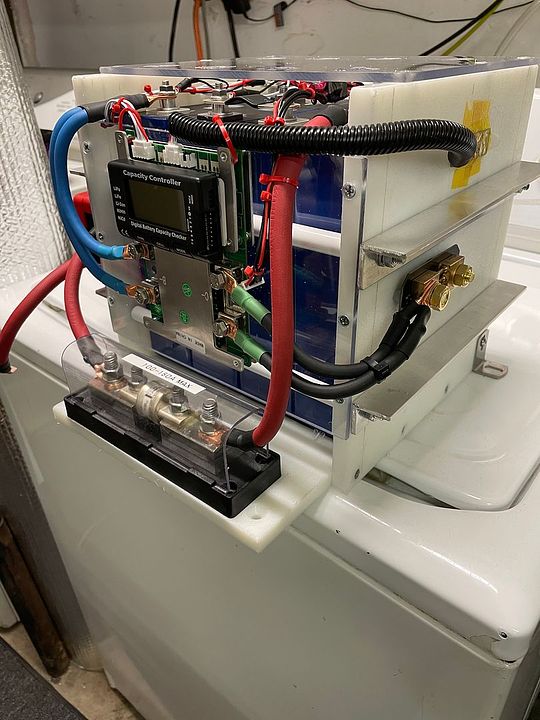
The white with the matching rod tubes and the blue cells looks fantastic.
")
I might do black just for variety.
It's common to mount a block of that board to the transom of a boat and then screw your transducers and speedo pickups and such to that. Easy to reposition or change that way, and you don't have a bunch of holes drilled thru your gelcoat. Bed in 3M 4200/5200 and a couple of counter sunk screws.
My current boat model used to be built with plywood bulkheads, now everything has Starboard. No dry rot! And it stays looking great.
I think you may have started a new trend! ?
EDIT: A quick search says the adhesive for hdpe board is
Cyanoacrylate - super glue.
EDIT 2: I take that back - elsewhere it says the only adhesive that works with polypropylene based material is to weld it with heat. So mechanical fastening is the way to go for this application.