diy solar

diy solar

DIY Mobile battery box

Donlumber

New Member
Joined
Sep 10, 2021
Messages
32
I needed a way to store and move my 24v 280ah battery pack between my house and travel trailer. I searched all over for an enclosed cart with wheels and finally settled on a Husky brand box. I used 3/8" threaded rod to hold my batteries between 3/4" plywood and 1" square tubing.

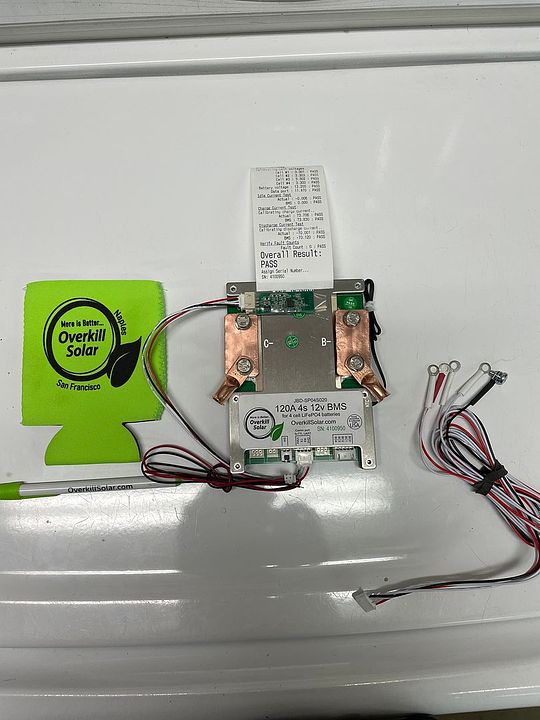
I sandwiched 1/4" resilient foam between the cells and between the plywood. It's rated for 11psi to compress 25%. I still need to mount a shelf so I can mount the BMS, fuse and bus bars. I'll be using Anderson power connectors to connect this battery pack to my Titan solar generator.

One thing I checked after the cells were compressed is if the stock bus bars that came with them would straddle the extra width. Nope. Thankfully the flexible bus bars I purchased work just fine.

I still need to trim the threaded rod too. I'll post my progress in case anyone is interested. I plan to cover everything with acrylic.

20220112_182549.jpg
20220112_182603.jpg
 
Looks great. Did you somehow measure the pressing force applied?
Those would need about 140-200kgf/cm pressure, so something like 14Nm of torque applied evenly to all nuts.
 
Looks great. Did you somehow measure the pressing force applied?
Those would need about 140-200kgf/cm pressure, so something like 14Nm of torque applied evenly to all nuts.
Yes, the 1/4" foam padding between the cells is from McMaster-Carr and is rated for 25% compression at 11psi which is close enough to the optimal 12psi. I measured the pack before compression and since there are 5 layers of foam I compressed the pack 5/16" and I know I'm close enough to 11psi for my purposes.
 
@Donlumber Any progress on the build?
I have the initial rough build completed and tested. I need to attach the temperature sensor leads, clean up the cabling and trim the threaded rods on the exterior of the box.
20220301_092723.jpg

I was going to cover the battery and BMS with acrylic but have decided not to since the only time the box cover will be opened is if it's getting serviced.

The carrier is on wheels which helps since I believe it weighs roughly 120lbs.
20220301_092904.jpg

I installed an Anderson powerpole connector since that is the format my Titan generator uses. I can also charge it when disconnected from the Titan.

20220301_092743.jpg

20220301_092942.jpg

I haven't done the cost analysis but I'm guessing I spent about $1700-$1800 on it. It triples my old power storage amount for almost half the price.
 
You may want to keep an eye on bms contact temps at full load. The lead connects are designed to be load sharing, with the first option to have 3 wires. The screw-post option is for two, you're using just one of them.

Initially I was going to do the same thing, only add a bus bar to the other post. In the end it was just as easy to run two #6 wires which carries more current than a single #2 anyway. The only place I get any heating at full load - about 80A - is right on the face of the bms. I got the overkill version.

So when you get it going, run it at full load for a bit and point a laser-thermometer at everything, all your terminals and connections, looking for any heaters. I didn't get a lot of heat, but system temp was about 68 and certain points on the bms would get to 80, as would the terminal after the fuse for the main inverter.

Good work for a portable bank. (y)

Bus for single wire bms:


As built. I have since replaced the blue wires with a tinned lug for the aluminum post. I was warned about galvanic corrosion with dissimilar metals:

 
I think I'll be okay as I will never get close to that high of a load (30A RV plug) but then I'm thinking what if I die tomorrow and somebody else tries to repurpose this thing? I should probably do it the right way. Thanks for pointing that out. I will need to make some new cables.
 
Nice! I use the same Husky box for my 4S 280Ah + MPP Solar 12V all in one. Snug fit but it works! I wish the latches were a bit beefier though.
 
Nice! I use the same Husky box for my 4S 280Ah + MPP Solar 12V all in one. Snug fit but it works! I wish the latches were a bit beefier though.
I was thinking about getting some of these. I'll see if the stock latches hold up.

Screenshot_20220302-162447_Amazon Shopping.jpg
 
I have the initial rough build completed and tested. I need to attach the temperature sensor leads, clean up the cabling and trim the threaded rods on the exterior of the box.
View attachment 85809

I was going to cover the battery and BMS with acrylic but have decided not to since the only time the box cover will be opened is if it's getting serviced.

The carrier is on wheels which helps since I believe it weighs roughly 120lbs.
View attachment 85811

I installed an Anderson powerpole connector since that is the format my Titan generator uses. I can also charge it when disconnected from the Titan.

View attachment 85812

View attachment 85813

I haven't done the cost analysis but I'm guessing I spent about $1700-$1800 on it. It triples my old power storage amount for almost half the price.
Where did you source the flush mount Anderson connector? This is an awesome built.
 
Looks great. Did you somehow measure the pressing force applied?
Those would need about 140-200kgf/cm pressure, so something like 14Nm of torque applied evenly to all nuts.
I am a newbie - what is this compression factor for?
 
Back
Top