Hi, My Ford F150 just left this earth (blown turbo which warped the engine block @ 125,000 miles); so I replaced it with a Dodge 2500 with the 6.7 Cummins diesel. In the Ford, I ran 2/0 wires from the battery positive and the chassis ground through the frame to the back bumper where I have a dedicated connection to the trailer and the B2B 40 Amp charger. The charger is only on when the trailer lights are on due to the switch on the charger.
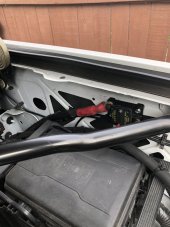
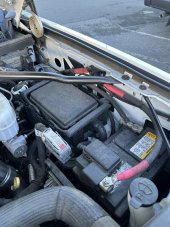
The Dodge has 2 batteries (one with a high amperage connection). So, my question is, do I run the positive cable from the positive terminal (through a 60 amp fuse again) and the negative from the frame? or the negative directly from the battery post? The Dodge Tech sheet recommends an engine ground for the high capacity connection, but others say that is a bad practice. The truck has a 220 amp alternator, so, I think there's plenty of amps in the alternator to suck 40 out when driving. I am only running a 40 amp max connection and have a 60 amp fuse on the battery and 50 amp between the charger and battery.
Any thoughts?
jps