diy solar

diy solar

From Growatt to Victron Energy

Thanks. Do you have the batteries connected to the gerbo otherwise then? Using can or rs485?I’ve seen on a few forums, folks asking if these batteries “work/communicate” with the cerbo via the can/rs port. Because it seems they’re made to work with growatt and there is little to no information about them being used with victron products. You are the first post I’ve seen using these batteries and victron, is why I ask. Wasn’t sure what if any communication you’re able to get from the batteries to victron. Thanks for the update, sounds like a nice setup
My EG4 LifePower4 batteries ID addresses have been set, and they are connected to each other with standard Ethernet patch cables per the RS485 ports. The two EG4 LifePower4 BMS's communicate to each other. The Cerbo GX cannot communicate with the EG4 LifePower4 batteries. I don't know if the EG4 batteries can communicate with Basic Broadcast CANBUS.

The Cerbo GX is designed as a central connection for all of Victron Energy's different device's using multiple interfaces/protocols. and allows a simple interface to monitor them, and do some of the configuration. The EG4 batteries have their own BMS. Victron Energy can manage some batteries without BMS's (like their own batteries), and a list of other batteries that that have been tested and are known to work. See link below:


The EG4's work great with Victron Energy, and are configured as LiFePO4 batteries with "Other BMS". All charging parameters are set exactly to Signature Solar's specifications with the Victron Energy Config App. The Victron Energy SmartShunt is used to monitor all aspects of the batteries. The Cerbo GX is used to set that.

If you are interested in the individual cells and balancing of the EG4's, you have to use the BMS Monitor software for PC, available from Signature Solar, and is delivered with the batteries. I think this software is to look at the Signature Solar batteries only, and not meant to change parameters. Use at your own risk.

I have ordered two Jakiper batteries, and it they ever show up, the will also have their address ID set as batteries 3 and 4, then connected per Ethernet patch cables to my EG4's. They have the same BMS's and should all communcate with each other.

I know this was long winded, but I hope this gives you the information you are looking for. I hope I didn't bore anyone.
Yes, the software is currently for monitoring only. If you run into any issues with configuration, definitely call our tech support to see what is going on.
 
Yes, the software is currently for monitoring only. If you run into any issues with configuration, definitely call our tech support to see what is going on.
Glad to read this thread and it makes me feel better about the SigSolar batteries working with Victron. I may well order some of the LCD batteries and hope for the same great experience with a Victron Multiplus II soon.
 
Glad to read this thread and it makes me feel better about the SigSolar batteries working with Victron. I may well order some of the LCD batteries and hope for the same great experience with a Victron Multiplus II soon.
Just a heads up. Today I removed my Signature Solar EG4 batteries and installed my Jakiper batteries. I have been testing them for a couple of days and put them into full operation today. They are working fine as well, and use the exact same parameters as the EG4's. Once I get my battery rack, I will get all four connected in parallel, and connect the communication (RS485) ports and see how they work together. On another thread, one of Sig Solar's members stated that they should communicate together with no problem. I will check it out per the PC battery monitor program and see how load distribution and balancing works. I will let you know when I am done.
 
It is very simple as the base mount has only three parts:

Two 6x6 treated wood posts, each cut in half making 4, four foot posts.
Three 2-3/8" x 8' Galvanized WT-40 Chain-Link Fence Terminal Posts
Six 2-3/8" Galvanized Pipe Grip Tie

Dig 24" holes, and set posts with quickcrete at a separation of 8 feet from center of each post. Once set, use a laser or chalkline to mark the height you wish cut sut your posts at. I cut mine at 18". Next, place the Pipe Grip ties over the ends of each pipe and secure to the post tops with gavanized wood screws. Done!

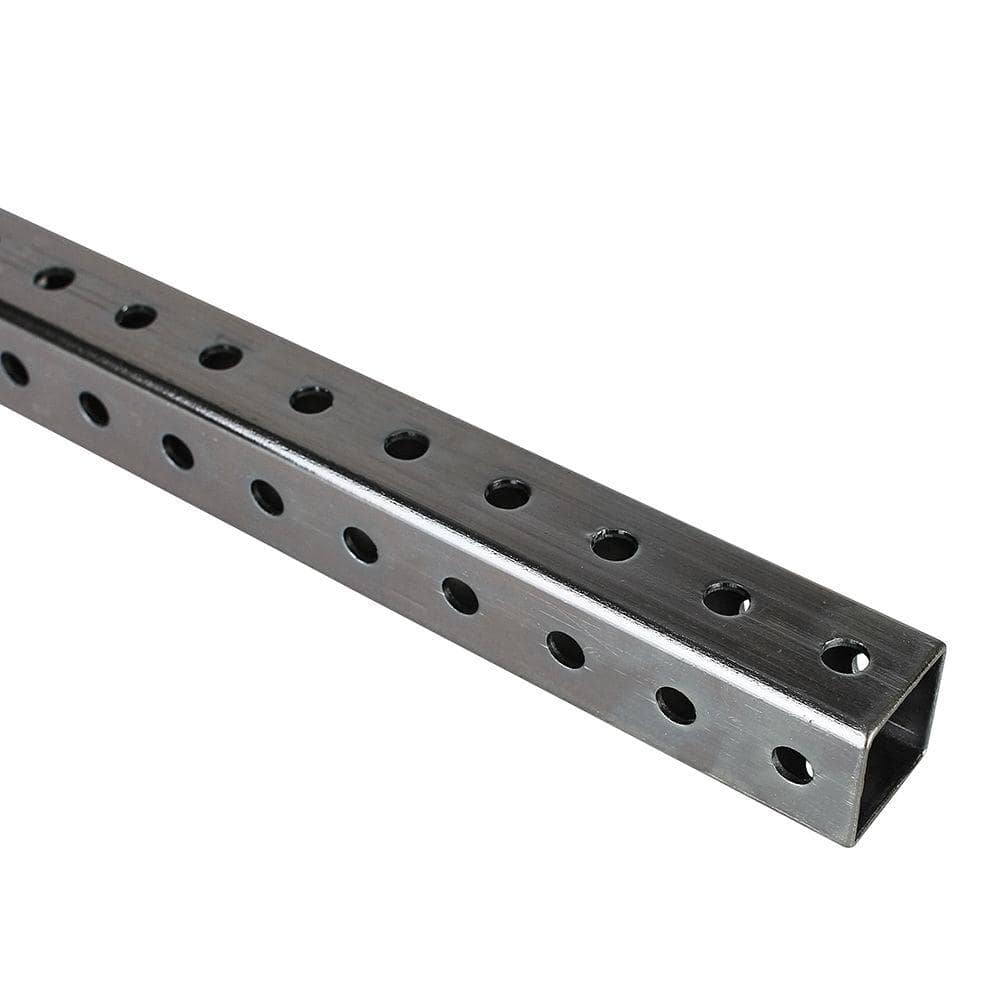
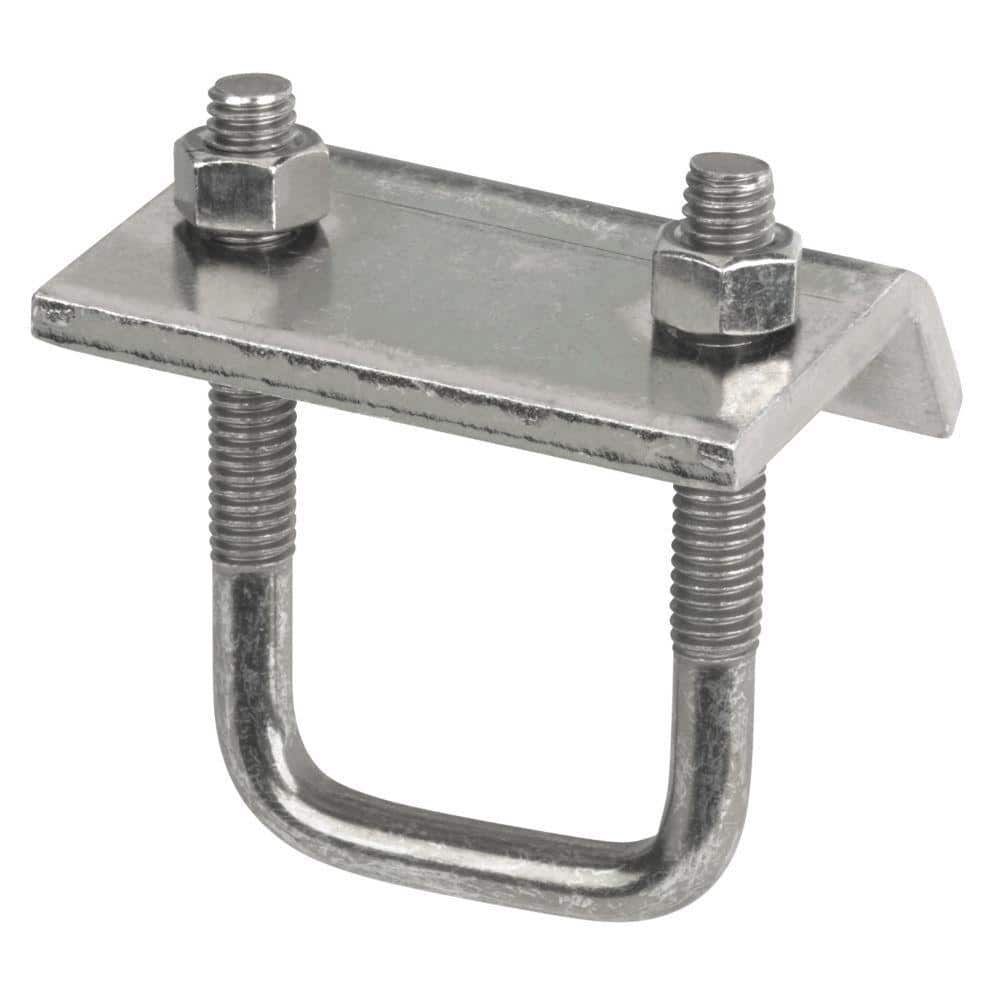
The panels mount are two each galvanized 12 gauge strut channels with 3/8 x 1" bolts, washers, lock washers and nuts. The strut channels are secured to the pipe with 5/16 u-bolts. This will allow you to change the angle of the panels as needed. The adjustable legs are Adjustable Single Channel Brace's for strut channels., and 1-1/2" and 1-1/4" square tubing. See pictures.

I just rebuilt this yesterday with my wife. We went from two panels to three per row as we just took delivery on 6 more panels. This set up will allow us to install twelve panels on a spot measuring 26' x 10'. Our original six panels were reconfigured from two stack to a three stack in about 6 hours. We are going to do the new panels in the coming days. Today is out due to rain. Hope this helps.
@Repro really impressed with your ground mount. Thanks for sharing the details. I am putting together something similar and may borrow some of your design, especially the fence rail pivot point for the front.

Two questions, if you would be so kind:

1 - Where would you recommend I source the Adjustable Single Channel Braces that attach the rear legs?

2 - Could you clarify how the rear legs are secured to the ground, if at all?

Much appreciated.
The adjustable legs are only square tubing in two sizes sliding into each other. They are available at most chain hardware stores. I picked mine up at a Home Depot near me.


I have them anchored to the ground with 36 inch rebar pounded in at an angle at the very base of each leg. The legs are clamped to the rebar with strut clamps.


That is my solution till summer. It does work as we had several storms with high winds that literally lifted up the panels. These keep them very secure to the ground at wind gusts of 65mph. In spring we regularly get storms with winds like that, and I feel confident that they will hold.
Thanks very much.

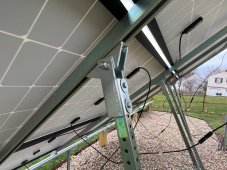
I misnamed the part I was referring to sourcing, sorry. The one pictured here that attaches the legs at the pivot point is the one I am inquiring about.
 

Attachments

  • IMG_4818.jpg
    IMG_4818.jpg
    694.3 KB · Views: 20
Last edited:
Back
Top