


You are using an out of date browser. It may not display this or other websites correctly.
You should upgrade or use an alternative browser.
You should upgrade or use an alternative browser.
I suck at fabrication
- Thread starter John Frum
- Start date
Can't measure.
Or cut straight
Or see straight
Threads I can strip
Bolts I can break
Welding was a big mistake!
God damn can I relate to this! :D
MrNatural22
?SW sunshine =⚡️⚡️lit up thru the darkness✌️
Dance dam it dance ?

Deleted-User
New Member
- Joined
- Oct 18, 2019
- Messages
- 144
Sign of a true craftsman...it's all in the technique.
ArthurEld
Solar Wizard
Mechanical and metal working are my trade. I have long hair. 


Hedges
I See Electromagnetic Fields!
- Joined
- Mar 28, 2020
- Messages
- 20,577
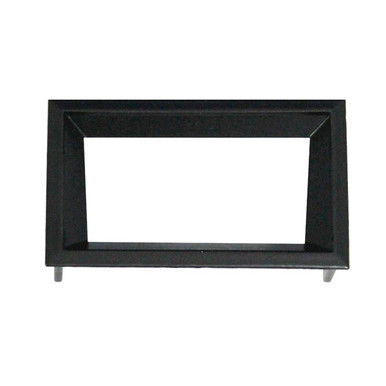
2000 Series Bezel Mount Kit
Hoyt Meter's 2000 Series Bezel Mount Kit is die cast black with positive locking tabs works with our 2018, 2025, 2026, 2035, 2036, 2045, and 2046 panel meter series. Kit includes mounting hardware.
 www.hoytmeter.com
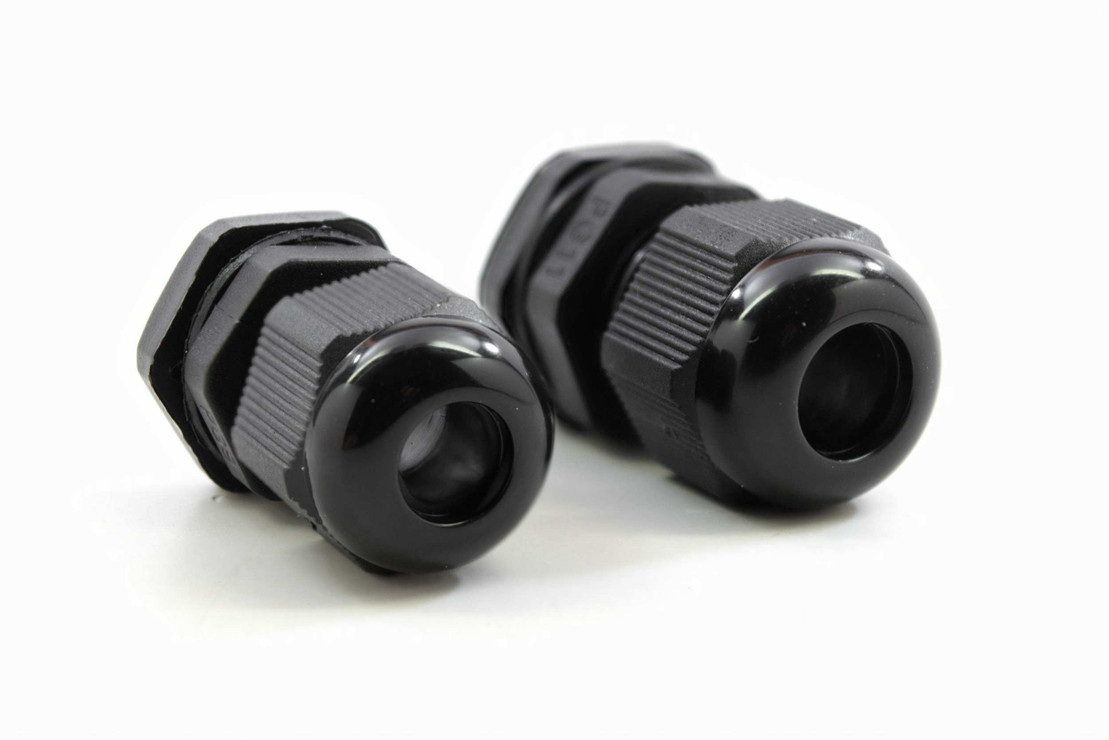
Cable Glands - Winnipeg HID
Run your halo, demon eye, LED strip wires out of the headlight like a pro with these cable glands! Designed to make a watertight seal around the wires and have big enough hole to fit many wires at once, perfect for retrofitting headlights. Available in three sizes 7mm, 9mm and 11mm. WHAT'S...
 winnipeghid.ca
Pictures may be worth a thousand words, but I'm still at zero and could use a narrative.
I tried to build a tilt mechanism/bracket for my full size solar panels using metal that I had on hand. I was almost done and scrapped the whole thing. It was too flimsy. I'm working on another design that is definitely at the opposite extreme.
I tried to build a tilt mechanism/bracket for my full size solar panels using metal that I had on hand. I was almost done and scrapped the whole thing. It was too flimsy. I'm working on another design that is definitely at the opposite extreme.
John Frum
Tell me your problems
- Joined
- Nov 30, 2019
- Messages
- 15,233
Pictures may be worth a thousand words, but I'm still at zero and could use a narrative.
The box on the left melted under the cutting wheel of my Dremel tool.
The Dremel feels so awkward to me I can't decide which hand to use it in.
The walls on the box on the right are too thick for the chosen strain relief so its worse than useless.
John Frum
Tell me your problems
- Joined
- Nov 30, 2019
- Messages
- 15,233
So the next problem is to mount the bezel mount, right?2000 Series Bezel Mount Kit
Hoyt Meter's 2000 Series Bezel Mount Kit is die cast black with positive locking tabs works with our 2018, 2025, 2026, 2035, 2036, 2045, and 2046 panel meter series. Kit includes mounting hardware.
I feel your pain. I thought I could simultaneously learn to weld and weld my panel rails onto my shipping container.
I learned I suck at welding.
The original plan was to drill and tap the top rails of the container - even had the rails pre-drilled for that. Discovered that was the right way to go... next two mounts combined took about 1/4 the time as the first mount.
I'm so concerned about my welds, I'm going to go back and drill/tap to secure those rails as well.
Dumb.
road glide
New Member
I thought SMA Sunny Boy attachment points were weak....Two 5/16 bolts in the lower housing?? Fabbed a strap to the superstruts for the upper part........
What do you think?
What do you think?
Hedges
I See Electromagnetic Fields!
- Joined
- Mar 28, 2020
- Messages
- 20,577
Like a self-rimming sink, the bezel is supposed to cover your rough hole.So the next problem is to mount the bezel mount, right?
I usually drill holes for corners and saw between them. Sawzall was my standard tool, but now have portable band saw which easily makes straight cuts in steel but isn't as good at curves for cuts which don't terminate at an edge.
There are of course punches for "D" connectors etc.
I use hole saws or a "Slugbuster" conduit knockout punch for sheetmetal.
Hedges
I See Electromagnetic Fields!
- Joined
- Mar 28, 2020
- Messages
- 20,577
I thought SMA Sunny Boy attachment points were weak....Two 5/16 bolts in the lower housing?? Fabbed a strap to the superstruts for the upper part........
What do you think?View attachment 24740
I suppose you also attached it at he bottom (outside what's visible in your picture) so it can't hop off?
No bracket came with it?
Those brackets are reverse of what I see on the OptiCool enclosures. Mine have a large recess and bracket has sheet metal bent out to fit inside.
The bolt holes on bottom just keep it from swinging out, don't carry the weight.
My first Sunny Boy SWR2500U didn't have brackets, just tabs with holes. So I bolted to slot nuts in the unistrut.
The newer ones including Sunny Island have brackets so I hung unistrut with vertical pieces of unistrut attached to the bolts which held a ledger board for the deck. Bracket bolted to strut with slot nuts, and 150 pound inverter hung on the bracket.
Last edited:
road glide
New Member
Yes attached at bottom with 2 bolts.......They now have two bolt holes in the lower connection housing. They take two 5/16 bolts. Those are fastened to the bottom strut. The top strut is what is in the picture...kinda like stirrups??....so I bought some strap at the local hdwe store and made up the attachments, ground the corners, painted and installed with nylon locking nuts...
Now have 4 points of attachment high and low....
Now have 4 points of attachment high and low....
Hedges
I See Electromagnetic Fields!
- Joined
- Mar 28, 2020
- Messages
- 20,577
The box on the left melted under the cutting wheel of my Dremel tool.
The Dremel feels so awkward to me I can't decide which hand to use it in.
The walls on the box on the right are too thick for the chosen strain relief so its worse than useless.
I suppose the shape of the panel meter covers slightly rough hole like the bezel would.
Abrasive blade on the dremel? High speed, melting.
A end-mill type cutter would have much lower velocity because small diameter. Can't use it by hand or it will wander badly, but with a guide it might work. I've used a router table with guide for cabinet parts. Similar are available for dremel (also a CNC setup)
May also be able to cut with a hot wire.
Hedges
I See Electromagnetic Fields!
- Joined
- Mar 28, 2020
- Messages
- 20,577
When using a guide, place it where if router wanders off it cuts scrap and not the good part.
Pick direction of cut so router/Dremel is pushed against the guide rather than trying to wander away.
For instance, I've used an 8' straight edge clamped to a laminate sheet (with 2x4 on back side) and cut with the router.
A Skilsaw would cut straight but chips the surface. Router bit cuts clean. (when laminate is already bonded to something I cut from the backside with Skilsaw.)


Similar threads
- Replies
- 7
- Views
- 182
- Replies
- 96
- Views
- 3K
- Replies
- 10
- Views
- 660