


WA5IDX
New Member
- Joined
- Oct 2, 2020
- Messages
- 78
I searched the forum & may have missed the info but here's the question(s) I need to answer.
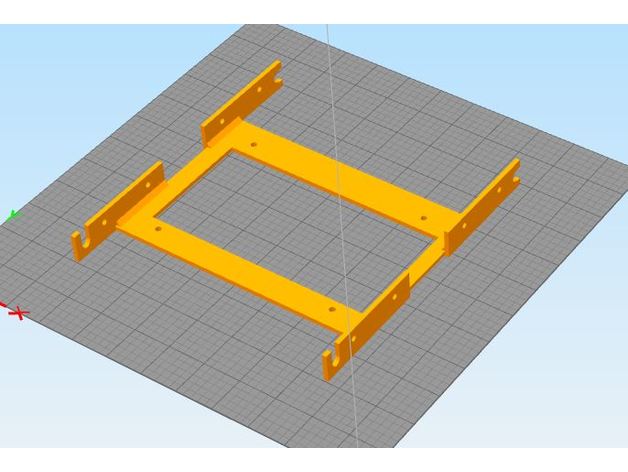
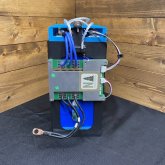
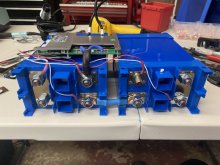
I have two Overkill 12v 120A BMS units to build my RV Battery Packs with. I'm struggling with the mounting of these since there are no mounting tabs, etc.
I would also like to add heat sinks to them as part of the mounting arrangement.
Anybody know what pitch the M3 screws are? They will need to be replaced with much longer ones since the 6 screws go thru one AL plate and thread into nuts embedded in the opposite side AL plate.
Has anyone else added additional heat sinks to the units?
Thanks


")
