Here's how I calculated mounting strength on my motorhome. I'm no engineer, but I can do basic calculations based on test data.
Based on the wiki here on wind loading panel testing on a sloped roof, and the 3M testing stats on glazing in high-rise buildings, I estimated that at 90mph apparent, there could be up to 250psi of lift on a 26x50" solar panel 6" off the roof.
The 3M stat showed 18psi strength, what they use for rating glazing for wind loading.
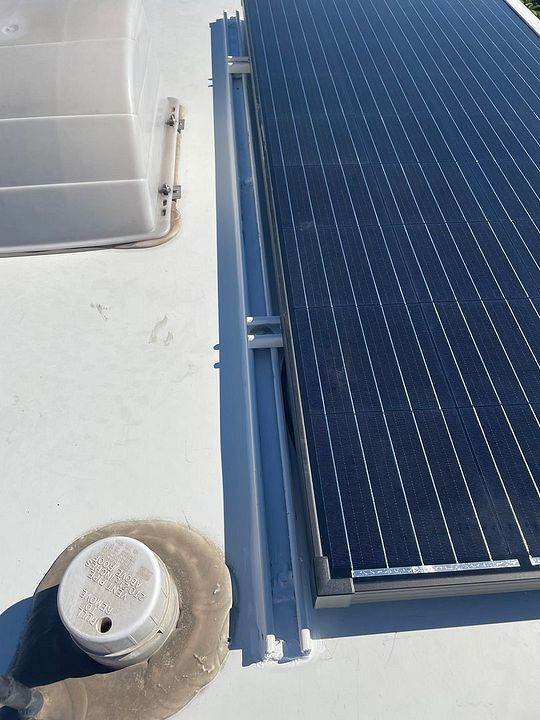
The way I calculated my mounting struts was 1.5" x 60 x 2 struts x 18psi = 3240 pounds of strength. If the potential is 250lbs of lift from a headwind at freeway speeds, I was shooting for ten-times strength redundancy in the mounting. Due to the slotted holes I estimated that I could not get the full strength of the strut mounting surface, so even with half that, it's still six and a half times. I was confident that I hit that. Plus I mounted my panels 1.5" of the roof - the height of one strut crossing the other.
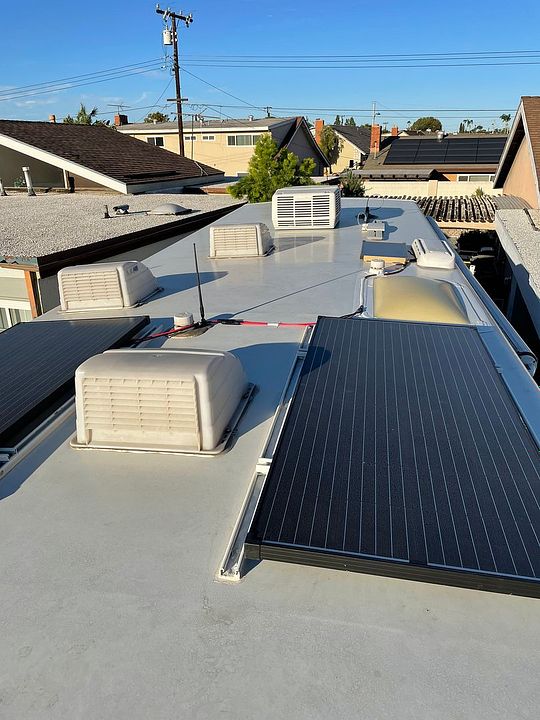
As mentioned, I also put 3 #12 self-tapping screws in each strut - the fiberglass roof is very thin, and it's applied over very thin luan plywood, but that large of a screw gripped quite well, and ensured I got good contact pressure on the tape on my struts. Then sealed over the screws with sikaflex urethane caulk. If nothing else it ensures the fiberglass is held to the plywood substrate. Under that is just expanded foam insulation. But it's plenty rigid to walk on, although I don't like traffic up there such as for event viewing and such.
I don't think you could pull my panels off the roof without tearing half the roof off. I have over a thousand miles of freeway traveling with them in headwinds up to 40mph. I no longer worry about them, but will keep a close eye on the sealant and mounting area.
I also applied 1" wide eternabond tape to the inside of the struts to seal the slotted holes that exposed the VHB tape underneath.
This is for a fiberglass or metal roof. For a rubber sheeted roof you do need some way to mechanically fasten your mounts.


")