diy solar

diy solar

Question about: Solar Panel install on whole roof of an RV

aren't you cutting a hole for the A/C Unit? Is the location fixed?

Here my take on aerodynamics the solar hump:


assuming that the right side of the picture is forward of your camper. You could angle the first panel to protect the following panels and the remaining panels are flat on the roof. So basically - the first panel is a spoiler while driving down the road and directing the wind up.
Move the A/C unit further forward - so that is only underneath one panel - the first one.
View attachment 78325
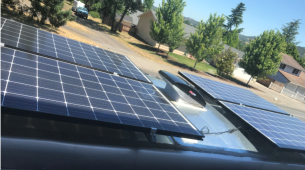
One advantage of mounting the panel at an angle is the rain will clean them. Mine are FLAT and the rain can't run off 100% because of the lip on the panel frame - so water pools / evaporates and dirt residue is left.
1641333680772.png
Maybe tip Panels 2-4 up a bit as well and make sure Panel 1 and AC don't shadow Panels 2-4 as any shadow, even a few square inches will cut power to nothing. And as a bonus you might get just a bit more power if you park facing the sun :)
 
One advantage of mounting the panel at an angle is the rain will clean them. Mine are FLAT and the rain can't run off 100% because of the lip on the panel frame - so water pools / evaporates and dirt residue is left.

Maybe tip Panels 2-4 up a bit as well and make sure Panel 1 and AC don't shadow Panels 2-4 as any shadow, even a few square inches will cut power to nothing. And as a bonus you might get just a bit more power if you park facing the sun :)
Good points!
 
Here's a revised "top view" with the A/C unit turned around, so that it's completely under the first panel.
- The location of the 14"x14" A/C opening is fixed (from factory-installed A/C)
- The idea is to follow the proposed "hump" pattern: The first (frontmost) panel goes from 6" to 8" in height, and all others are stand at 6".
1641393823882.png
 
Last edited:
Here's a revised "top view" with the A/C unit turned around, so that it's completely under the first panel.
- The location of the 14"x14" A/C opening is fixed (from factory-installed A/C)
- The idea is to follow the proposed "hump" pattern: The first (frontmost) panel goes from 6" to 8" in height, and all others are stand at 6".
View attachment 78391
picture doesn't work.

But 6 inch sounds distance sounds much better then 12. Always think about the lever arm that creates, the panels are like huge parachutes - the further the distance - the more force they exert on the mounting points.
 
We also have a Sprinter based RV.
They all have different roof mounted arrangements, so there is no one solution that fits all roof layouts.
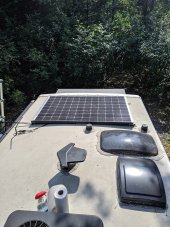
Ours has one big open space at the rear of the roof.
Seemed perfect to put one big panel.
I did not want many smaller panels all over the roof, as I need to be able to walk up there to perform maintenance and repairs.
In 2019, a 330 watt 69.7 Voc Panasonic was the most powerful option.
Now there are much more powerful panels available in that form factor.
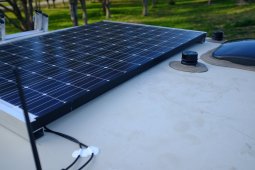
Made a frame out of Aluminum, mounted as low as possible, but still allowing airflow under the panel.
Stuck it in place w/ 3M VHB tape.
Drove the RV from Florida to Alaska and back, panels still in place after many windstorms.

dscf3447 copy.jpg

Denali_roof_pv_cleaning.jpg
 
picture doesn't work.

But 6 inch sounds distance sounds much better then 12. Always think about the lever arm that creates, the panels are like huge parachutes - the further the distance - the more force they exert on the mounting points.
The picture should work now (I hope, ?).
 
It not the VHB to roof membrane one's need to worry about. It's the roof membrane to plyood.

I lifted the back of a solar panel on a 8yo RV where the VHB held onto the membrane but the membrane wasn't holding onto the plywood
In my case, the rooftop is fiberglass material, so I hope this tape will work (please let me know if there's a better alternative).
 
What I did was contact 3M directly and asked. On my camper the question I asked was, “What tape does 3M recommend for attaching an ‘aluminum’ frame to a ’TPO’ roof on a camper?” I went on to more precisely explain my installation (lengths, widths, weights, wind speed, etc.).
They replied within a couple of days that matched what I had researched on the 3M website. 3M has a PDF (which I can’t find naturally) that compares their VHB tapes and their mechanical properties (shear, pull, temps, subtrate chemistries, etc.).
 
Well,,,, it certainly “LOOKS” to be adequate based on that PDF. That’s why I suggested to drop them an email and ask. It’s also why I asked @pvdude what tape he used (although @pvdude may not remember).
What was recommended by 3M for my aluminum tilting panel mount to TPO roof membrane was 1 inch 4941.

I also HIGHLY recommend using some 3M Primer 94 on both surfaces. They come in different configurations on Amazon. I bought some 0.2 oz pens and they worked well.
Roughing each contact surface with 150-220 sandpaper is also recommended.

Regardless, those are some big sails up there and I would suggest you tether them to the van in some way. I ended up saying “f” it and went ahead and drilled a hole through the camper roof for each front mount and bolted them down (had four).
 
I used 3M 4229P.


Fiberglass RV roof, Aluminum PV mount.
Very important to clean the surfaces that the tape contacts.
4229P has different types of adhesive on each side:
One side is for the metal, the other is for the fiberglass.
I also was careful to use enough square inches of tape to provide the breakaway strength required.
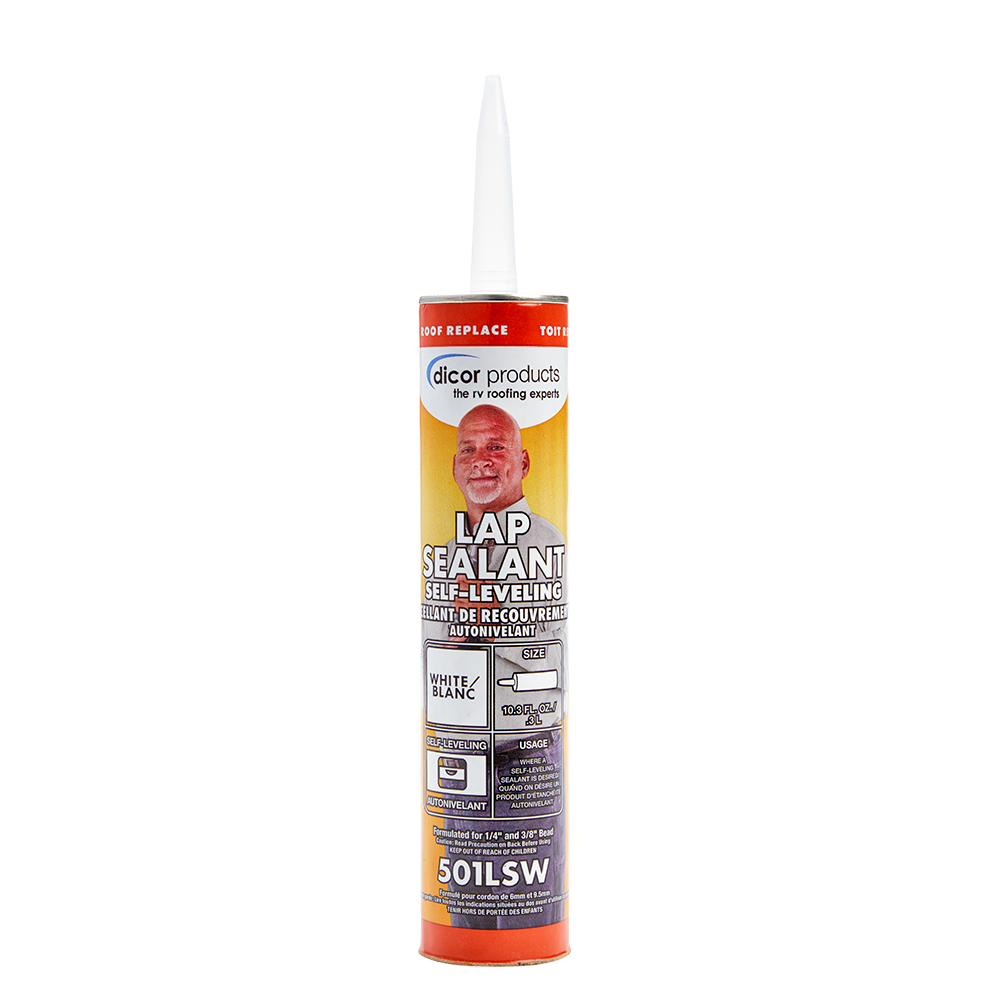
Sealed the finished edges of tape w/ Dicor self leveling lap sealant, so water & Sun exposure would not degrade the tape via the exposed edges.

 
It not the VHB to roof membrane one's need to worry about. It's the roof membrane to plyood.

I lifted the back of a solar panel on a 8yo RV where the VHB held onto the membrane but the membrane wasn't holding onto the plywood
same here - I'm not trusting the TPO EPDM or thin Fiberglass of RVs.

I once lost my complete fiberglass roof of a 30ft Class RV while driving down the interstate. We had a Tornado not quite touching down right next to us.
Wush and a 30 x 8 ft long piece of my RV was gone and was driving a very long convertible.
We never found the roof - was gone :p

A Sprinter is different - that's all Metal
My Coach is built by Winnebago (Navion 24D), and only the Chassis is from MB-Sprinter ... So the roof shell is fiberglass.
I'm not sure how I could bolt down the Aluminum structures, but if that's possible I'd certainly feel more at ease.
 
My Coach is built by Winnebago (Navion 24D), and only the Chassis is from MB-Sprinter ... So the roof shell is fiberglass.
I'm not sure how I could bolt down the Aluminum structures, but if that's possible I'd certainly feel more at ease.
I think the Navion is a much thicker Figerglass Shell then the regular "Roofing Fiberglass"


But I'm not sure - the roof which flew away of was on a Winnebago Brave brother (Itasca Suncruiser)
 
I would call Winnebago or join a Winnebago or Navion specific forum. I have a Lance and can get the engineering CAD drawings specific to my year and model. But I agree with all the others talking about the fragile nature of roof materials and/or membrane outside of a structural metal roof. I’m even skeptical of the “rubber nuts“ manufacturers use although there are tens of thousands of RVs on the road that used them.
 
Back
Top