Firetodd
New Member
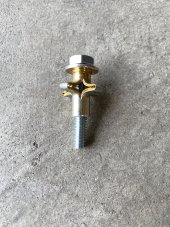
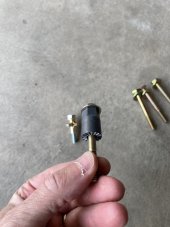
If anyone think lags bolt into rafters is less ideal than well nuts or plus nuts, let me know….


If anyone think lags bolt into rafters is less ideal than well nuts or plus nuts, let me know….
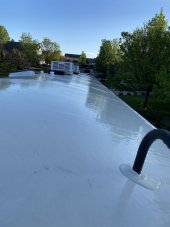
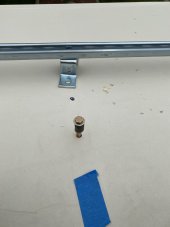
That scares me to think that I could split the assembly.You may wish to look into the ceiling area to see if you even have rafters. Some manufacturers use aluminium trusses, some wood truss and some just a plywood/styrofoam sandwich. See if you can take out a speaker and take a look.......if you have ceiling speakers. If you put a fat lag into some of the assemblies it may just split.
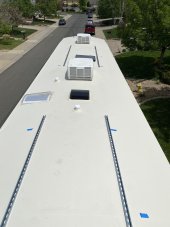
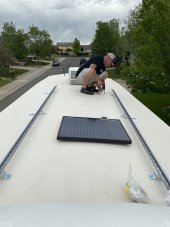
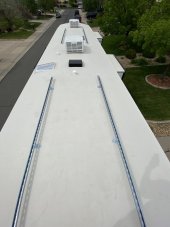
One poster here contacted his manufacturer and they sent him a layout of the roof of his trailer.
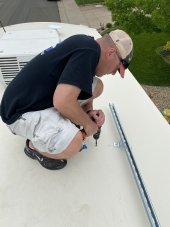
Predrill the holes using a 5/32nd bit for 1/4 inch holes. Be sure to use a bit depth stop or piece of tape so you don't drill too deep or you will find your ceiling is ventilated.If anyone think lags bolt into rafters is less ideal than well nuts or plus nuts, let me know….

If anyone think lags bolt into rafters is less ideal than well nuts or plus nuts, let me know….