Bob142
Build more, learn more.
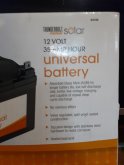
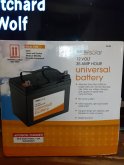
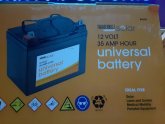
Depth of Discharge. Typically in lead acid batteries you want to only use about half the capacity to make sure you get the longest lifespan. The deeper you discharge the battery on a consistent basis, the shorter the battery life.I understood all that besides the "DoD of 50%"
What is DoD?
You'll want to take a look at the recent coffee maker thread below. Many use more power than you might think and may influence your inverter size. It's got some great suggestions for low power coffee making:Tbh this will basically just make me some coffee,

Coffee Maker
Forgive me if you are on all of the different Facebook DIY Solar sites etc and saw my request for this already... I've done a good job at our new cabin of selecting all low wattage LED lights etc... The 1 guilty pleasure we would really like to pull off is a coffee maker. We already have a...
 diysolarforum.com