Wow, there is a ton of info in the display menu; I'm a bit jealous.
Few things I noticed glancing at them.
Under the grid the voltages don't add up. 251.5 doesn't equal 122.6 + 123.8, likely no big deal but I wonder where it's getting 251.5.
Under battery, your cutoff is 2.5V / cell. I would increase this.
Max cell is 3.39V min is 3.327V, keep an eye on min and max when charging. I suspect you'll have to float for a long while to get them back in balance. I dealt with this on my diy pack I didn't top balance (I know I should have since my BMS doesn't have active balancing.
Under discharge your cutoff is 46V, this is better than the 40V under battery, but your stop discharge is still 40V. (remember I don't have one of these so I don't completely understand them).
Under Charge, reduce the 56.4V absorb if you have issues with high cells (the deviation between min /max cell voltages I mentioned above).
Depending how many batteries you have your charge and discharge amps could exceed recommended C rates for the batteries.
Sorry if that's hard to read, I'm bouncing back and forth between tabs on my phone while looking at your settings.
All in all I don't see anything super alarming. If the system is working for you and you're not having any issues let it run.
A year ago my head would hurt trying to make sense of everything... If you're in the same boat it will get way better and all make sense in time. When you get frustrated walk away and come back to it.
Keep posting questions you have, it's fun learning. Most importantly, don't get shocked ?.
Ps - there is a Lux Power thread that I was following for a while with a plethora of information on this inverter, a lot of it may be outdated by now since there have been so many firmware updates.
I hope everything is figured out quickly so your biggest concern can be what loads to run when your batteries are nearly full so you aren't wasting all those potential photons...


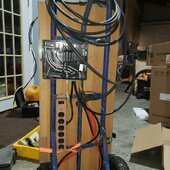
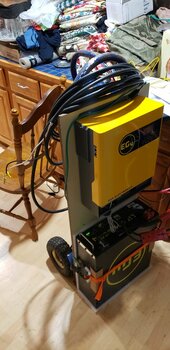
 the clean look of your setup I recently "2 weeks ago" received my 20k+ of solar crap from SS and now have a new hobby