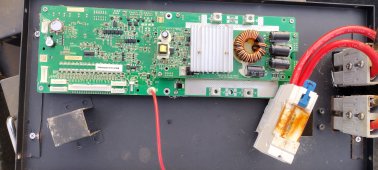
Thanks all. It is a 16s100a BMS, so lifepo4?
If it's 16s, then that's a good guess but....
From everyone's input, sounds like the best start is to tear down to pack level (nominal 3.2v?) and start testing from there. I will look on YouTube for guides, but I can test each pack by going through a discharge/charge cycle and see if it holds the correct charge voltage (depending on chemistry)?
You need to figure out what kind of cells and the XsYp before doing any charging. This will tell you what kind of charger you need. Above all, you do not want to *overcharge* lithium-ion cells.
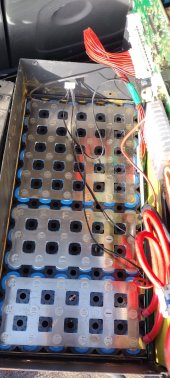
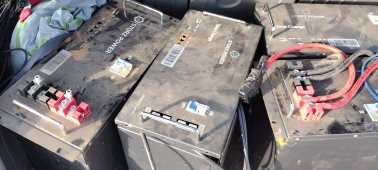
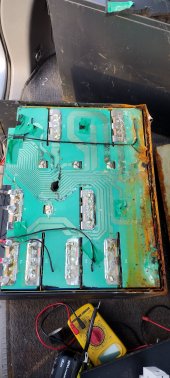
A battery (from the pic above) will have groups of parallel cells hooked in series - s (series) and p (parallel). For example, if you have 16s (16 parallel groups of cells in series) and each parallel group has 10 cells then you have 16s10p = 160cells total. You can look at how they're hooked up, and count them to figure the s and p.
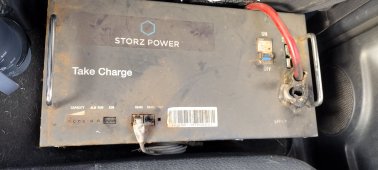
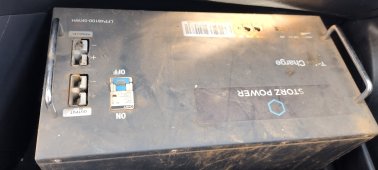
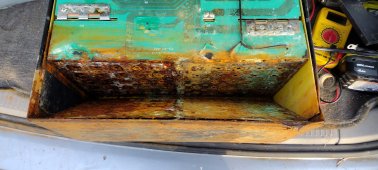
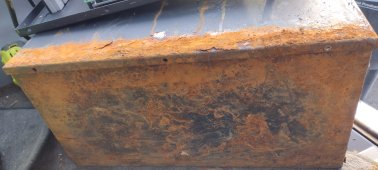
Look at the battery casing to see if it says LifePo4 and/or ah or wh. If that fails, look at the individual cells and find the labeling and look up the specs for it. Post detailed pics of the casing and/or cell labels and folks here can try to help with identifications.
If any packs don't hold a charge,
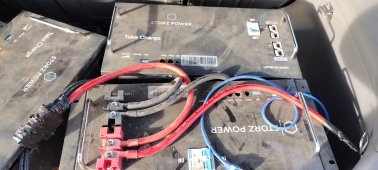
From you're description, these are16s
batteries (not packs) according to you're comment above. When testing a 16s battery, you need to have a working 16s BMS else you might over-charge one or more of the parallel groupings in the 16s.
is it worthwhile to tear those ones down to cell level and test each cell?
Cell level? That's a whole different effort than testing a full battery (16s).
I would
suggest you consider whole battery approach first....
- Figure out the cell type (possibly LifePo4) and figure out the XsYp and total number of cells. You *must* be sure what you have - NMC or LifePo4 before proceeding with any testing.
- The battery case may have an overall ah or wh description - and you can infer the capacity of each cell by dividing the number of cells into the overall battery ah or wh. Look at any writing/labels on the individual cells - and lookup the specs / capacity. This + the XsYp will give you critical details to test capacity.
- You'll need a Xs charger and a Xs BMS. You may also need an individual Xp (cell) charger if they groups of parallel cells are way out of whack.
- You'll need a discharge load / measurement method to get the capacity.
- A BMS will help find Xp (group of parrallel) cells that won't stay balanced - e.g. possibly due to self discharge.
If you tear it apart to do cell level then you need to think individual cell level tester / charger + re-assembly - it's a different scenario and an order of magnitude more work.