MASolarGuy
New Member
- Joined
- Nov 30, 2019
- Messages
- 83
"Yes, each sell will have its own fuse using the battery hookup fused nickel sheets. I believe they pop at anything over 10amps directly to the cell."
Ahh, so there is method to their madness! And here I thought that was just mechanical flexibility, which also happens to provide thermal relief if you do solder.
Is that supposed to be nickle throughout, not just nickle plated something else?
If you can identify it you can maybe find its ampacity.
Perform 4-wire resistance measurement to be able to calculate voltage drop across it. The geometry is tough, but could could measure from battery terminal to body of strip, also end to end. The end to end resistance would be real good to calculate voltage sag along the strip. Just build a ladder in Excel of cell current and strip resistance. Add the copper wire in parallel.
You may find that at 120 amps there is a significant voltage difference between cells due to not having perfectly balanced resistance.
Yes, the nickle strip has its own ampacity restrictions and resistance. Eyeballing those wasp waists vs. the spiral fuse, they can't handle more than 100A. If someone tapped off the end for 125A without soldering a copper wire along the way, it would pop.
I still say the best assembly would be to use one row of that strip for a row of 34 battery positive terminals, and the other row for a row of 34 battery negative terminals. Then for the terminals at last group of batteries each end, unravel a 2/0 battery cable, insulate each twisted bundle, and solder each one to the strip between cells 1&2, 3&4, etc. That will provide absolutely perfect symmetry.
It appears 2/0 has 19 twisted groups. For 34p arrangement of cells you would connect 17 of those.
View attachment 20447
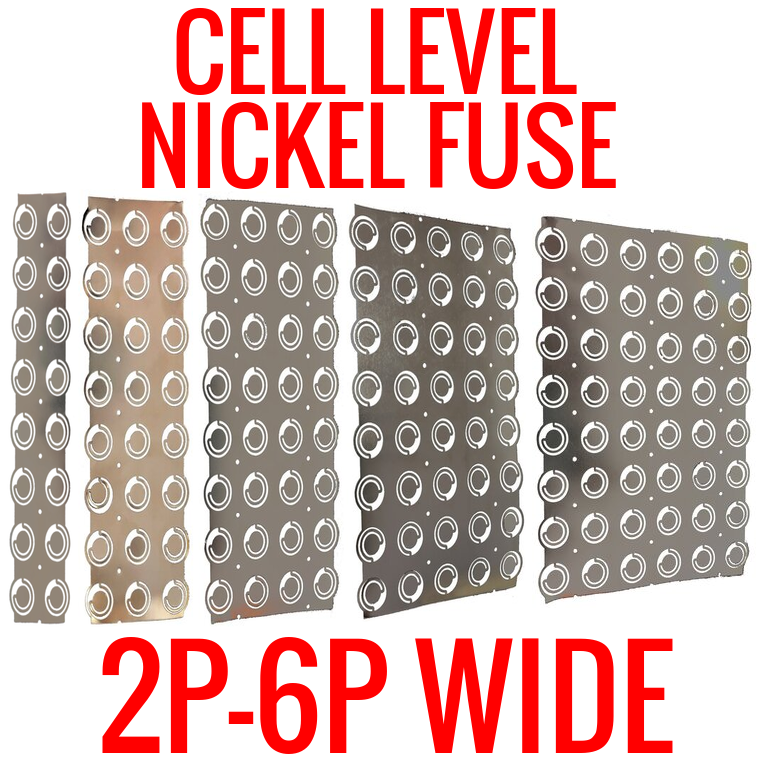
They are nickel plated steel. Here is a link with more info that you may find interesting. https://batteryhookup.com/products/...8650-cell-level-fusing?variant=29596921823311.
This was interesting:
" For example, if you had a 20 cell parallel pack 2 cells wide by 10 cells tall you can carry 6 amps from each row of 2 cells times the 10 rows tall for a total of 60 amps considering you connected your main positive or negative up and down connecting to the 10 rows to evenly distribute the 60 amps, 6 amps per row."
With mine being 17 rows, i should get 102amps if i run a bar down the middle? Ill also be running it the full length of both side, not just one.
Last edited: