I am still having a hard time with the comms from Seplos to SolArk, and I'm starting to think its because of the RS485 BMS I have.
Seplos doesn't seem to think that it is a problem, and the firmware flash I put onto it is why I cannot change the communication protocols in the Battery Monitor software, it is locked to the Deye comm protocol now.
I have the documentation from seplos and Sol-Ark as the following:
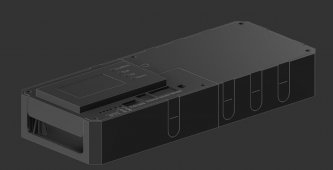
View attachment 119039
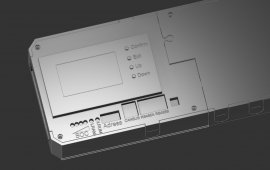
View attachment 119040
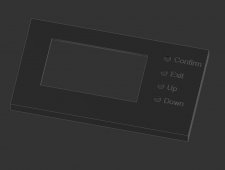
And this is how I currently have my RJ45 cable connected:
Seplos Pin 4 to SA Pin 8 (BLUE WIRE)
Seplos Pin 5 to SA Pin 7 (BLUE/WHITE WIRE)
Seplos Pin 6 to SA Pin 6 (ORANGE WIRE)
View attachment 119041
Can anybody tell me if I'm doing something wrong?


alliedlithium.com