diy solar

diy solar

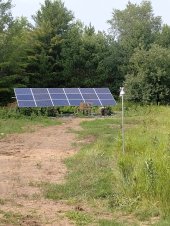
Ideas Needed Please: Ground mount with lots of ledge (bedrock) near surface

Living in northern climate, with long summer days, short winter ones, snow, wind and shallow rock, here are my suggestions:
1. Tilting racks. We use 30 & 60 degrees, the steep angle for winter leave the panels nearly self clearing.
2. Pick a racking system that will tilt easily - for your goals low physical effort required.
3. Once you pick the racking, then set the foundation design to suit. Bedrock makes a great foundation, just clear off soil and drill/grout as many anchors as required to support the rack in your conditions.
4. My go-to foundation system: remove soil in area of pier, drill in group of 4 holes 8-12 inches into rock, epoxy grout in vertical rebar dowels, place sonotube (cardboard round forms) over the dowels on rock, fill with concrete to level above surrounding soil level required for structure, set a shoe plate into top of the pier to recieve the structure. Backfill around the exterior of the pier with gravel. These are simple to do, with nothing more than a shovel, a hammer drill, and a wheel barrow for mixing. Carefull layout is the key, to have the piers in the correct locations for the structure. If your tilting racking system is supported by a row of single legs, you can either use larger sonotube diameter or place smaller ones in pairs to provide over-turning resistance. Solid Bedrock is a great foundation to anchor to.
Thanks! Very helpful!
 
I love a bedrock base. Just drill down in the rock with an electric jackhammer, blow out the hole and buy drop in epoxy anchors that contain a threaded rod. The key is to drill the hole deep enough to put the anchor in with a couple of inches of free space before the top of the hole and the epoxy. Leave the threaded rod long to leave space for leveling, then buy a bag of nonshrink grout, form up a base around the equipment baseplate and pour it to keep water from getting in there causing freeze thaw. Extra points if you use Wilson Sleeves. http://www.wilsonanchorboltsleeve.com/ as they allow the threaded rods to be moved to fit the anchor bolt holes.

The key with any support is you need to know how to calculate the loads n the anchor bolts and most folks do not so the trade off if go with "formula P" and just make everthing heavier than it needs to be.
 
and if anyone has additional ideas or comments, I'd appreciate hearing those as well
most folks do not so the trade off if go with "formula P" and just make everthing heavier

Having lived all my life New Hampsire and Vermont and been involved with construction for ~35 years… I’ve seen a lot of stuff that boggles my head.
Concrete, big rocks, and crazy ground structures just to anchor stuff because of ledge or other what have you rock or slope issues. “Big and heavy” is often the answer people arrive at.

I worked for a ski area a while, too. Rock and slope is a given at a ski area.

Anyways, if you have exposed ledge or ledge under almost-soil [hahaha :) that’s half of Maine ain’t it!] it’s ridiculously simple to anchor stuff to The Third Rock. Even granite hammer drills quite easily and readily. Boring diagonal holes in three axis and driving in steel rod or 3/4”+ rebar leaving a foot or more of length out of the rock will let you pour an efficient and small ~1-2SF footing with a galv bolt as an anchor pin welded to the steel anchor rods prior to pouring This is quick and dirty, simple, strong, and well within the frailest of budgets.

If similar methods (albeit with multiple 2” bolts or tabs/ears set in concretia) adequately support electrical towers, offloading shacks at the top of ski lifts, and osha-legal safety handrails high up ski mountains, then the swept area loading of a comparatively small solar area will be just fine.

An example of the durability of pins in rock is a ski patrol shack that had shifted on its poured footers and was precariously compromised. This was steep-cliff terrain accessible only be four wheeler and the proposed cost to replace the building by a contractor was “not in the budget.”
I said I could repair it. I used a cordless hammer drill to install quite long thunderbolt anchors to which I affixed threaded rod couplers. I used those to anchor 8x10 pressure treated cribbing and then leveled those with wedge-cuts of 2-by pressure treated. These then supported cross-braced 6x6 posts blah blah blah.
I don’t ski so I haven’t been up, but I’m told that this ski patrol warming shack I fixed (they wanted “just two more years”) is still in service almost 25 years later.

Anchoring to rock is simple and effective. No need for literal tons of ballast. You’ve got the whole world at your disposal.
 
Anchoring to rock is simple and effective. No need for literal tons of ballast. You’ve got the whole world at your disposal.

I think there's a lot of wisdom there. Thank you! I think I've been thinking that the overburden soil is a bigger problem than it is. Relatively easy to remove where necessary, and then we're at ledge. Time to pull out the big boy hammer drill, which I already have, and buy some epoxy and threaded rod.
 
Ledge and Rock is NH renewable resource ;) . Dig anywhere in NH and rocks are going to appear it is just how big they are. I think my new house lot may have ledge under it and thus goes any plans for full basement. Odds are radon will come along for the ride.

The mill I worked at in Northern NH was on solid ledge but sometimes the soils guys wanted to make a buck and would ask for extra anchoring if the ledge could possibly have cracks in it. One project required post tensioned rock anchors put in 45 degrees to the ground about 150' deep.

On the other hand I had recent client in Mass that wanted a power plant located on a particular grassy lot. I wanted to do test borings but they didnt want to spend the bucks until the project was approved. When the contractor started digging they hit 6 to 8 feet of old dumpings used as fill and then 20 to 30 feet of peat before hitting anything solid. That cost them close to a years delay and some very creative soils work to set a building with a gas turbine on top of. It just takes time and money ;)
 
Last edited:
Anchoring to rock is simple and effective. No need for literal tons of ballast. You’ve got the whole world at your disposal.
We thought hard about anchoring to the rock below, but decided on ballast. The rock we are sitting on is hard, but it is sandstone - much softer than granite that might be in other places. Assuming we could work around the unevenness of the surface, I would fear that the hammer drill would chip off in chunks, and in the end it might not actually anchor the array down very well.

Sitting in New Hampshire, I would assume we are talking about granite bedrock. That would be different.
 
Yes NH is the "granite state". Although losing our state symbol, the Old Man in the Mountain https://en.wikipedia.org/wiki/Old_Man_of_the_Mountain, to cracks in granite means not all granite is crack free ;). Weak rock can be used but it takes a different approach. Even with granite, there can be distinct cracks in between layers. The approach usually is to drill deep enough to turn the loading into a compressive load compared to shear load between the anchor and the walls of the hole. That means a deep hole with an anchor placed at the bottom of the hole with the majority of the hole grouted or sleeved so that the tension in the rod gets applied deep enough that even if the rocks have cracks in them, they still weigh enough to do the job.
 
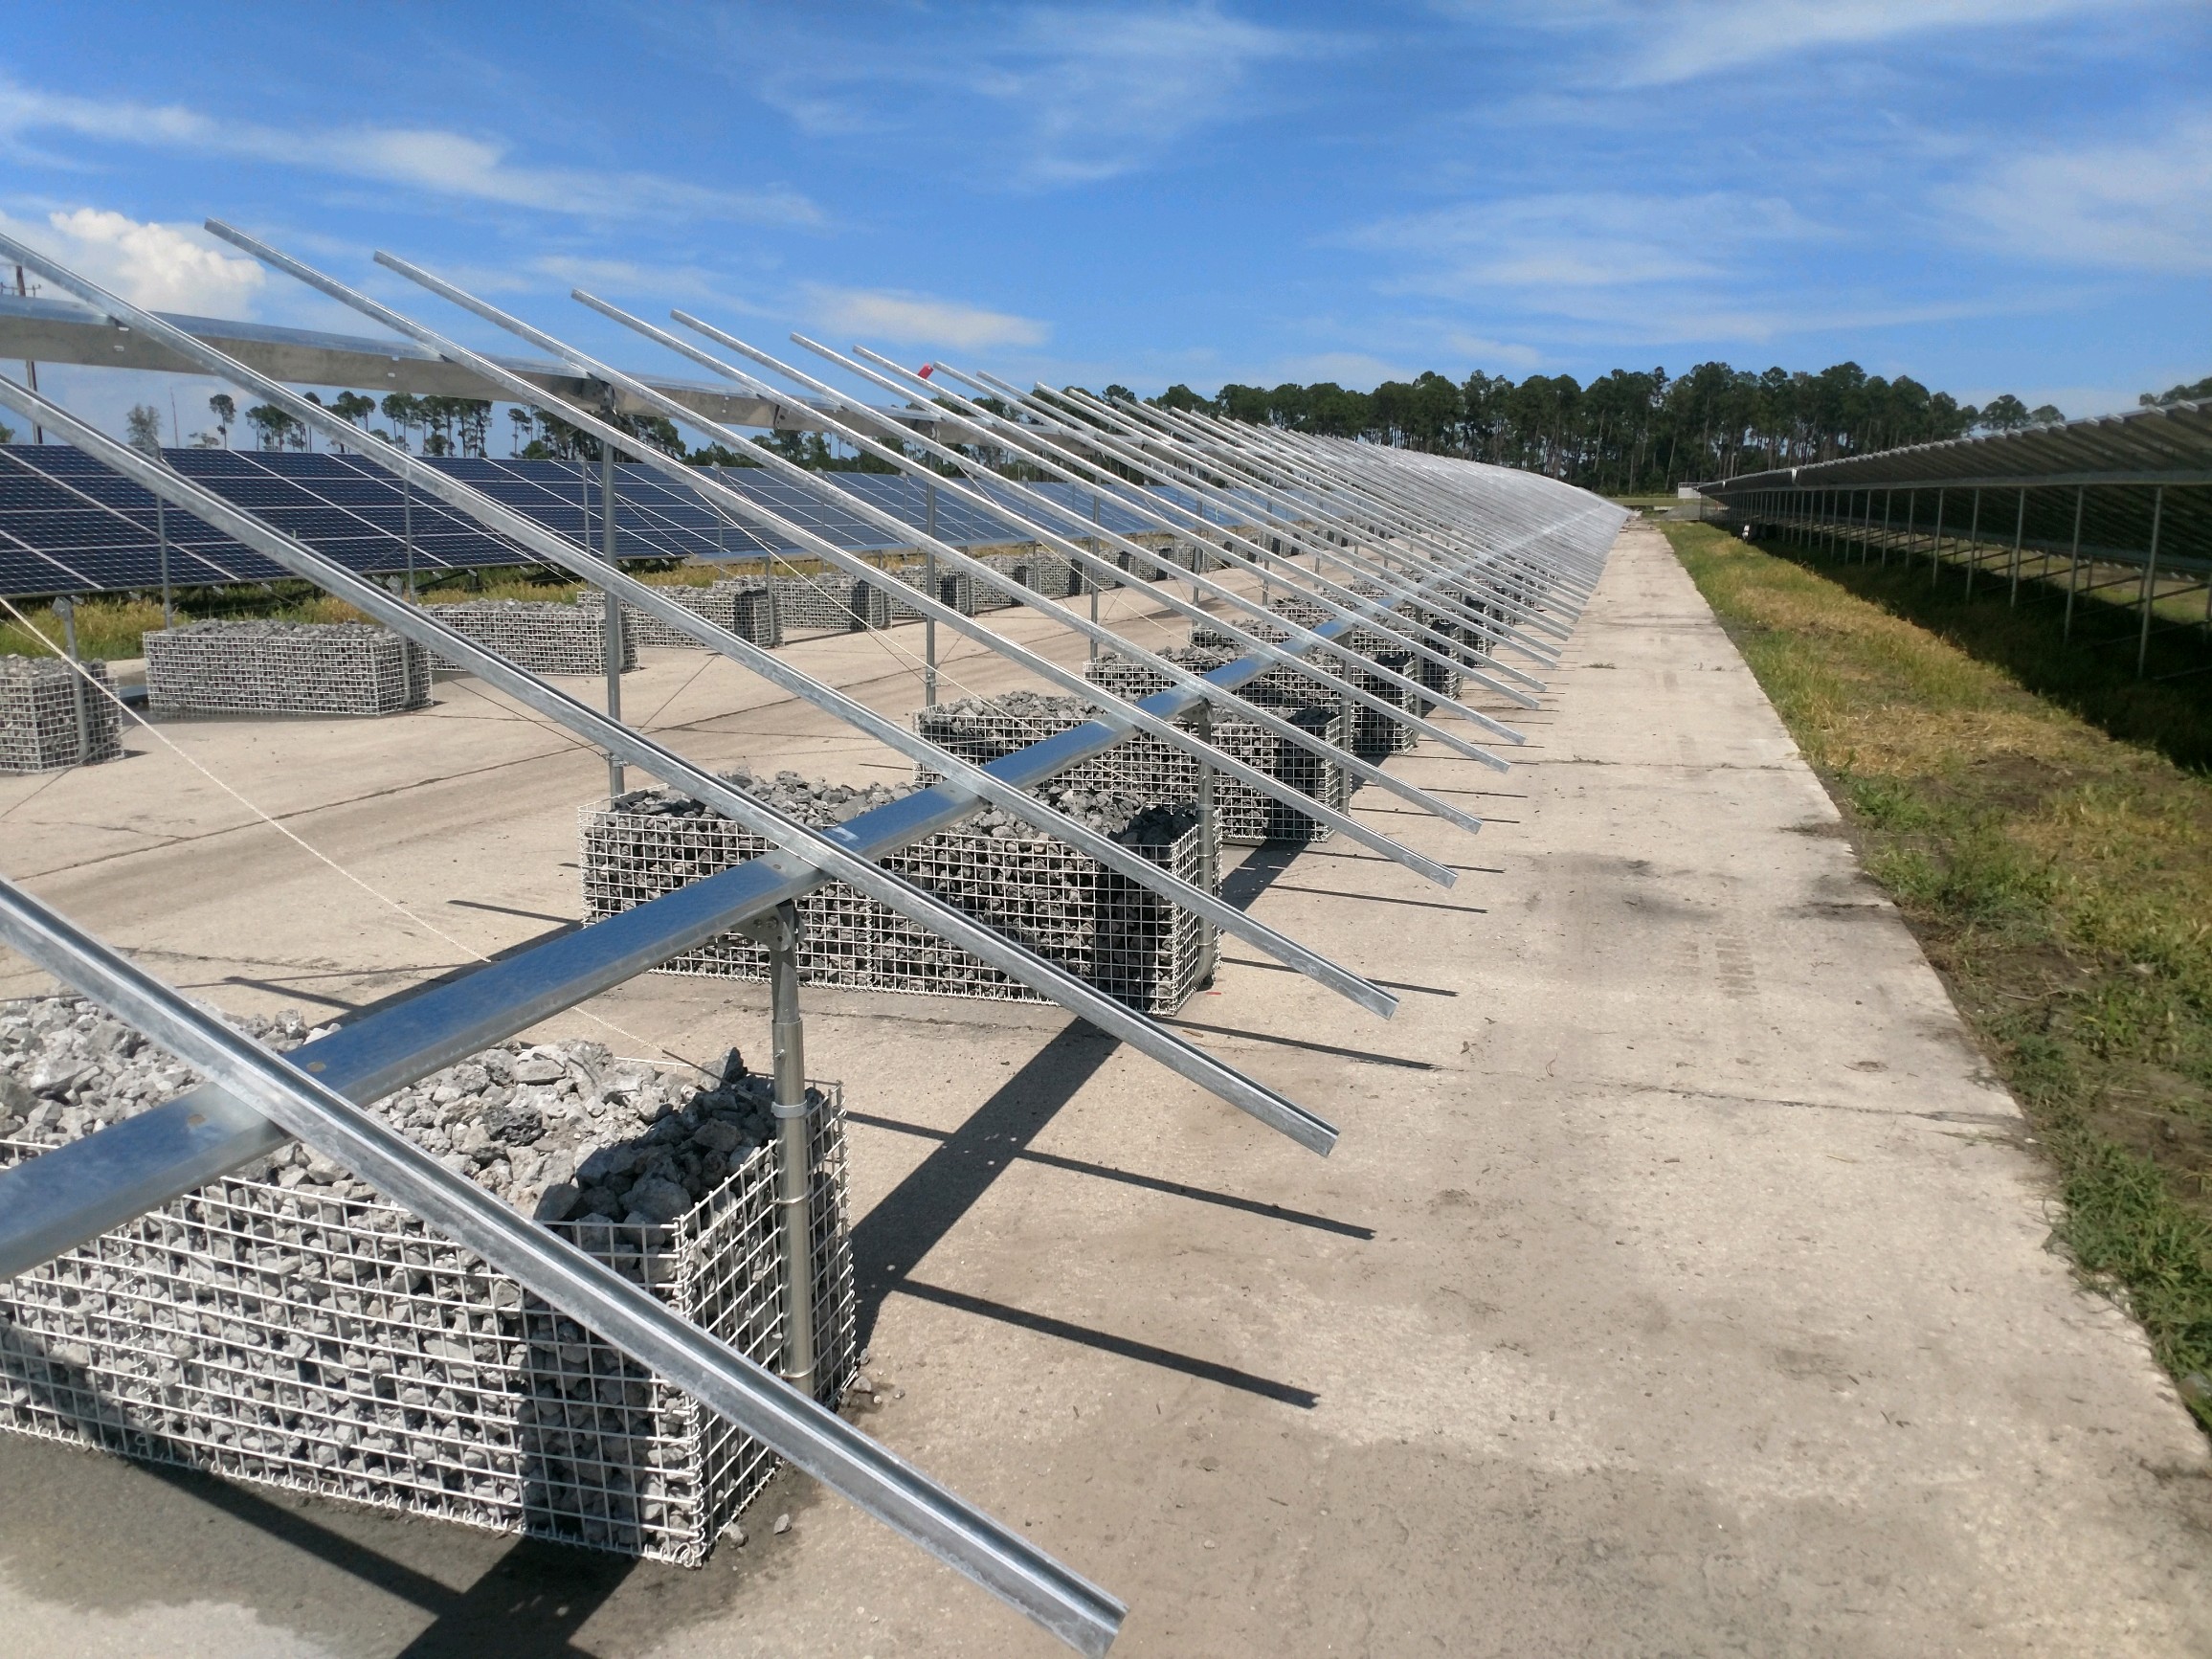
Use something like this, will meet your height and wind requirements, and you just fill it with rocks. Search for "ballasted ground mounts" on google, you'll eventually find the places selling them.

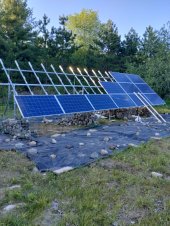
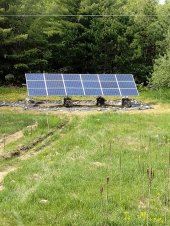
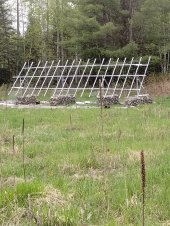
Or just make them from hog panel 4x16 from tractor supply. We have tons of rock on the farm and my array is 30 ft long. The concept is called a gabion basket. 2x2x8 foot. I designed mine to pivot for seasonal changes. Understood what you're going through. We're north of 45 degrees and two feet of snow is common.
 

Attachments

  • IMG_20230527_190120891_HDR.jpg
    IMG_20230527_190120891_HDR.jpg
    266.4 KB · Views: 23
  • IMG_20230529_161854570.jpg
    IMG_20230529_161854570.jpg
    346.9 KB · Views: 25
  • IMG_20230521_174526701.jpg
    IMG_20230521_174526701.jpg
    350.2 KB · Views: 24
  • IMG_20230723_165824710.jpg
    IMG_20230723_165824710.jpg
    352 KB · Views: 24
Back
Top