diy solar

diy solar

Ideas Needed Please: Ground mount with lots of ledge (bedrock) near surface

Madcodger

Solar Enthusiast
Joined
Aug 17, 2022
Messages
474
We're slowly building another house about 7 miles from our current home in the middle of a blueberry barren (field) in rural Maine, where we get only about 3-3.5 hours of usable sun in the darkest days of winter, and where it snows (sometimes a LOT). This will be our retirement home, so we're trying to minimize maintenance tasks, especially those that require a lot of physical strength or getting on a ladder. Rather than put our solar on the roof (two story house but with space for an elevator designed in), I'd like to use ground mounts, as I figure I can clear snow from a ground mount easily, without getting on a ladder. The only problem is, digging post holes is a real issue, as blueberry barrens have lots of ledge (bedrock, if you don't live in northern New England US) near the surface, and so I'm trying to figure out how to build a ground mount that can:

1) Just sit on the surface, without post holes
2) Support at least four 400-550 watt panels (so about 64 square feet). I'd need several of these to get to the 15-30Kw system we'll need, but I can connect these together as needed while keeping them physically separate if that helps the wind situation.
3) Be capable of withstanding winds up to about 60 mph, which will generally come from the back (north) side of the panels, unfortunately.
4) Have the bottom of the panels about 3-4 feet off the ground, so that there's room for big snowfalls and for the snow to come off the panels.
5) Be capable of a 60-65 degree tilt in winter, to aid in snow removal amd solar collection, but which makes the wind situation much worse.

I have access to a good supply of hemlock we can mill into lumber, which we often use instead of pressure treated wood for outdoor projects. That works great if kept away from ground contact via a small concrete pad such as a paver. I keep thinking that chaining wooden mounts to some heavy (500-750 pound) concrete blocks might work well, and I could move those around with the loader on my 40 hp tractor, but hours of YouTubing aren't showing me any great examples of this, so I figure there might be a reason for that. So... I'm coming to the collective brain trust here for ideas, please. Thanks in advance!
 
Last edited:
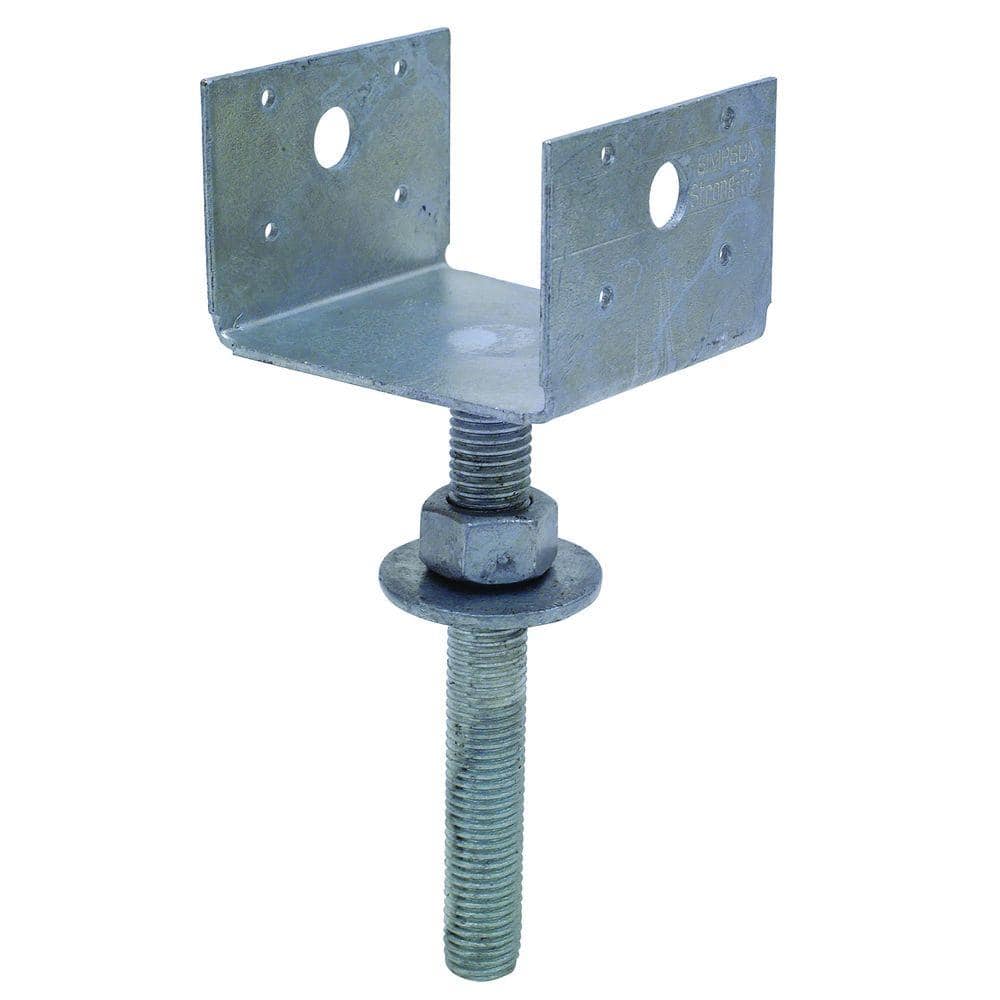
There are post mounts that have a pin connection; you can use that and just dowel into the granite and epoxy it in. You could use threaded rod and build something up as well.

The connection would not have any torsional strength though, so you would need a beam mounted low between posts (or anchors) to cross brace.

I've been thinking about this approach, and it's near the top of my list of options at the moment. The downside is that the ledge varies a good bit in height, and has many spots with some soil over it, all of which complicate this approach a bit. But for the areas where I've got a big, flat hunk o' rock, it sure as heck wouldn't go anywhere!
 
I believe you can use any manually adjustible ground mount rack, you can get (or form and pour on site concrete blocks approx 1-2tons each, mount the ground mount to it, and then backfill the blocks with 3 inch minus stone.

When you say bedrock are you exposed granite or a foot of overburden before bedrock?

Your groundmount of choice will have engineering done on it to accomplish what you are talking about.

If it is bedrock and you can use anchors like above - again your mount of choice should have engineering done for that type of anchor and rated wind speed.

I don't think 4 inches of expoxied rod will be enough to handle 60mph of uplift on a full rack of panels (in original post you say 4 or 5 panels but then refer to 15-30kw as needed system. It also is not an advantage to put a bunch of panels spread out in groups of 4-5, that = more cost.
 
Last edited:
When you say bedrock are you exposed granite or a foot of overburden before bedrock?


I don't think 4 inches of expoxied rod will be enough to handle 60mph of uplift on a full rack of panels (in original post you say 4 or 5 panels but then refer to 15-30kw as needed system. It also is not an advantage to put a bunch of panels spread out in groups of 4-5, that = more cost.
We have some areas of exposed bedrock, but also a fair amount of soil (overburden) in places. This is what makes it more difficult to just pin mounts to ledge - it may require excavating that soil, and I am hoping to avoid that.

We will ultimately need a 15-30 kw array. The big swing there is based on 1) how we decide to heat the house and 2) whether we decide to build a barn, and how to heat that. My thinking around the 4 or 5 panels was that for the smaller end of that range I could reduce the overall wind load on any one mounting structure by keeping the surface area limited, and also that I could install a very small test system on the property as we're building out there, to see how the initial ground mount fared. We could use it for power to recharge tools and such, and if we lost 4 panels to a wind storm it would be a lot less painful than a 15Kw array. With the right SCC, I could just add additional panels in parallel, I believe, along with a second/third controller.
 
Flat mount the panels to reduce wind load. Or "A" frame (plywood on back side)?

Or figure out the weight you need, use cinder blocks and concrete. Set T bolts into the wet concrete. Bolt the hemlocks to the "wall". I saw a video on dry pour concrete, which may simplify installation.
 
Last edited:
Flat mount the panels to reduce wind load. Or "A" frame (plywood on back side)?

Or figure out the weight you need, use cinder blocks and concrete. Set T bolts into the wet concrete. Bolt the hemlocks to the "wall". I saw a video on dry pour concrete, which may simplify installation.
All good ideas (except perhaps the flat mount, which would result in much snow on top of them here in Maine). I don't want to clear any more of that than absolutely necessary!
 
If you do an "A" frame with panels on both sides (facing South and North), 1kW of panels, cherryfield, ME, using PV Watts:

45 degree angle, South facing: 96 kWh in January, 1,324 kWh per year
45 degree angle, North facing: 13 kWh in January, 488 kWh per year.

Shallower angle produces more per year, but less in January.

35 degree angle, South facing: 91 kWh in January, 1,340 kWh per year
35 degree angle, North facing: 13 kWh in January, 612 kWh per year.

December is worse at 73/69kWh (45/35) for South, and 11kWh for North.
Not much additional December/January benefit if you go past 50 degree angle (75/98 in Dec/Jan @ 50 degrees). But, annual production declines even further (1,340 kWh south, 434 kWh north).
60 degree tilt is:
South: 76 Dec, 100 Jan, 1,243 annual
North: 12 Dec, 13 Jan, 344 annual
 
Last edited:
Just have some ecology blocks set on your anchor points and bolt to them they will give you 2.5 ft of ground clearance and they weigh over a ton each
 
For hopefully a good ground mount and not blowing away and not permanent since wife has to stamp the location with her seal of approval I went with this :

rackwithfootersmall.jpg

completedracksmall.jpg

Once the wife gives her stamp of approval I will be using mobile home tie downs connected to the back legs portion. The footers I went with are the ones you buy to put 2x4's or 4x4's into for making a deck. I turned them upside down and bolted the racks footer plates to them. They weigh almost 50 pounds each. I figure between those and the trailer tie downs they should stay put. At least that's what I'm hoping. Even if you build your own rack out of wood they would add mass and the mobile home tie downs would finish the anchoring if you can't do a traditional footing.

The racks I used are the eco worthy ones. I think they are $136 right now on amazon and those are 2 450watt renogy panels mounted to it.

Also yes I know I need to cut the grass. It keeps raining every time I get time to cut it.
 
rough calculation: 60 mph wind is 14.4 pounds per sq ft. The 60 degree angle reduces that a little, say 10 pounds per sq ft.
Solar panel is about 20 sq ft
That means you need about 200# of ballast per panel.,
The horizontal force is about half that per panel. So maybe you need 300# of ballast per panel.

"A" frame reduces that. Wind pushes down, but still has horizontal force. Not sure how much of the down force can offset the horizontal. But, still better than 300#. 100# per panel might work.
 
Might want to take a look at EG4 BRIGHTMOUNT through Signature Solar.
Each 4 panel set costs less than $300 plus shipping and requires just a lot of concrete.
They are manually adjustable.
I think Will did a video on them. Comes with much of the code required grounding hardware.
 
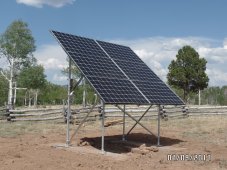
We were setting our 6 panel array at our cabin right where there is bedrock a few inches down. So we poured fairly large concrete ballasts, 1.5 yards each. The racking was from Snap-N-Rack, but that was 6 years ago so there are probably lots of choices. View attachment 162921
Is that a Midnite surge surpressor I spy on the back left corner?
Nicely done sir.
 
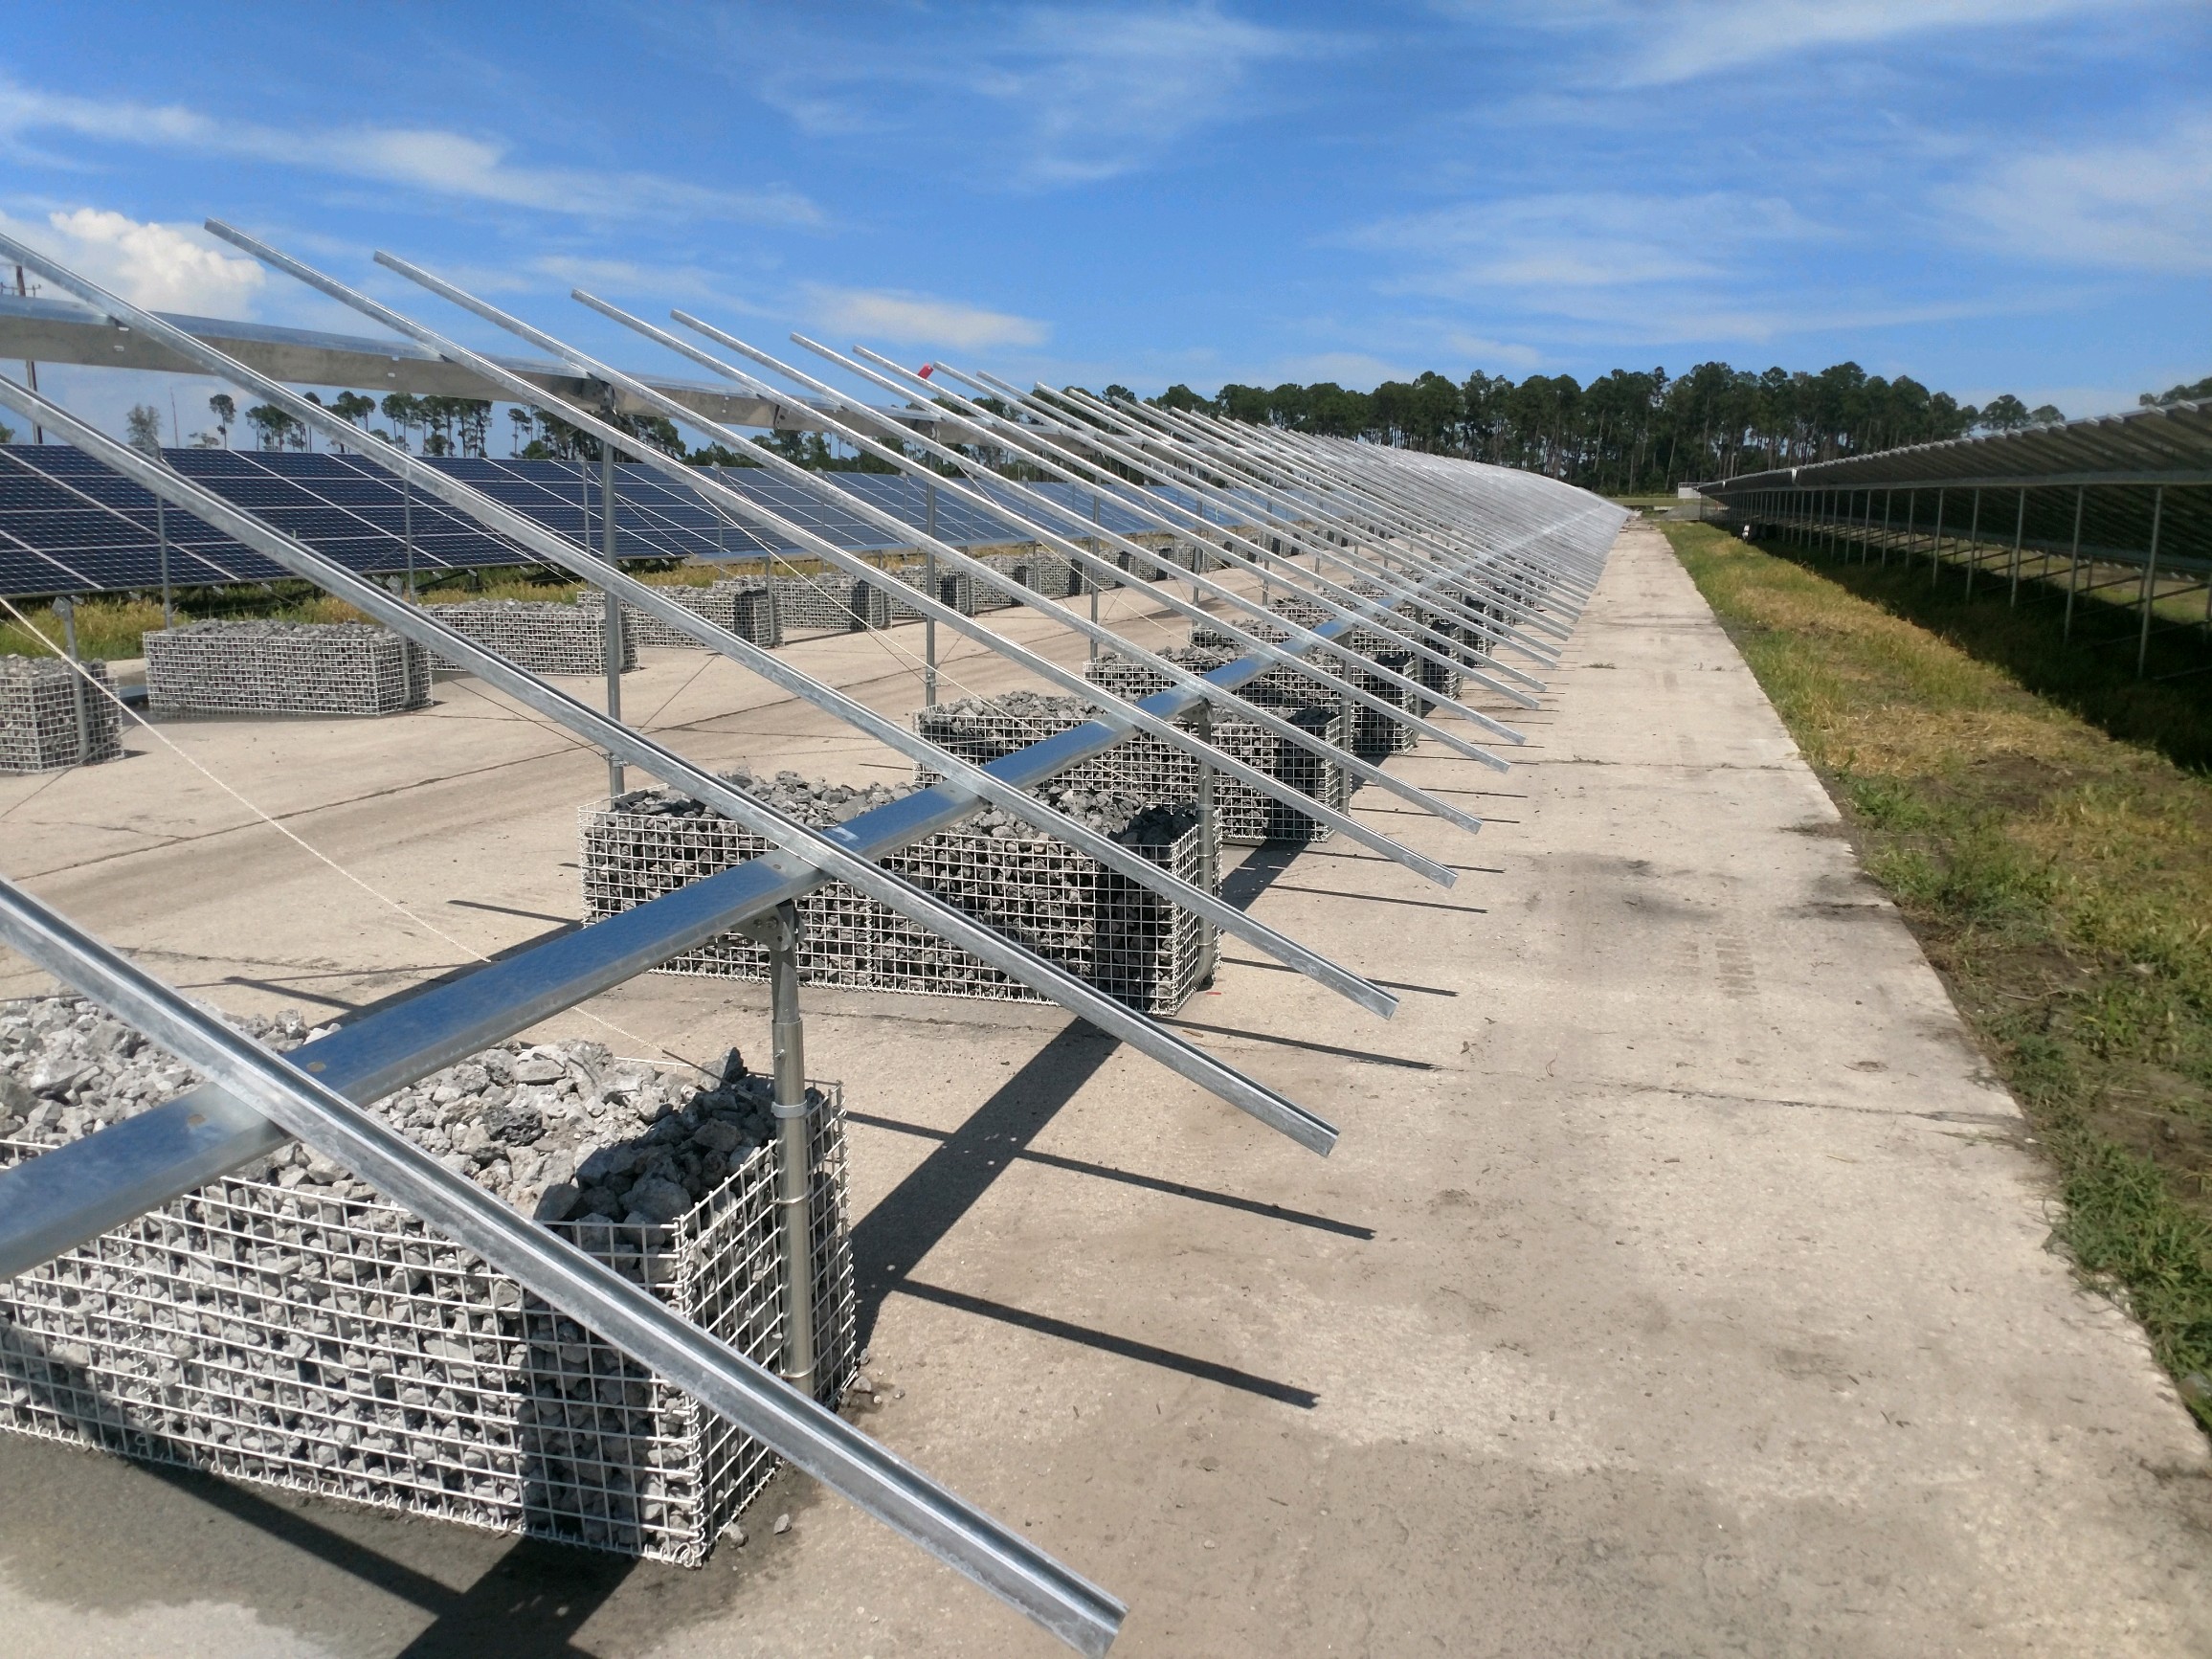
Use something like this, will meet your height and wind requirements, and you just fill it with rocks. Search for "ballasted ground mounts" on google, you'll eventually find the places selling them.

 
Last edited:
Personally I'd set 4 threaded rod anchors (per post) in the bedrock with hy200 or equivalent . Then place 2 nuts on each rod (to act as lock nuts) and set my metal posts on the nuts. And level accordingly. Lock down the post mounting plate with a nut and washer on top. For added peace of mind, use non shrink grout after.

Build a plywood jig to ensure bolt spacing. Rent a sds drill and bit from Depot. For a 1/2" rod, use a 9/16 ANSI bit.

My house has 2 mock cantilevers and this is exactly how the steel columns holding up the mock cantilever are attached to the bedrock. This is also how most light posts are installed in parking lots and on highways.
 
Lots of great ideas here - exactly what I was hoping for. Thanks to everyone that contributed, and if anyone has additional ideas or comments, I'd appreciate hearing those as well.
 
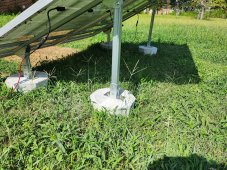
I'm also on bedrock. My ballasted mounts use these:

6438313536802-jpeg.22620


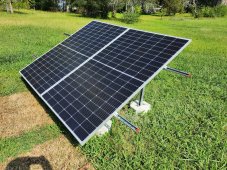
They sit on the bedrock, and get covered with gravel. It ends up looking like this:

20210821_180344-jpg.61111
 
Living in northern climate, with long summer days, short winter ones, snow, wind and shallow rock, here are my suggestions:
1. Tilting racks. We use 30 & 60 degrees, the steep angle for winter leave the panels nearly self clearing.
2. Pick a racking system that will tilt easily - for your goals low physical effort required.
3. Once you pick the racking, then set the foundation design to suit. Bedrock makes a great foundation, just clear off soil and drill/grout as many anchors as required to support the rack in your conditions.
4. My go-to foundation system: remove soil in area of pier, drill in group of 4 holes 8-12 inches into rock, epoxy grout in vertical rebar dowels, place sonotube (cardboard round forms) over the dowels on rock, fill with concrete to level above surrounding soil level required for structure, set a shoe plate into top of the pier to recieve the structure. Backfill around the exterior of the pier with gravel. These are simple to do, with nothing more than a shovel, a hammer drill, and a wheel barrow for mixing. Carefull layout is the key, to have the piers in the correct locations for the structure. If your tilting racking system is supported by a row of single legs, you can either use larger sonotube diameter or place smaller ones in pairs to provide over-turning resistance. Solid Bedrock is a great foundation to anchor to.
 
Back
Top