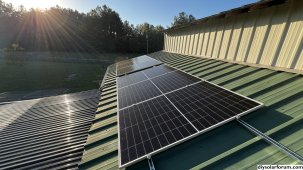
I did my ground mount with 2" galvanized pipe frame + 10ft long universal strut (beefier type) cross-members with bolted hold-downs. Built this array by myself (1 person). Worked well. The array is nearing 4 years... no rust, no problems, no loose hold downs, and steady in winter storms.
View attachment 161275View attachment 161266
The basic items used are
- U-Bolts to bolt the universal strut to the 2" galvanized pipe
View attachment 161273
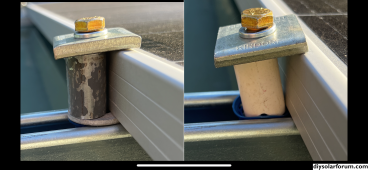
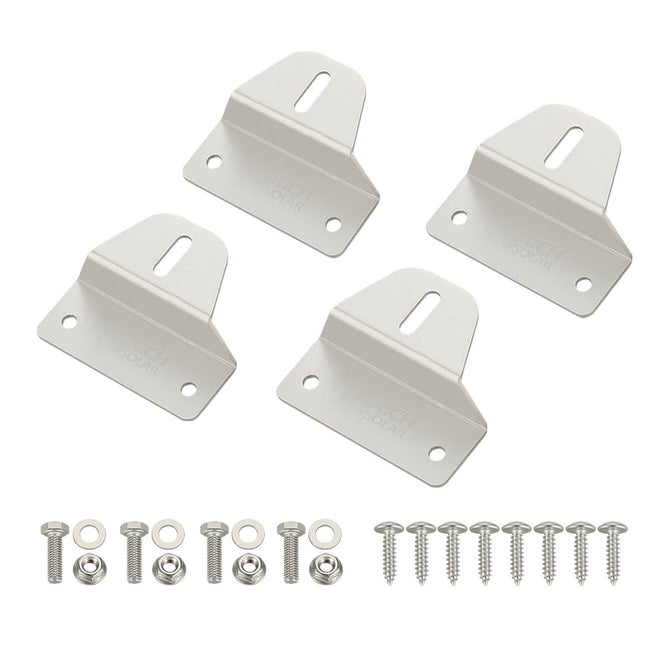
- nut w/plastic ring for hands-free fit in the channel + bolt + square hold down like this demo pic
View attachment 161267
Here's an edge view showing the bolt hold-down into the universal strut mounting numbers. The panel edges sit on the edge of the universal strut. When you have side-by-side panels, 1 x hold-down works great.
View attachment 161269
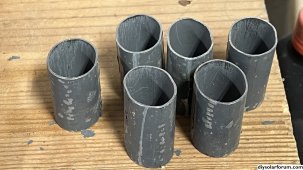
For the end panels where there's only 1 edge and the square hold-down doesn't have 2 panels to hold 'flat', I used a strut near the edge but completely under the panels. Used a piece of semi flattened EMT conduit to provide a base for the square hold-down to lay flat and not tilt off the edge of the panel.
View attachment 161271View attachment 161272


")