BaronVerde
In solar orbit
- Joined
- Feb 9, 2022
- Messages
- 64
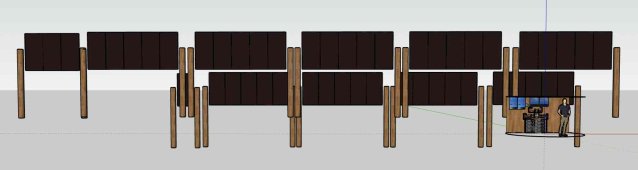
I am planning a very similiar setup, but being at 29°N I get away with half of the material, that's ~10kW bifacial panels and 4-6 batteries of that or a similar type. I will also just use very little of the capacity at the beginning, but expect that to change when a small electric car replaces my aging litle diesel.
I understand the Pylontech batteries are simply but in parallel by connecting their plus poles in a row and the minus poles.
Aren't the cables that come with it too thin for that (25 or 35mm² I think) ?
What happens when let's say number 1 decides it is full, will there still be enough current for the later ones ?
Wouldn't it be better to connect each battery indiviually to a bus or will that irritate the BMS ?
Last edited: