Yup....that is what I use. Unfortunately the copper gums up the file rather quickly..... Does anyone know how to easily clean the soft copper off the file?
Wire brush?


Yup....that is what I use. Unfortunately the copper gums up the file rather quickly..... Does anyone know how to easily clean the soft copper off the file?
I thought it was easy enough as it was. Once you have the solution made, it's just a matter of dipping the item into the bath for 30 seconds per side or even twice if you want thicker plating. I want to thank you for taking the time to put up the info.It was fun the first time. Interesting the second time. A chore the third time. If solder-plating wasn't so much easier I would still do the electrolysis.
The tool you are looking for is called a file card. It is an extremely fine brush specifically made for cleaning files. For a course file you can use a wire brush. Also, a small wire wheel chucked up in a drill press at low speed is really handy for cleaning all sorts of metal objects and tools.Yup....that is what I use. Unfortunately the copper gums up the file rather quickly..... Does anyone know how to easily clean the soft copper off the file?
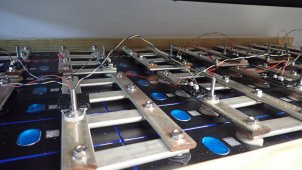
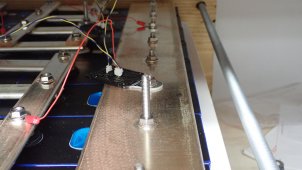
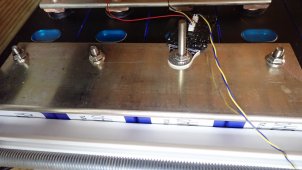
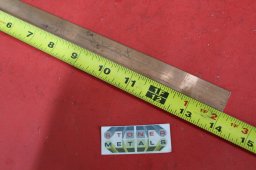
So, seeing that they’re almost twice as thick as the busbars that come with the batteries I should be ok with using the studs that came with them??? Later on I’ll be replacing them with copper bus bars but at the moment aluminum is all I have. Or should I double up on them??? What about making up my own using 4 gauge wire with copper lugs at the ends???Aluminum has 61% conductivity compared to copper. (google) It would seem if you are swapping copper for aluminum you would want them twice as thick. With studs is probably fine but a screw will lose some thread contact that already seems marginal.
And it doesn't hurt to make it a little bigger than the reference table states.Don't size the bus bars based on the old bus bars. The old ones may have been undersized. Figure out your maximum amp load and size the bus bars for that. There are reference tables that define the number of amps that a cross sectional area can handle.
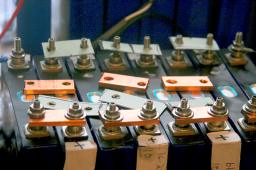
Electroplating is not necessarily needed to tin copper. It is still requires the hydrochloric acid to make aqueous solution of SnCl2. An alternative is to buy the anhydrous SnCl2.It was fun the first time. Interesting the second time. A chore the third time. If solder-plating wasn't so much easier I would still do the electrolysis.
Yup....that is what I use. Unfortunately the copper gums up the file rather quickly..... Does anyone know how to easily clean the soft copper off the file?


Electroplating is not necessarily needed to tin copper. It is still requires the hydrochloric acid to make aqueous solution of SnCl2. An alternative is to buy the anhydrous SnCl2.