No you don't, I'm the worst carpenter EVER!
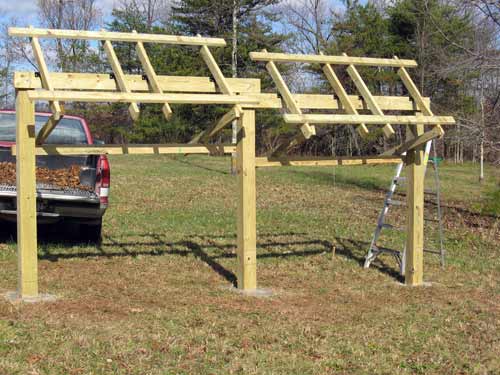
Decide 'Up' (stacked) or 'Horizontal' along with ground contour.
Your space usually determines this, small space, hills, flat ground.
Being the worst carpenter ever, and knowing a good idea when I steal it
")
,
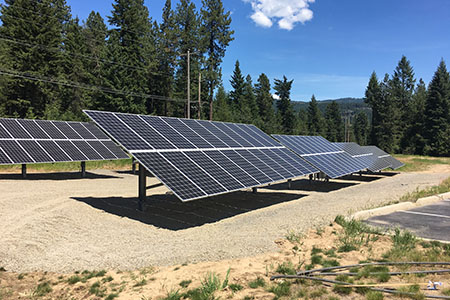
I had the lowest cost with horizontal since I have the room.
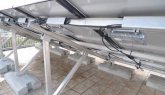
Upright posts set on a string line to keep them straight,
Use that same string line for the horizontal pipe through them the panels mount on,
(Even I can stretch a string without screwing up too bad...)
Some of my panels are in a livestock pasture,
I staked the string line, used plain old round tree posts, I just got the tops up next to the string line before I set them, extra tall to keep the livestock from rubbing the panels.
Fence below like normal.
I did set more posts, a little closer together to keep the livestock from moving posts when they rubbed the fence...
(Electric fence REALLY helps)
What I learned,
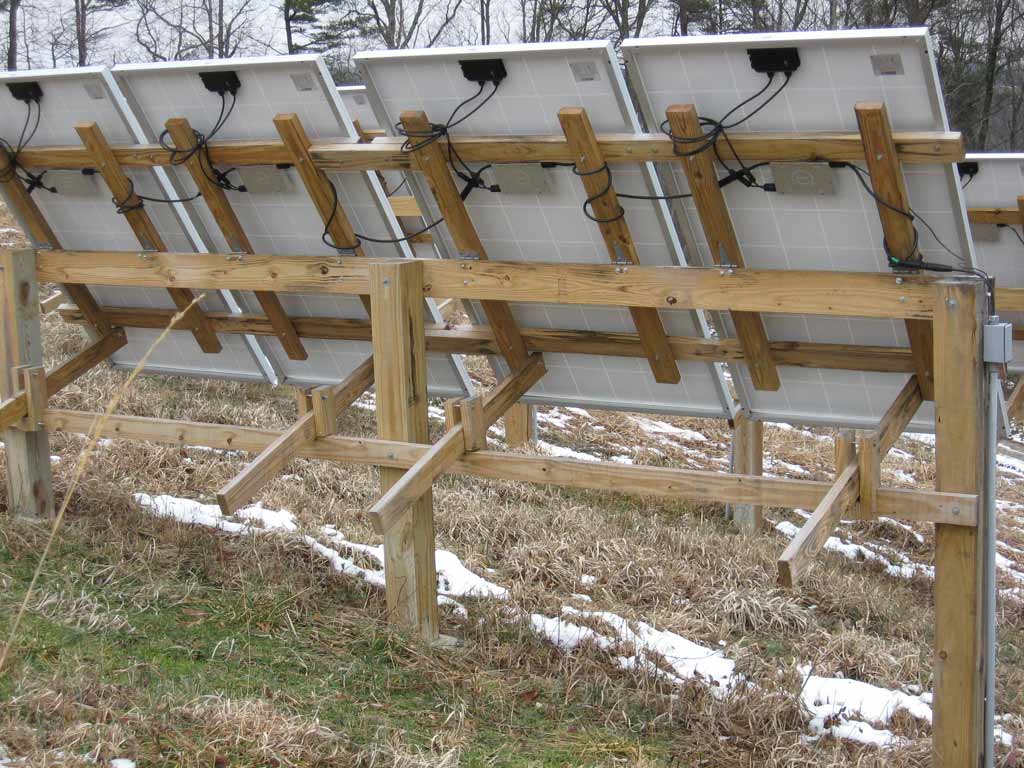
Lots of wind, panels length wise, less wind leverage on the middle of the panel.
Low wind, wind break, panels width wise, more panels on any given length of fence/posts/pipe.
.......
While people talk about how 'Cheap' panels are, I use the better glass front, aluminum frame panels that last for 20 years, and I have yet to see a 'Cheap' well built panel...
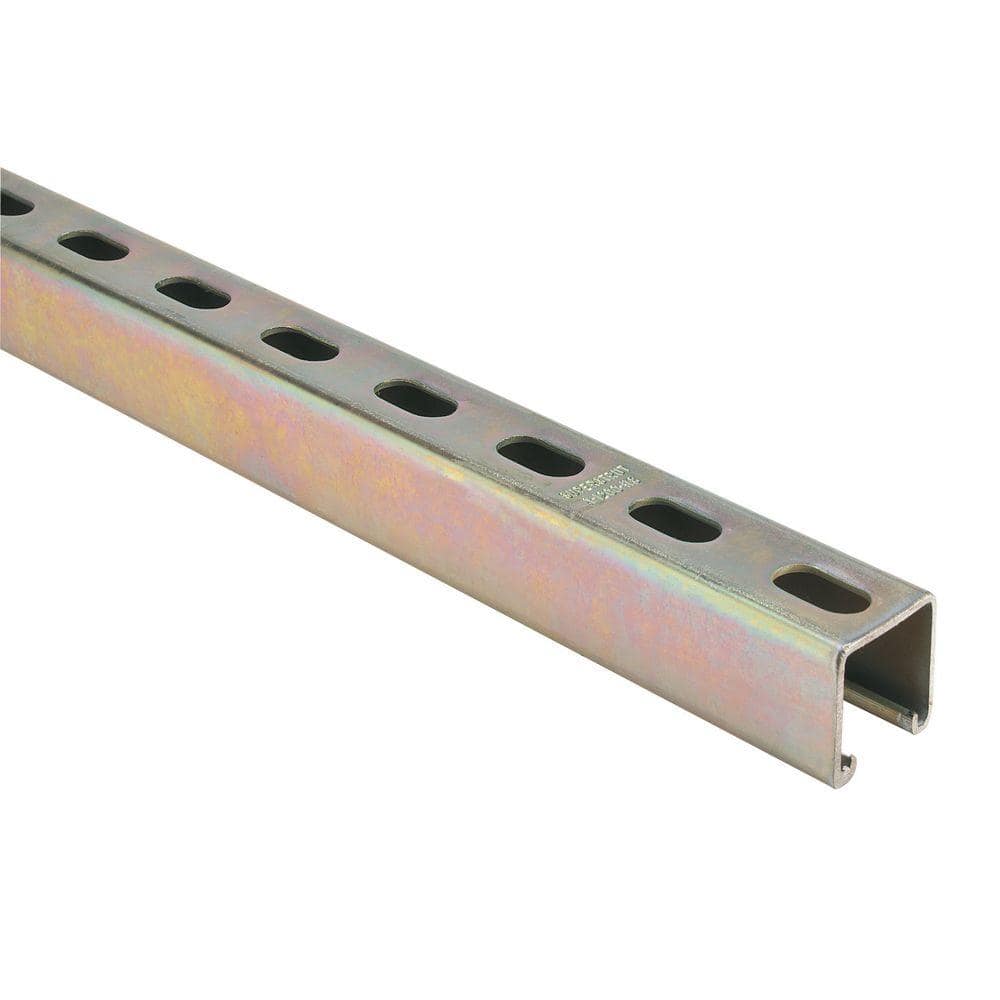
I like pipes because they are easy to sun track with when installed North/South.
Sun tracking with something as simple as posts, a hole saw/drill and pipe adds 15-30% production when you sun track.
That's almost 'Free' Watts, and Watts are King... Especially during short winter days.
.......
Now, while people build dedicated heavy racks all the time which take up GROUND space...
Have you considered a 'Shade' cover over the patio? (With stylish 'Blue' shade panels)
Have you considered one of those $1,000 metal tubing/roof 'Car Ports'?
Ever want a metal tubing frame 'Green' House'?
A 'Lean To' added to the garage that can be boxed in later?
Some concrete, pavers, decorative rock underneath and you have USEABLE space.
Pavers or rock comes right back up in the event you want to move it at some point.
(Ever try to dig out big concrete surface anchors? ... I have...
)
Screw in anchors used for light pole guide wires and house trailer anchors keep the lighter weight supports in place during big winds.
If you have a way to screw in the really big ones, utilities often don't reuse them, there is a pile waiting to hit the scrap yard, buy them for scrap weight...
I used my manual pipe bender handles for 'Cheater Bars'.
.......
If you DO want a big, heavy rack, go to the local sports field and see how the bleachers are built, take some pictures... Scale down as necessary.
Use screws, bolts & nuts, nails back out...
A broken weld is an event that requires a welder and creates electrical current issues, a broken or missing screw/bolt is a 15 minute job with hand tools...
(And this is coming from a welder by trade)
Some people MUST go 'Up', no room to spread out.
*IF* you have to build Up, rent a tractor with post hole drill...
(Unless there is a bunch of big teenage boys sniffing around a daughter, then have HER con them into doing something constructive
)
Its much easier to put dirt back into a hole than to get it out in the first place, but if you use concrete, keep it low down in a DEEP hole if there is any chance at all the ground might be used for something else later down the road...
(And again, that's from experience...)
......
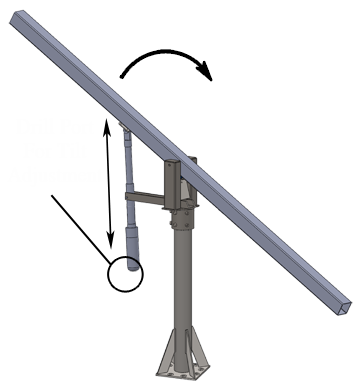
When you go Up and sun track, someplace you get high wind/severe storms, you will pretty quickly find those single post with swivel on top for panels...
Did I mention I live in Indiana's 'Tornado Alley'?
If it swivels for east/west sun tracking,
The easiest way I've found is a center posts with rack on top,
Sounds familiar?...
I used a big truck axle, on end so a heavy duty wheel beating 'Up' for panel deck to rotate around,
And the axle housing will literally stand up to a tornado.
The panel deck on wheel bearings that will handle 17,000 pounds,
All it needs is some support wheels at the edges/corners of the deck to keep the deck from warping/twisting.
Riding lawn mower tires will do that job, but I use sealed spindle bearings from front wheel drive cars (cheap/free used) with lug studs so I can use common economy car aluminum rims, also cheap/free.
An aluminum wheels with tire/bead lip removed gives a solid wheel that never goes flat and doesn't look horrible.
Since the spindle bearings bolt in, they can be bolted to wooden posts if you don't work in metal.
For lighter duty platforms, Horror Freight sells large diameter solid wheels, but the rubber does degrade and they aren't very wide.
I use pavers in an arc at both ends of my platform for the wheels, normally they don't touch the ground, only when the wind blows real hard against the panels.
The last part is my 'Deck', it's a salvaged office trailer frame with everything stripped off the top.
A plate welded/bolted in and set on the big truck hub (which has lug nut studs, so it bolted down) and put my panel rack on the deck.
While it's WAY overbuilt, it's survived 3 indirect strikes from tornados and more severe storms than I can count.
It's built from 'Junk', but a tornado can't kill it...