Hedges
I See Electromagnetic Fields!
- Joined
- Mar 28, 2020
- Messages
- 20,761
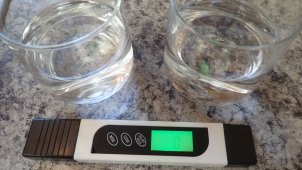
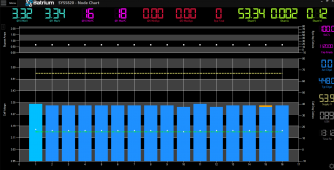
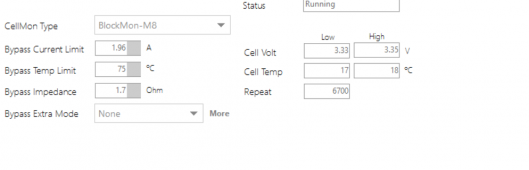
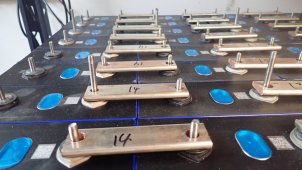
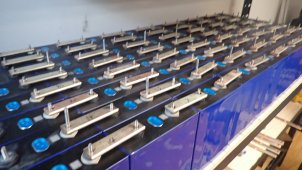
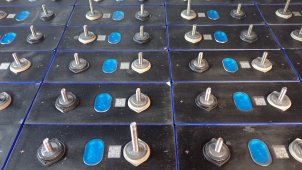
53.6/16 = 3.35
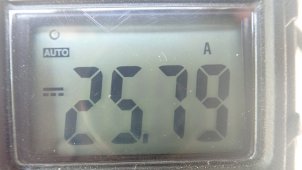
Part way up the knee of the curve. That will show if they're top balanced and remain that way.
I suppose some difference in capacity could affect how they move up the curve at equal current. Internal resistance would also produce differences at higher rates of charge/discharge.
Part way up the knee of the curve. That will show if they're top balanced and remain that way.
I suppose some difference in capacity could affect how they move up the curve at equal current. Internal resistance would also produce differences at higher rates of charge/discharge.