cypher2001
New Member
- Joined
- Jul 20, 2020
- Messages
- 56
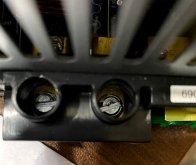
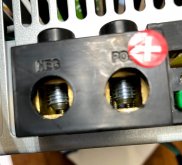
@carlos1w how is it we can fix this... Today i found out my RV panel supplier has a replacement model for the panel RVs use... WF-8950L2-MBA. Is a plug and play version for LifePo model batteries. charge profile, i have not heard back from them. It shows as 50a output. mind you this is depend on input current and wire capability. However, my RV has a 30 connector cable, so that is my judge. Given that, my 30a input will give my 280ah batteries full charge at .... 9hr? 30ah / 280 batteries = 9hr. Is my math correct? yes there might be some loss. Have not used the RV with the new battery monitor yet so I don't know how long it will take to deplete the batteries. I might not use all the capacity in a given weened.. So could recharge when we get back home.
Don't confuse a 30A /120V with a 50A/12V. A 50A/12V converter should pull ~5amps at 120V. (It will be a little more because of losses, but its still small at 120V)
If you have a 50A LIFEPO4 converter, you can still use that on a 30A 120V line to pull a full 50A/12V.
On the original topic - I still ahve not had a chance to play with the unit to see if I can increase the voltage with the IQ removed. Hope to test that soon.