Jack Rabbit Off Grid
Solar Enthusiast
- Joined
- Sep 6, 2021
- Messages
- 477
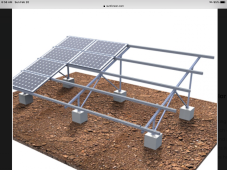
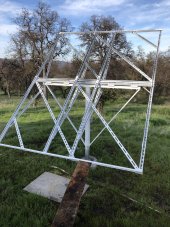
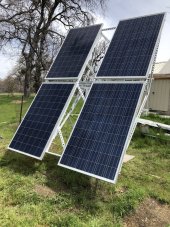
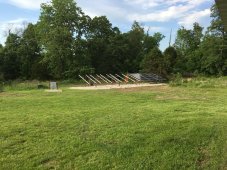
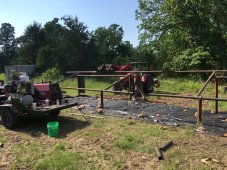
I think since I am unable to dig that deep I’m going to do something like this but out of wood. I’m going to mount my panels landscape so their surface area is going to be 28’w by 7’ tall. How would I calculate how large to make my concrete blocks? I found a calculator for pounds per square foot. I’m thinking of probably 8 legs. 200# ea 300#?