diy solar

diy solar

Review my system please

Solar set up


4 100v panels


2 200ah lifepro batteries


Shunt


Circuit breaker


Inverter


Charge controller


Y splitter


12awg for y splitter to scc


2 Breaker box (one for panels, one for inverter)


10awg wire breaker to inverter


Ground wire


Ground rod


Fuse, holder, cap


Breaker from panel to setup

Battery cable 2sets


2 sets of Two solar panels wired in a series, connected to system parallel.

12awg wire from the Y-splitter to SCC.

10awg wire from the AC to breaker box

###
Side note: Ok so I would prefer an AIO. But I don't have that amount all at once. Sorry.
There's a lot of info hear that's over my head. But, I'll buy the parts and figure it out. It takes me about 6 months or more to buy all the parts on this list. I'm assuming emergencies, unintended purchases. If I bite the bullet AND I'm lucky, Maybe 2 months.
I recognize BatterycablesUSA.com and Mouser.com are good websites. I just use one platform out of ease and habit. If it's all the same I'd like to use Amazon. If not let me know.
###


I'm hoping this is my final check in. If there's anything I don't need, or can be upgraded as few months after setup. Now the time to grant me mercy. Lol

By the way, all this assumes my batteries are not ruined. I still haven't had a chance to charge them up. I have about 7-9 generator hours a day with my gas rationed. So I'm waiting until I get paid to buy the extra gas for a continuous charge.


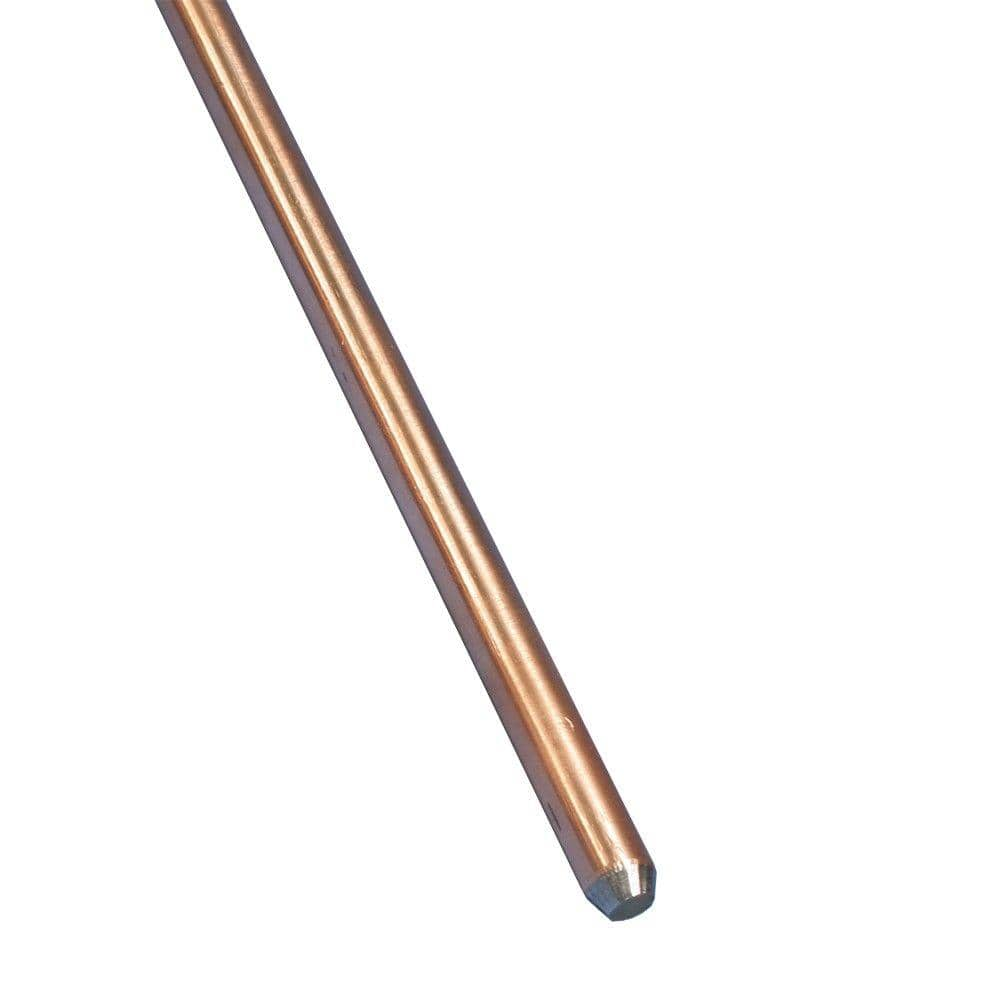
The wire looks fine.
One note though, you only need tinned wire in an outdoor or wet environment. So you can get the same cables in a non-tinned version.


Ground rod - 8ft in a trench at a slant angle or drive it in straight down. Will take a trip to a home depot or equivalent. If you can't do it with an 8ft for some reason 2 of the 4ft ones 6ft apart connected from single unbroken wire will accomplish nearly the same thing.

Fuse holder and fuse - cheap knockoffs out of sub standard materials are plentiful on amazon. I never buy fuses or holders other than Eaton, Littlefuse, Buss, Bussman, or blue sea systems (they use the brands mentioned and relabel and mark up) - if you want to buy them from amazon just stick to the real brands and from a reputable store that isn't just random letters from the alphabet.

These are the real deal and tested so you KNOW they work right.


A note on Amazon - I buy a lot of stuff on it, but I also find a lot of the time it is cheaper to go directly to the source website or company. For small items that are $10 or so on amazon the direct discount is less than half. Free shipping is never free.


No need to appologize for having a budget - There is always something I am lusting after but can't afford at the moment.

I do not see anything that sticks out as a hazard to life or property with your plan or list.
 
Last edited:
Ok. This grounding rod than?

I figure if rebar will work then perhaps this will work too, without the rust.

No, galvanized doesn't work - this is a case where the shipping is expensive because it is an oversized package and the length.


Ok. So for clarity sake here's the list, grounding rod updated. I'll check back in when I get the materials together and start building.

My plan is to hit up the stores in poplar bluff. Then buy the rest at mouse r and Amazon.

Thank you so much. I appreciate everyone's help. It obvious to me my previous attempts were insufficient. I'm confident this will work out.

Solar set up

4 100v panels

2 200ah lifepro batteries

Shunt

Circuit breaker

Inverter

Charge controller

Y splitter

12awg for y splitter to scc

2 Breaker box (one for panels, one for inverter)

10awg wire breaker to inverter

Ground wire

Ground rod


Fuse, holder, cap


Breaker from panel to setup

Battery cable 2sets


2 sets of Two solar panels wired in a series, connected to system parallel.

12awg wire from the Y-splitter to SCC.

10awg wire from the AC to breaker box

You have 10awg with a silicone sheath. Why?

Between the breaker and the inverter you can just use THHN/THHW that you can buy locally by the foot. You can use solid or stranded. Any hardware store will have it.

But now I am confused by what your layout will be?

You should draw a diagram of what you plan and label it. I am not sure your wires all make sense now?

You can use drawio to make one like mine, or you can just sketch it on paper and post a picture.

Label the wire sizes and types.
 
Last edited:
A thread with similar build

 
You have 10awg with a silicone sheath. Why?

Between the breaker and the inverter you can just use THHN/THHW that you can buy locally by the foot. You can use solid or stranded. Any hardware store will have it.

But now I am confused by what your layout will be?

You should draw a diagram of what you plan and label it. I am not sure your wires all make sense now?

You can use drawio to make one like mine, or you can just sketch it on paper and post a picture.

Label the wire sizes and types.
I don't know what the layout precisely is either. I'm just doing my best. I get the general layout of a solar setup. I was just going to get all the parts together, then post updates as I get it set up. And troubleshoot as I go along, with what people respond. I'm still not too sure about where the fuses and breakers go. But once the parts in front of me I'll probably understand right away. I trust y'all.

Honestly I'm not sure thhn thhw is. But I found 10awg wiring. So that's probably why I listed what is listed.

The silicone wire is very high temp wire and it is flexible like a spaghetti noodle.

THHN is either stranded or solid wire. The sheath is a PVC and thermoplastic. THHW is the waterproof version.

They are what you pull through conduit for regular AC outlets.

The battery wire used for DC between the battery and inverter is fine stranded and can be just THHN but most of us use fine stranded that is more bendable.


Don't buy anything yet, will give your setup a once over tomorrow.
Ok. No problem. I can't buy anything until June anyway. Thank you.
 
Ok. No problem. I can't buy anything until June anyway. Thank you.

Are you working on a computer or from a tablet/phone?

If on a computer can you download and install drawio? it is a free program.

I ask because I am doing up a simple diagram of what your components are and how they are connected. I can take screenshots of the finished diagram, but it would be good for you to be able to zoom in and look at all the little details


One more question - is your install area in any way exposed to the elements?
 
Last edited:
OK, try this on for size - @Rednecktek pls check this

I attached the drawio file and picture in a zip if you want to download and modify (either of you)

I changed some of the links to be more appropriate wire and I added a main disconnect switch and an active equalizer to keep the batteries in sync.
Don't skimp on the switch - I picked one of a brand I know is good, this is one place the cheap knock-offs are pleantiful and not nearly so good. You can get a cheaper version, just make sure you know what you are getting. If you pay less than $15 it is very likely junk.

Also changed the breaker to 16amp dual pole since it was talked about being for disconnecting the PV wires verse being inline with the inverter.

I don't have one of the battery monitors you linked so I have no idea what size the shunt bolts are.

@platinumphoenix - You will need to figure out what the correct lug sizes are when you order cables - they have to be right.
I linked the windy nation pre-made battery wires on Amazon - they are good stuff and you can't go wrong.

Note - I may have missed a link from prior posts - so ask if you have questions
Noticed I listed the wire between the batteries as 2 AWG, it should be 4 AWG.
And I just noticed that the 10awg wire from negative of MPPT should be going to the other side of the shunt

Fixed now

Did I miss anything?

1716228758371.png


You have batteries - 12v 200ah - connected in series to get 24v

Equalizer - connects to the batteries to keep them in balance - required

Wire between batteries and to hookup to inverter and breaker are 4 AWG - pure copper with lugs - these are the 2ft version
Need to know what size the screws on your batteries are and bolts on the shunt


Wire between the solar panels and the MPPT and splitter


MPPT - Charge controller - bougerv 40amp

Battery Monitor - @Rednecktek - what size are the bolts on the shunt? 3/8 or 5/16?
https://www.amazon.com/gp/product/B07FGFFHC6

Fuse, holder, cap
https://www.mouser.com/ProductDetail/Bussmann-Eaton/MRBF-150?qs=r5DSvlrkXmKYtJ1cVnWOqw==
https://www.mouser.com/ProductDetail/Bussmann-Eaton/CFBAR1-250SP?qs=r5DSvlrkXmKMfmwp3Zb/Bw==
https://www.mouser.com/ProductDetail/Bussmann-Eaton/CFCOVER-1R?qs=zijbFIqa2JEOjMDsOT7upA==

Ground wire

Ground rod

Breaker - changed to 2-pole (if you are using to disconnect solar panels you have to do both poles - NOTE the breaker is polarized - so have to get the pos and neg in the right place.

Battery disconnect - this is your on/off switch - 3/8" screws/lugs
 

Attachments

  • 24v cabin.zip
    2.2 MB · Views: 3
  • 24v cabin layout.drawio
    2 MB · Views: 4
Last edited:
Are you working on a computer or from a tablet/phone?

If on a computer can you download and install drawio? it is a free program.

I ask because I am doing up a simple diagram of what your components are and how they are connected. I can take screenshots of the finished diagram, but it would be good for you to be able to zoom in and look at all the little details


One more question - is your install area in any way exposed to the elements?
I'm on a tablet. Really really really old tablet.

The install area is indoors. But to be fair humidity is a given around these parts. So I plan to keep the layout as open as possible (but away from kitty paws and little hands) to allow air circulation and reduce condensation. This way I'll also be more likely to notice moisture damage or rust.
 
Last edited:
I bought some bolts for replace the battery terminals. Found them at the car parts store. And I came across connections for the batteries. I'm not they are correct. But I know it's what they were built for.

I'm going to get the shunt, disconnect switch and the equalizer next.

IMG_20240605_175623_1CS.jpg

IMG_20240605_175556_552.jpg
 
The current is carried through the mating surface so any bolts that fit will work. But, run yhe bolts on finger tight and see if they bottom out. If so, see how latge the gap is, you want most or all threads to engage without bottoming out
 
Back
Top