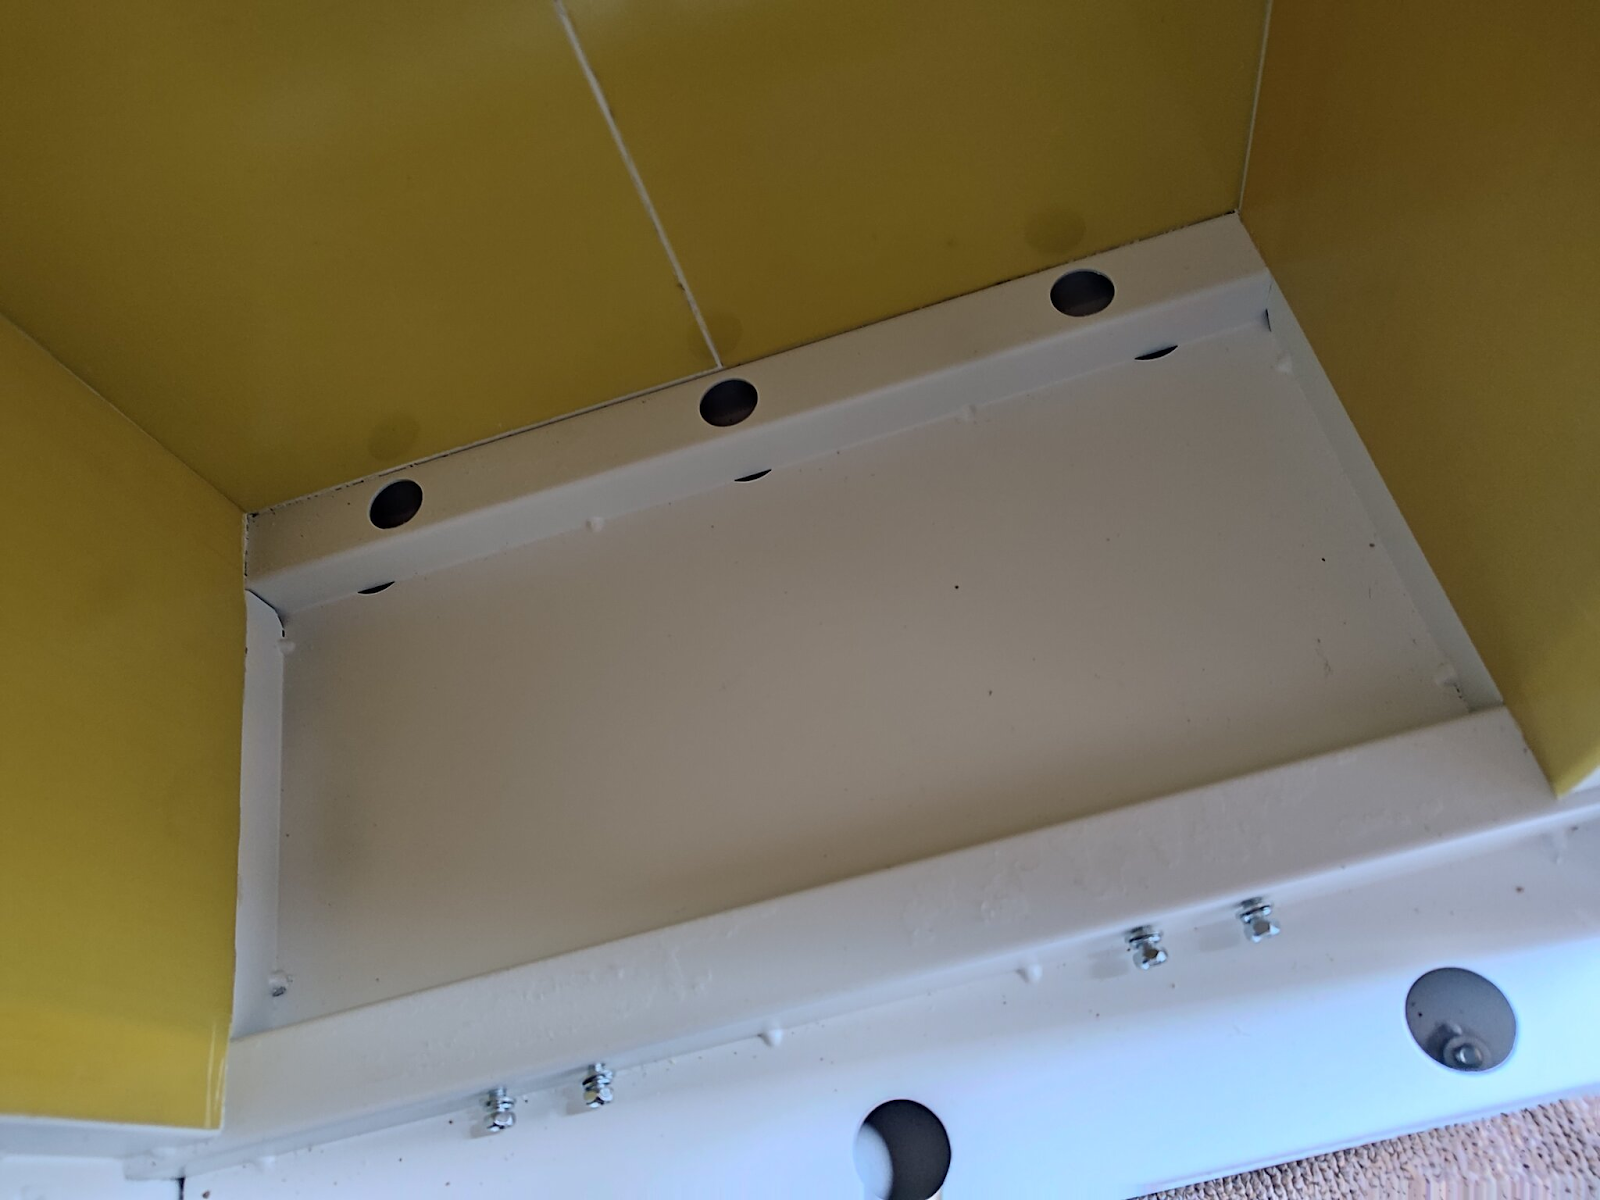
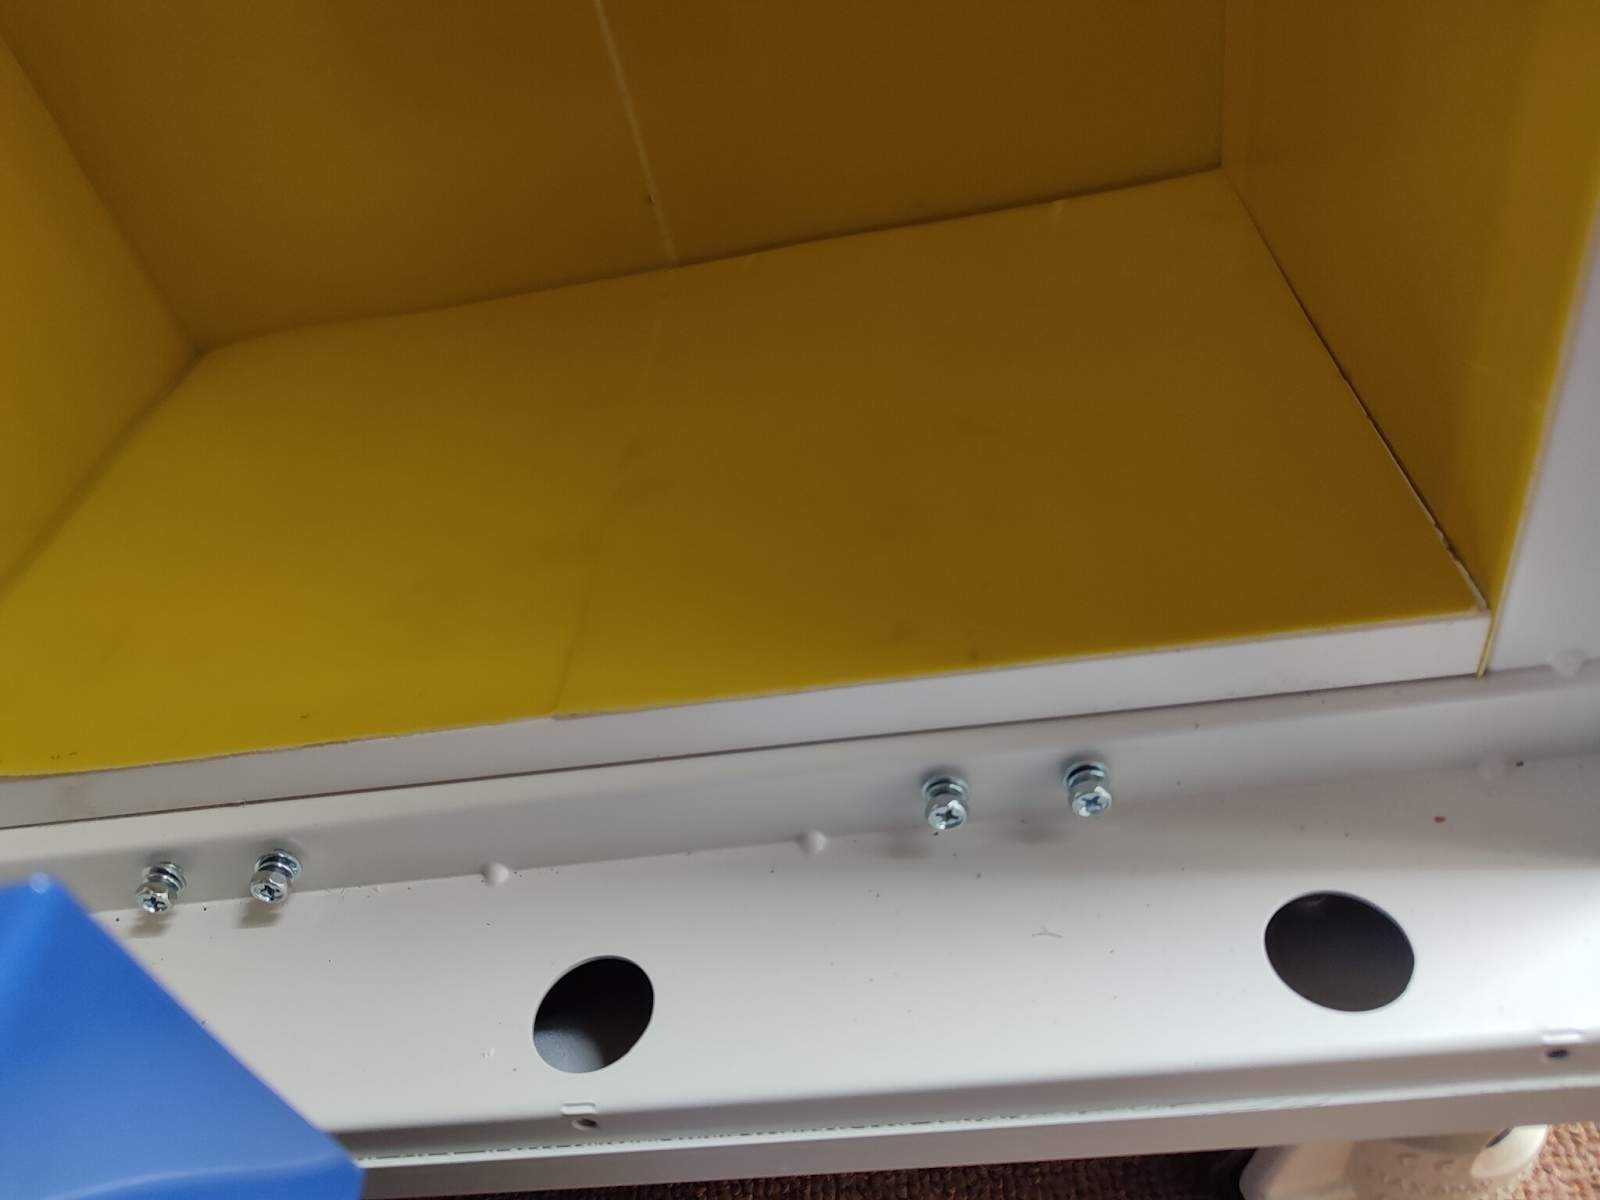
5 Supplied with the case were these packings/shims
Perhaps they are to allow for different cell heights and are used to pack up from the bottom? They cant be to be fitted in between the cells as the cells would then not fit. I decided not to use them as packings from the bottom, as it wouldnt have stopped the potential ‘bellying out’.
I need to add though, that perhaps i was overthinking things, Im sure the cases have been ‘designed to death’ and tested by technicians etc
Notwithstanding the above comment, i decided to adopt a different method to ensure compression of the cells.
I added a 16mm piece of melamine and placed it over the bottom rails and added the case lining material onto the melamine surface
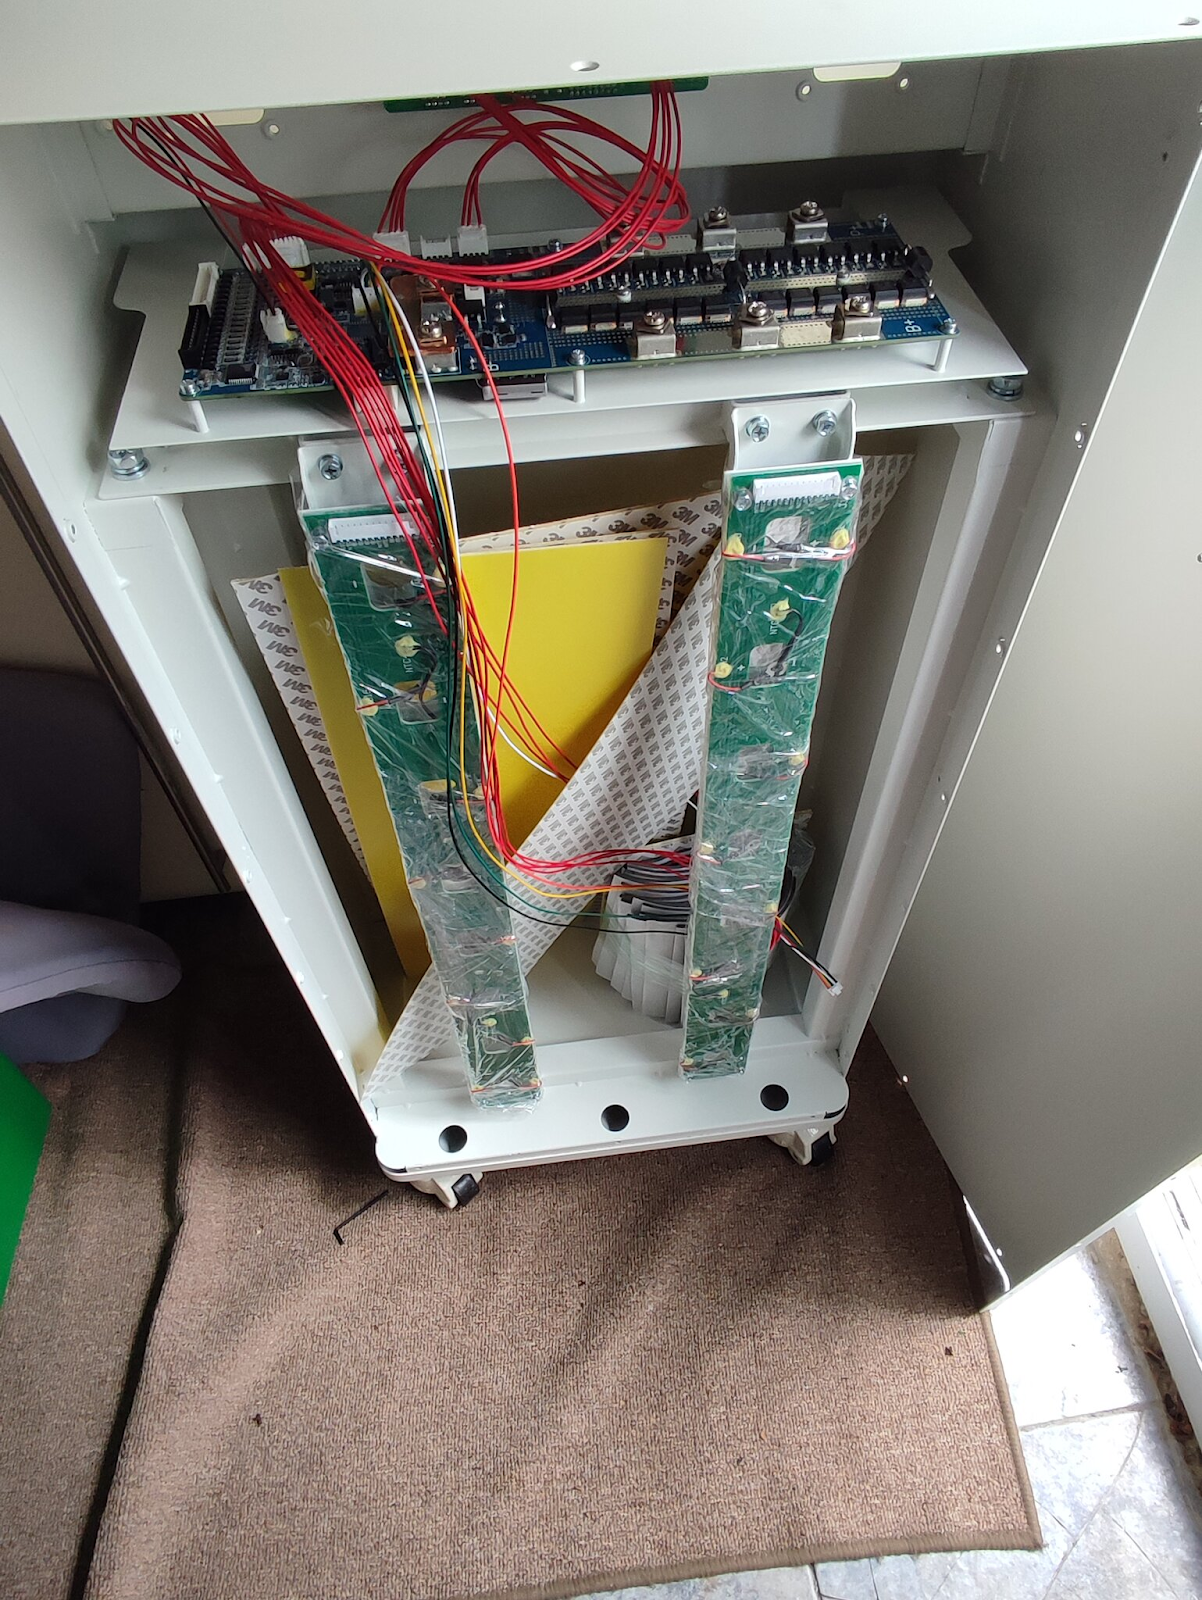
6 Before replacing the cells, I needed to remove the top of the casing, and the BMS (which comes ready installed onto a bracket) and also the top plate of the casing which would allow for it to be used for compression of the cells and hold them in place.
I needed to use a long reach phillips head screwdriver to release the fixings at the rear of the BMS bracket. The BMS bracket and top of the case were removed together as there were a few electrical connections holding them together. I decided to leave those connections in situ. I just laid the BMS plate and top of the casing on top of the case itself, making sure of course that i was secure and couldnt fall or become damaged.
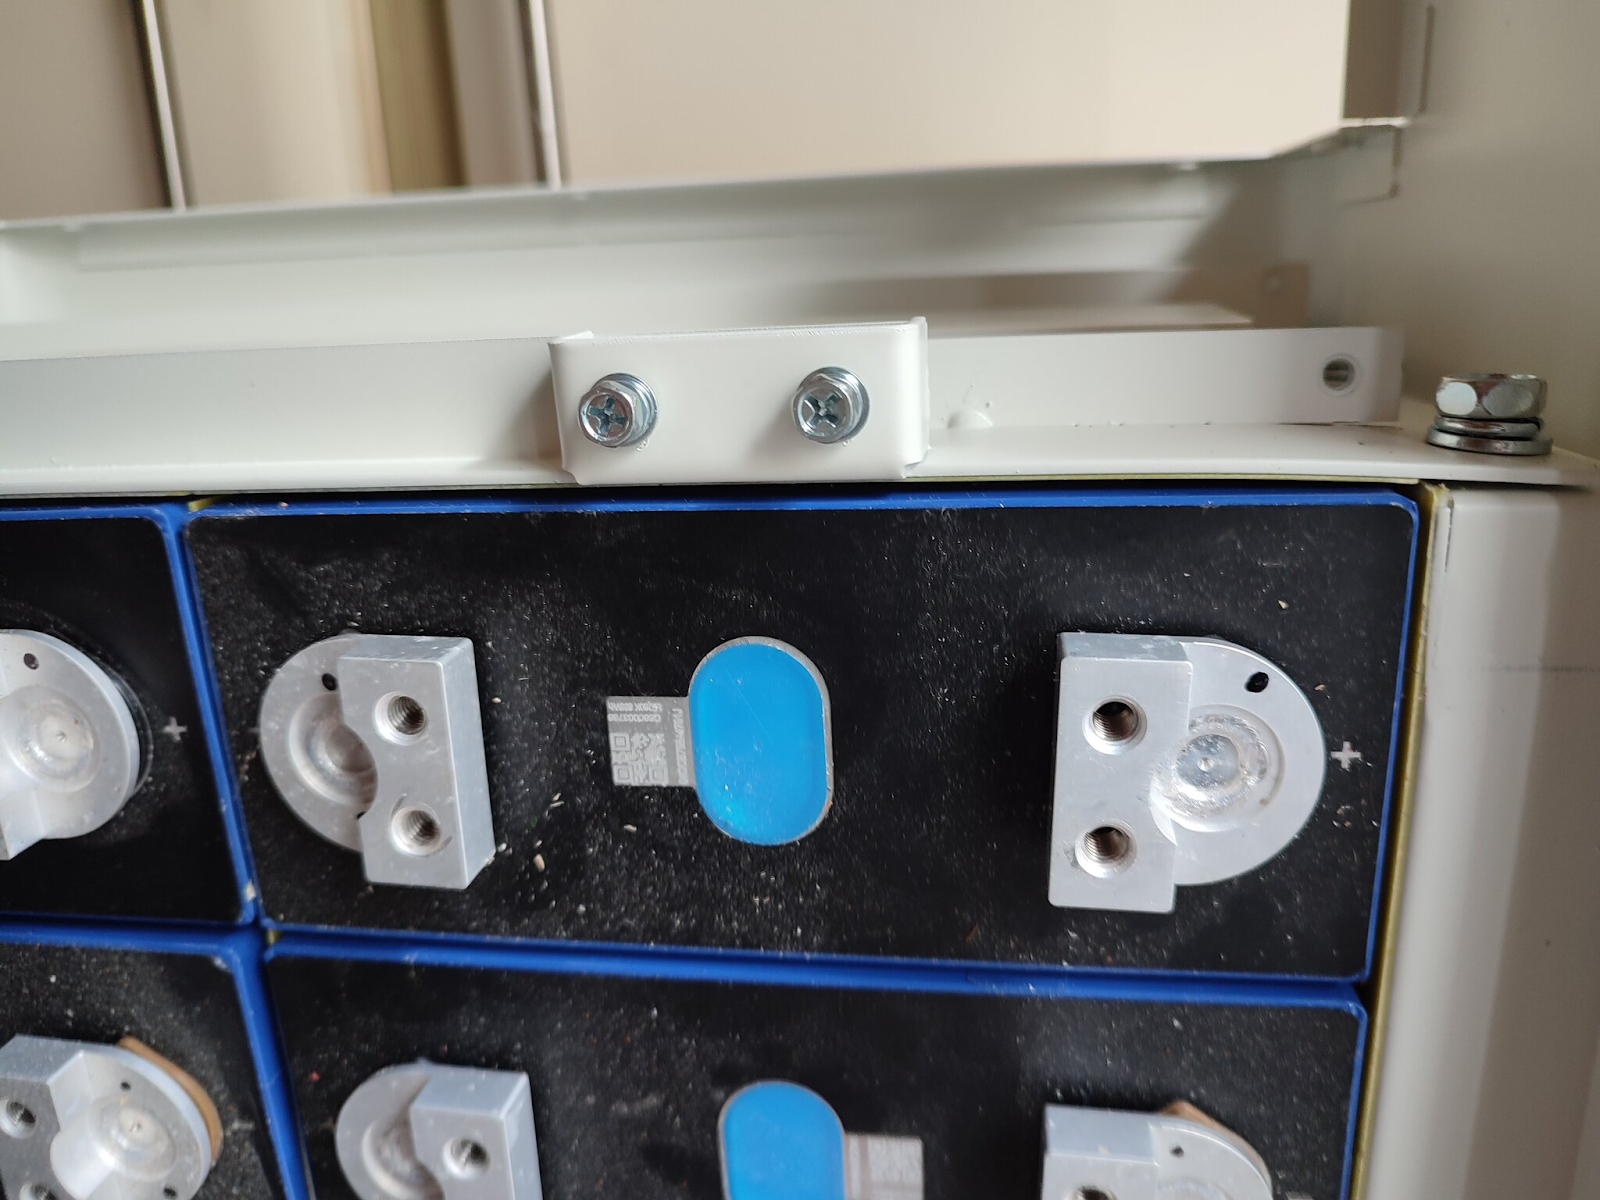
This next photo shows the cells in place and top plate adding some compression (remember there are foam pads between each cell, so its not a massive amount of compression). If you wanted a greater amount of compression, you could use something larger than 16mm melamine, but then there is a chance you would need to alter the BMS busbars.
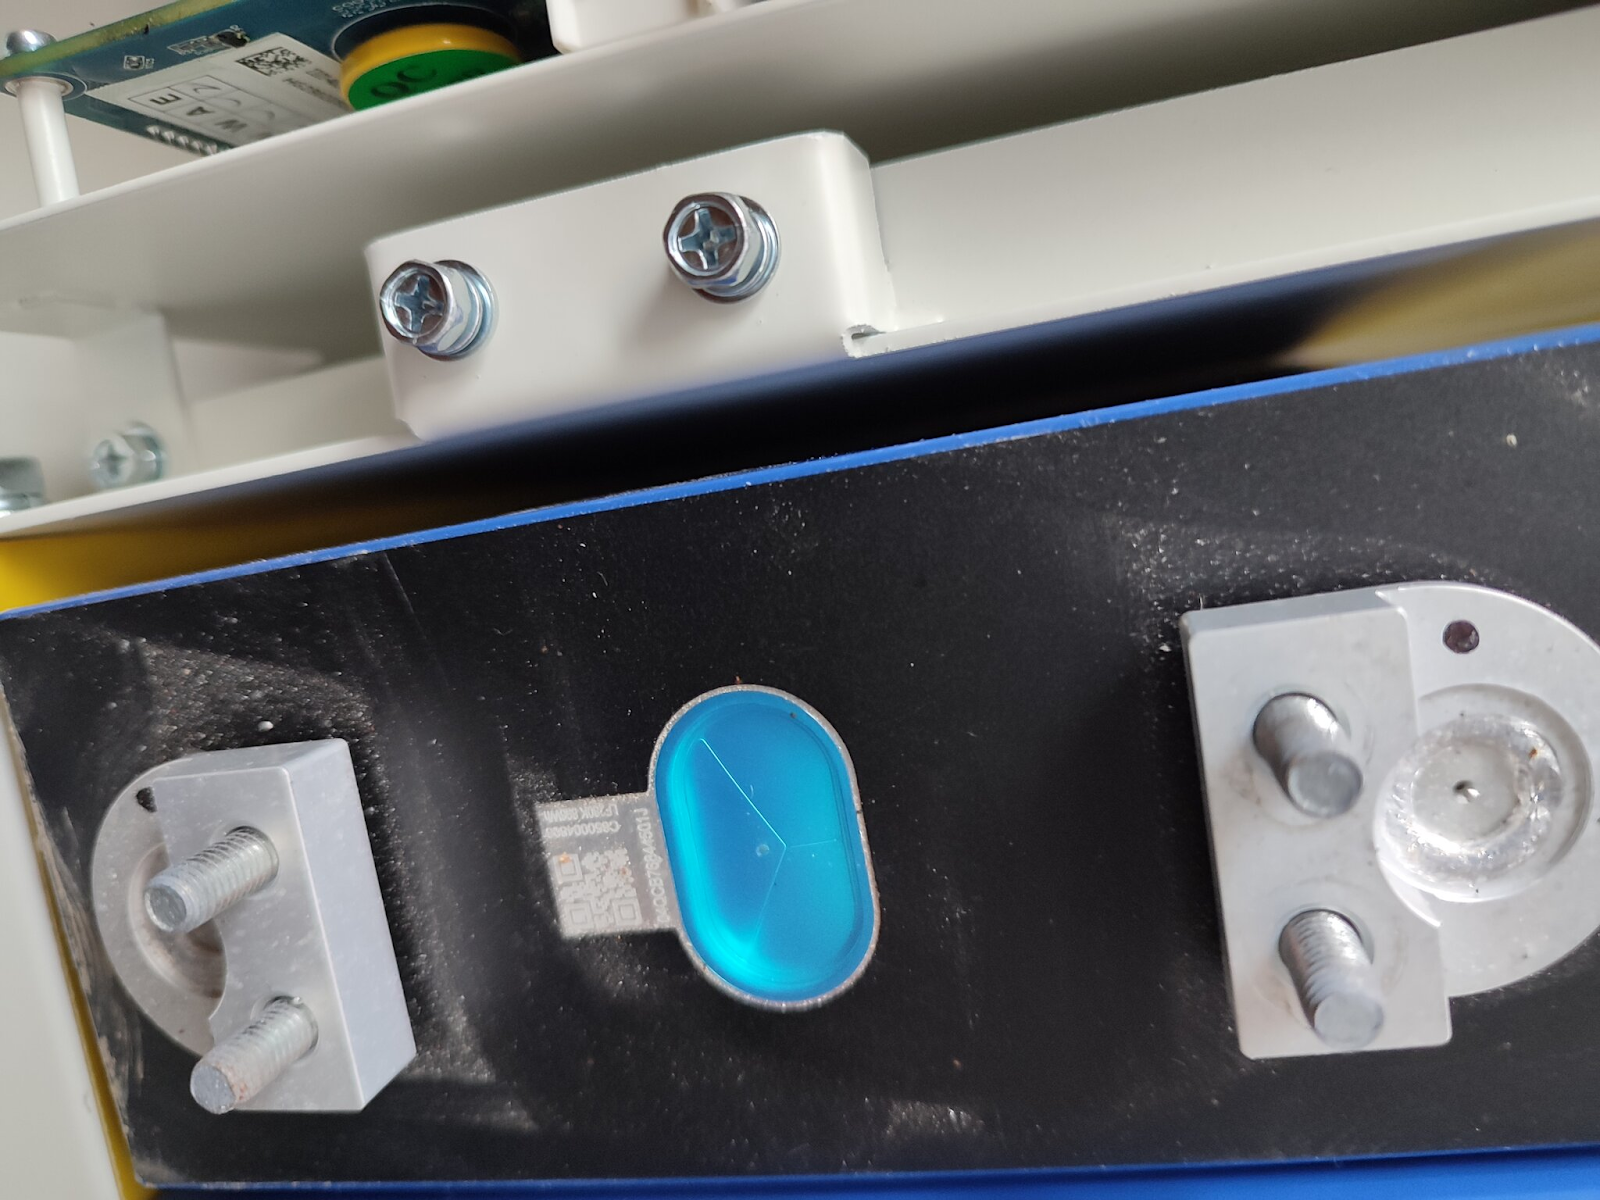
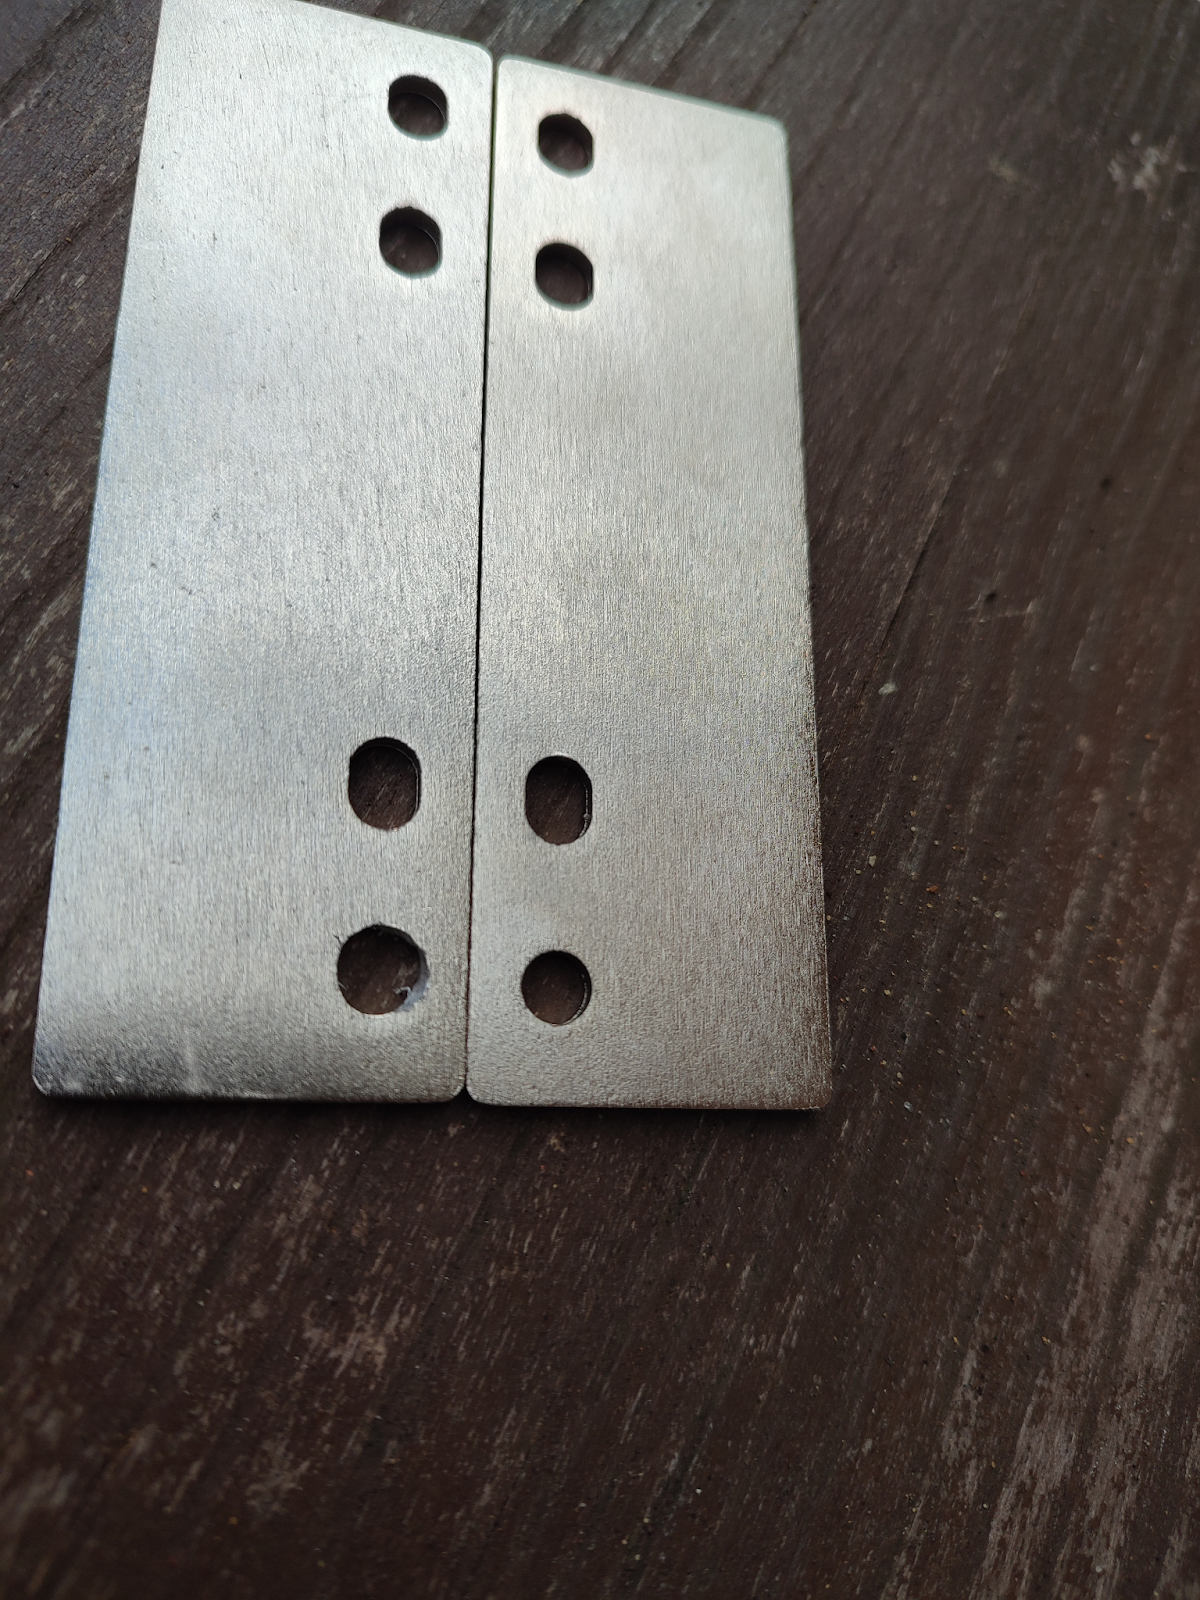
Which, from the next photograph, you can see that they fit perfectly, however the busbars between the cells didnt! There were about 6 busbars that i needed to alter so that they fitted. The busbars have four holes, three of which are elongated, for some reason the last hole isnt? I found by elongating that hole in the direction of the other holes, i could make them fit. If all the holes were elongated it would have been simple and would compensate for compression of the cells.
It is important to follow the sequence of attaching the BMS busbar connections to the cells, a couple of the connecting wires are coded red, but actually fit onto a cell negative connection. The connecting wires are clearly marked on the BMS busbar with a + or a - , so all you need to make sure is that each cell has a + connection and you make sure that those with a - marking on the BMS busbar go to a negative connection on a cell. Once youve got it in place and start to add the busbars between the cells it becomes self explanatory as the wires themselves are not long enough to cause any real confusion.
Before connecting the cells together i added the BMS busbars, having removed the cellophane coverings. But before doing so i had a ‘dry fit’ just to make sure it was all going together properly.
7 I actually reinstalled the top of the case and the BMS at this point, to make sure it all fitted back together again, but on reflection it made sense to add the connections to the BMS when they were easily accessible, so i removed the top of the case and BMS on its bracket again. I would suggest that before replacing the BMS bracket and top of the case that you add all the connections at this stage.
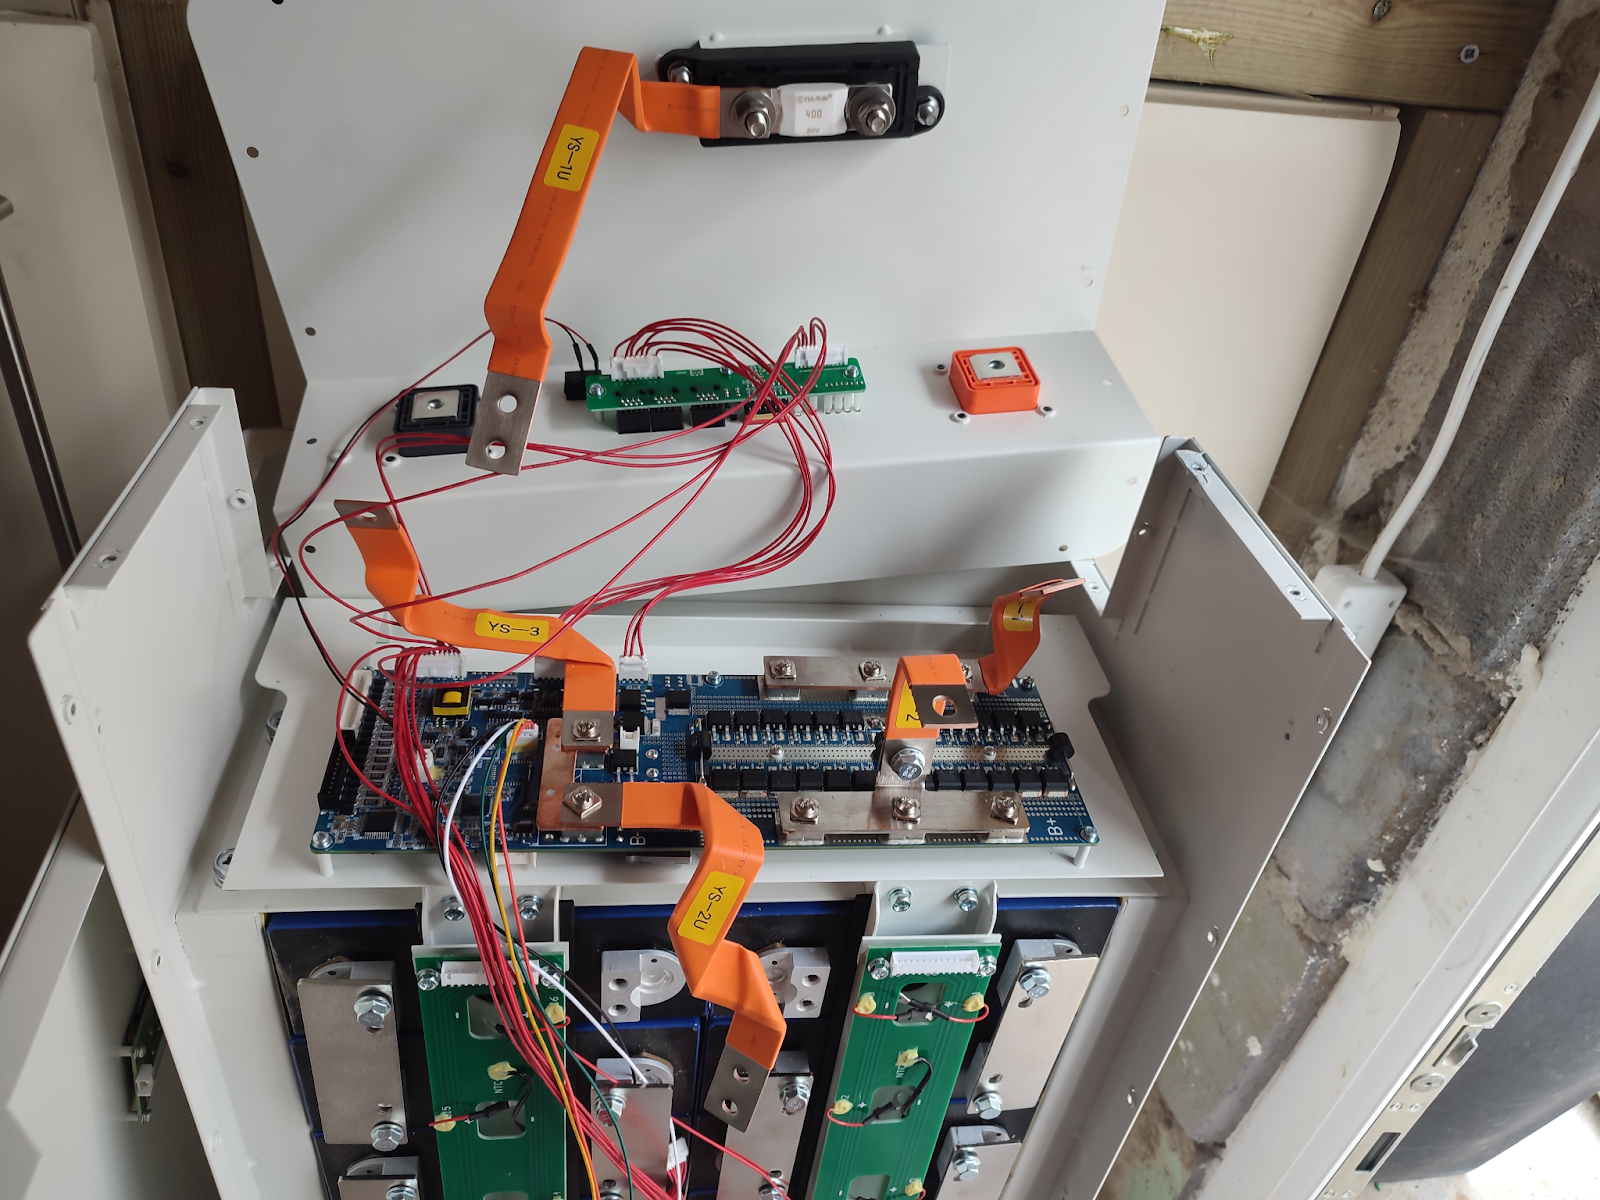
8 The main connections from the battery and to the power outlets to/from the BMS are not as shown on the Seplos instructions. They are also numbered differently. The next photo shows the connecting strips/ribbons connected in the correct places. You need to install the battery terminals and fuse holder
The fuse holder cover just pulls off, its tight but just pull it off. You will need to cut the plastic cover for the fuse holder to allow for the connections to the fuse. You need to cut one side and one end as shown
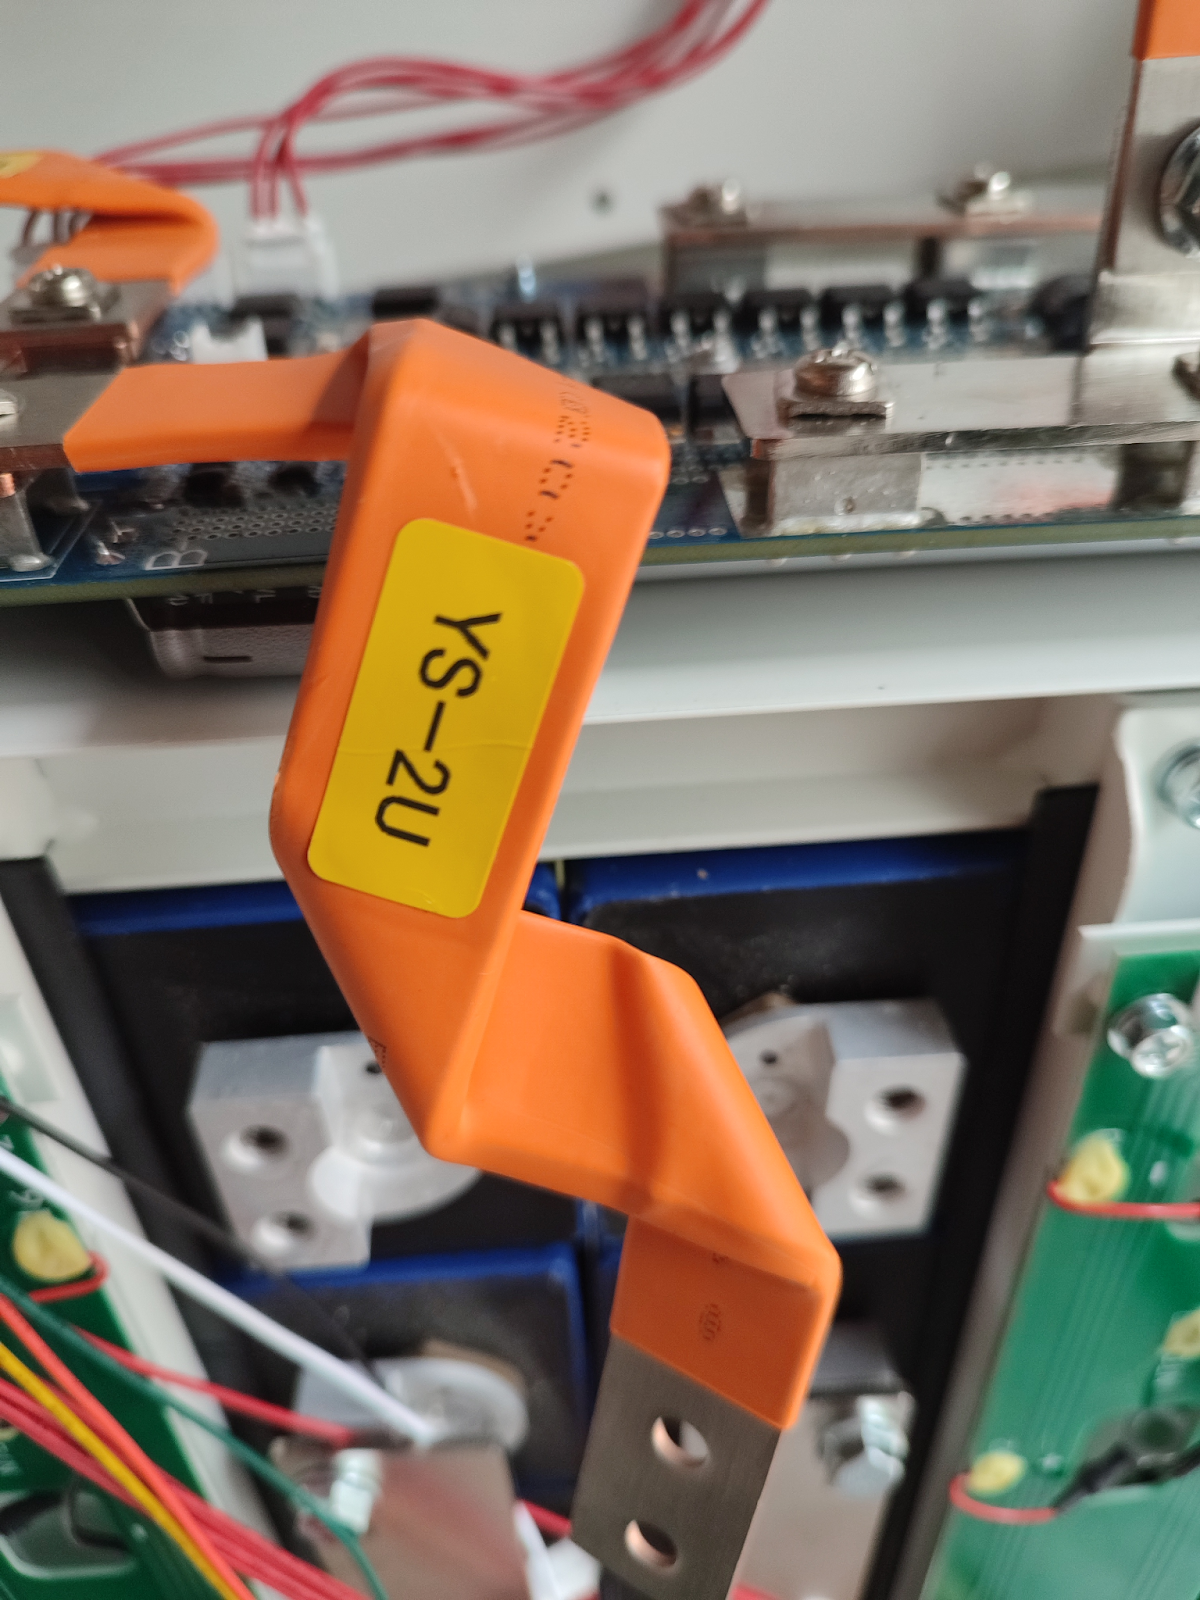
And close up photos showing the ribbon/main connections
9 The final part of the internal assembly was to ensure all connections were tight and to connect the BMS to the BMS busbars. The prewired looms are different in that one of them has a black connector to go the BMS and the other has a white connector (both have the same connectors at the other end)
The Black connector loom fits onto BMS at the connection nearest the front and the white one to the rear.
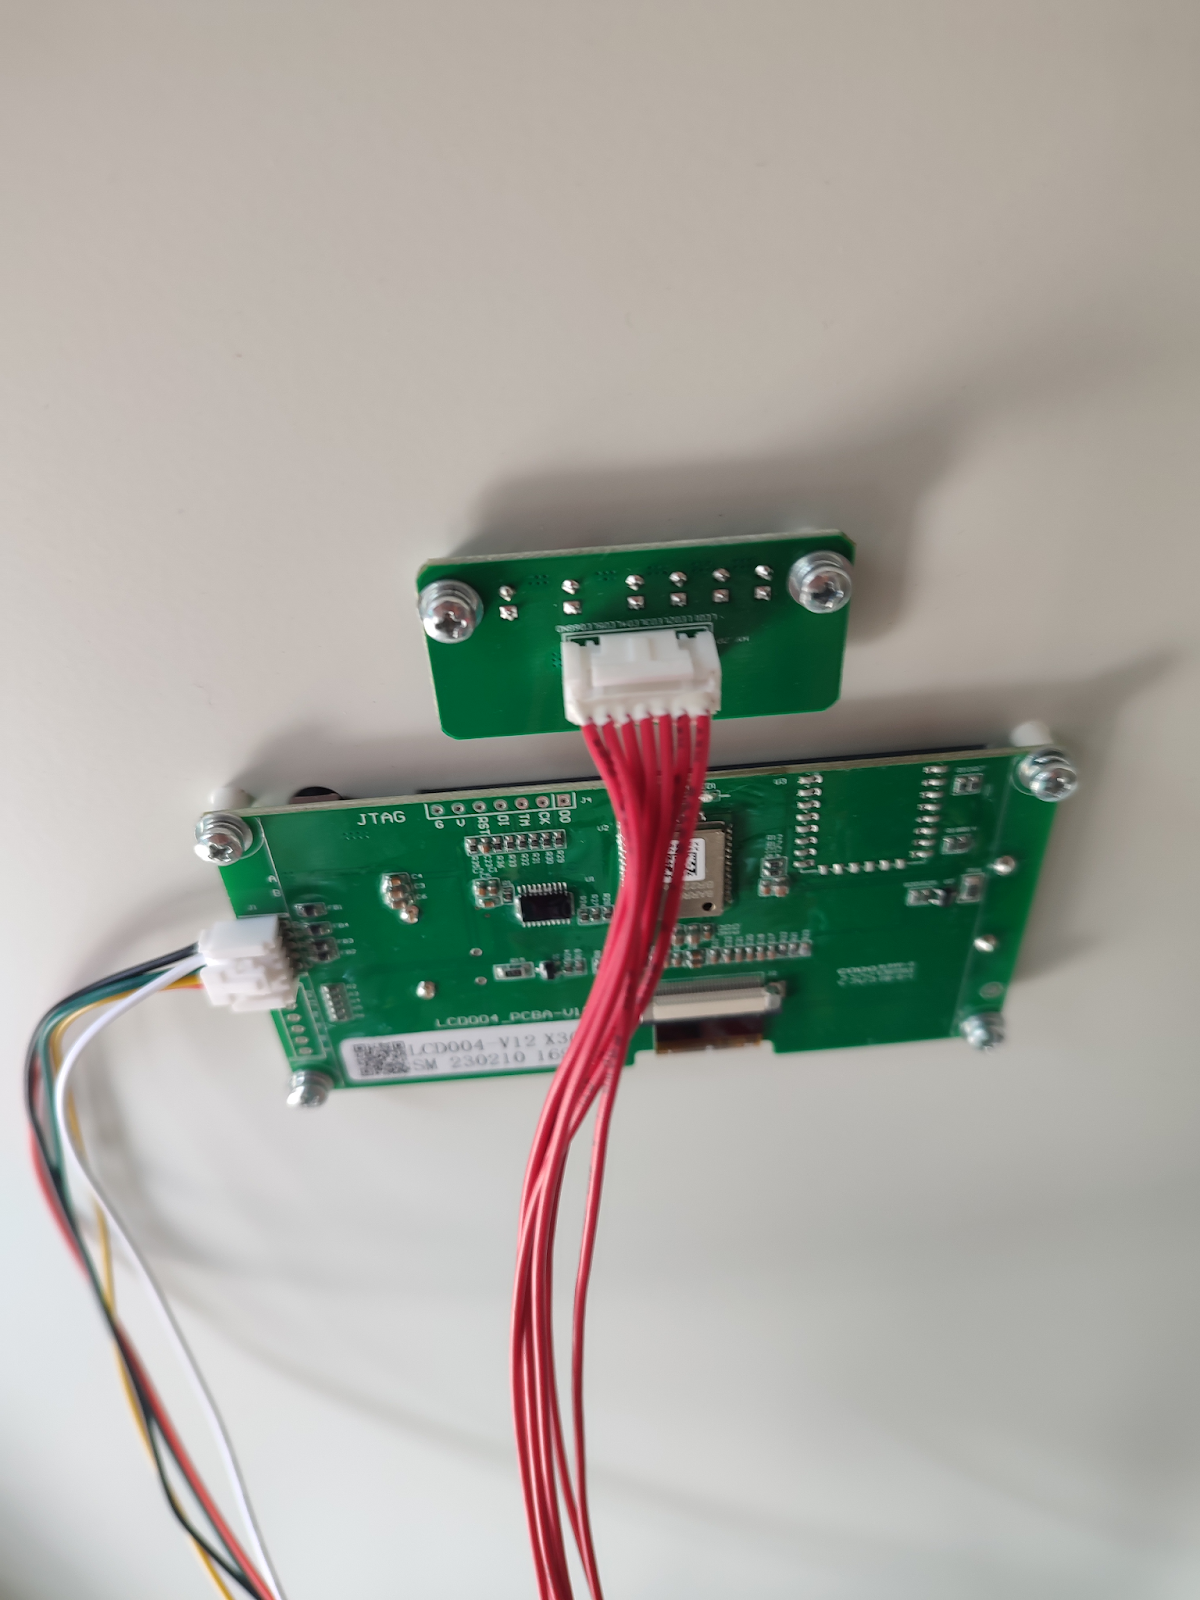
10 Before replacing the front you will need to connect the cables, already connected to the bms and back control panel when it arrived, to the front display,
10 switch on the battery at the rear of the case to test and the front display should light up