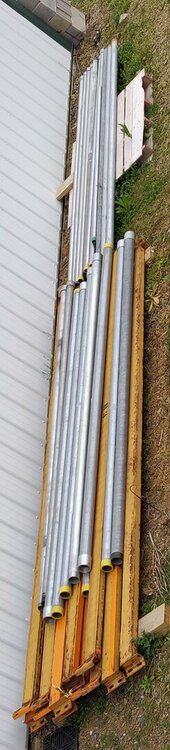
I used Hollaender connectors when I built our 2 inch galvanized steel schedule 40 pipe based ground arrays. And you get a rock solid array. The procedure is simple: dig a hole, insert your vertical pipe, pour the concrete and plumb the pipe. Do this for the 4 corners of the array. next, run a string between the pipes for each row of the array. If 2 rows, then 2 strings, one for the front row, one for the back row. Then dig the holes for the vertical support pipes between the ends of a row and put the pipe in, pour the concrete and plumb it using the string for alignment with the row end vertical pipes.
After all the verticals are set, run a string from the front row pipe to the back row pipe, using the string and an angle finder to set the array's angle front to back. Mark the posts and cut them off front row is shorter and back row the tallest to create your tilt angle. The pipe cuts like butter with a portable band saw. Next use Hollaender connectors to run your pipes across the tops of the posts in a row. Then use steel strut across the top pipes for your panels to be fastened on to. Ground everything and away you go.
Just a wrench, a level, a portable band saw, tape measure, shovel and cement and a hex wrench set.


 . It was my second time working with EMT ( the first being the roof arrays) and my first time really working with strut (it's pretty simple).


")


