KITROBASKIN
Solar Enthusiast
Wanting to be respectful here. It is fun to look at someone’s project and consider options.
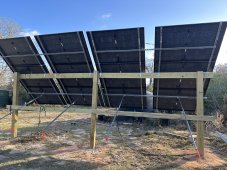
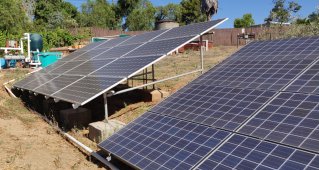
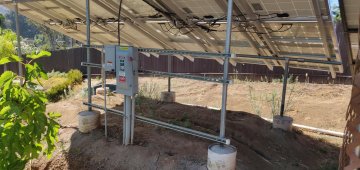
Being a big fan of not making roof penetrations, what s_eggo did is admirable. What I think he is calling top rails looks like round-corner square pipe on our containers.
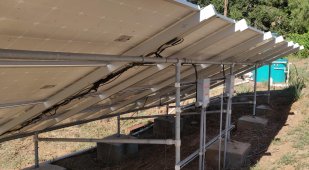
Maybe there will come a day when that green threadlocker has seen enough of that Northern Arizona sun. One option is to drill through-holes, and use quality bolts with lock washers. Proper silicone could be applied in layers before bolt insertion.
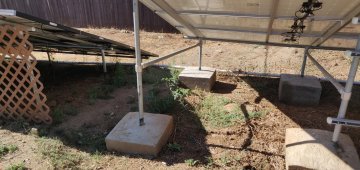
By golly one might even get some of that same 1/8 inch angle iron perhaps 8+ inches long, placing on top of existing horizontal, with the vertical leg opposite of the structural angle (forming something of a U shaped channel when viewed cross section) in order to distribute the load away from the just the bolt hole.
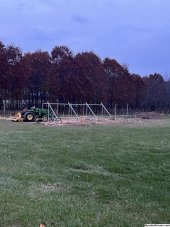
We get crazy freakish wind gusts that seem to delight in destruction where we live.
Being a big fan of not making roof penetrations, what s_eggo did is admirable. What I think he is calling top rails looks like round-corner square pipe on our containers.
Maybe there will come a day when that green threadlocker has seen enough of that Northern Arizona sun. One option is to drill through-holes, and use quality bolts with lock washers. Proper silicone could be applied in layers before bolt insertion.
By golly one might even get some of that same 1/8 inch angle iron perhaps 8+ inches long, placing on top of existing horizontal, with the vertical leg opposite of the structural angle (forming something of a U shaped channel when viewed cross section) in order to distribute the load away from the just the bolt hole.
We get crazy freakish wind gusts that seem to delight in destruction where we live.
")